Likes:
  Thanks:


Ok, another picture update.
I already had a Power Vision tune on the bike while it was breaking in. But I recently did the rest of the Stage 1 by adding the Outlaw 636v A/C system and some Fuel Moto 2-1-2 headers, finished off (for now) with some Rush Slip-ons.
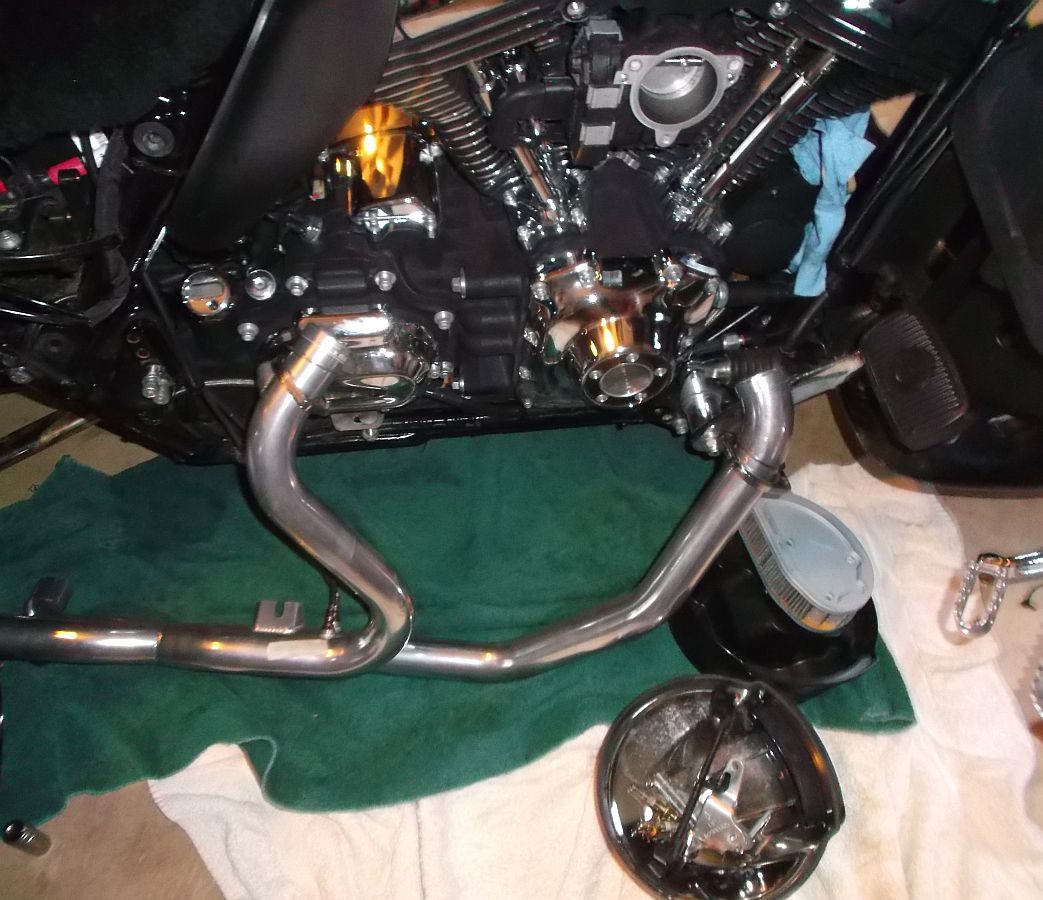
Stock A/C removed, stock headers removed. Ready to install the new headers.
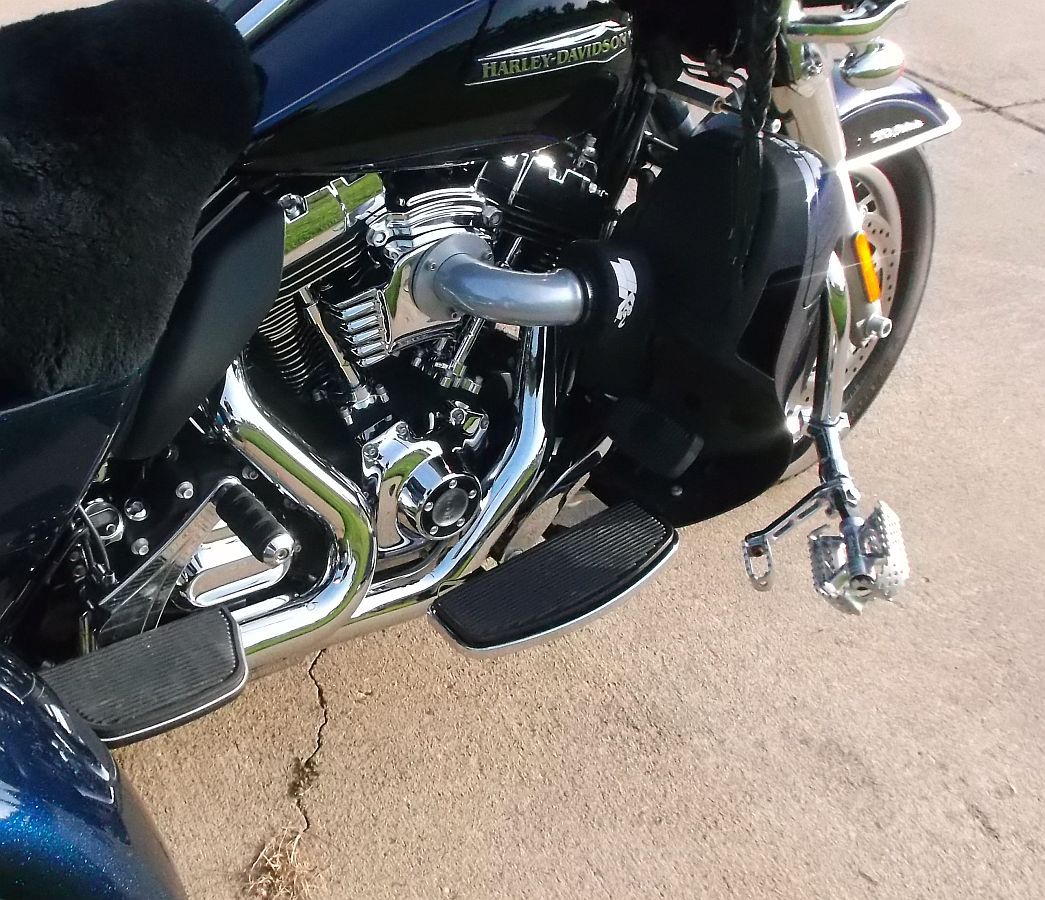
Got the catless 2-1-2 headers installed, along with the slip-ons and the Outlaw 636v installed.
DETAILS-
On the 2011 TG I cut out the cat on the stock headers. This time I decided to get some headers that were already catless, also that would have the bung for the wide-band sensors. (Devin as the "PRO auto-tune" for the Power Vision that I'm going to mess with).
Also, got them ceramic coated for some heat reduction.
For a few months I've been paying close attention to the sound of slip-ons, and I kept liking the sound of the Rush best. So I put my old Rush Slip-ons on. No Baffles, just the TTI W258's. (that's the configuration that produced the best dyno #'s on the 2011, and I like the sound just fine).
However, I will be building some slip-ons from scratch in the next couple of months. I believe they will produce more power, and hopefully I will like the sound. We'll see.
One complication encountered...the OilBud Oil Cooler thermostat housing sticks up too far for the headers with the wide-band sensors. I called Oil Bud and he overnighted me a shorter housing...except it did not show up...someone elses parts were in the box he sent me.
We ended up fabricating our own plate for the thermostat housing.
On the OilBud, I am still not done testing it...will report more when I have a definitive conclusion.
The headers installed easily and quickly, re-using the stock heat shields.
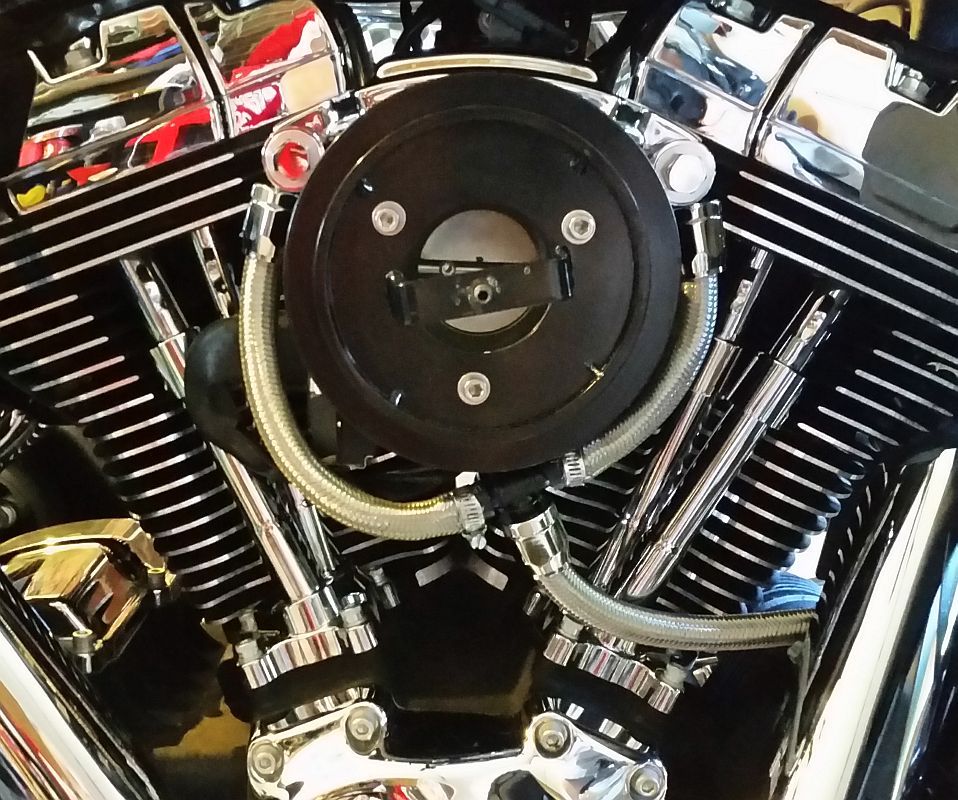
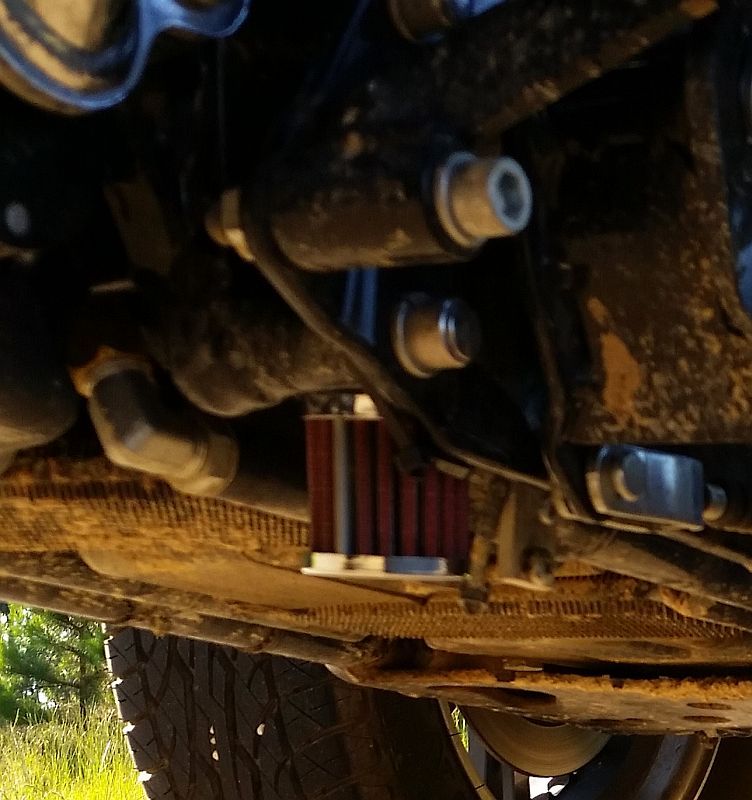
Because the 636v dyno's out ever so slightly better than the 587, even with the shorty filter element, that is what I installed. However, I am not at all sure I like the look with the shorty filter. I may end up putting a 587 on it.
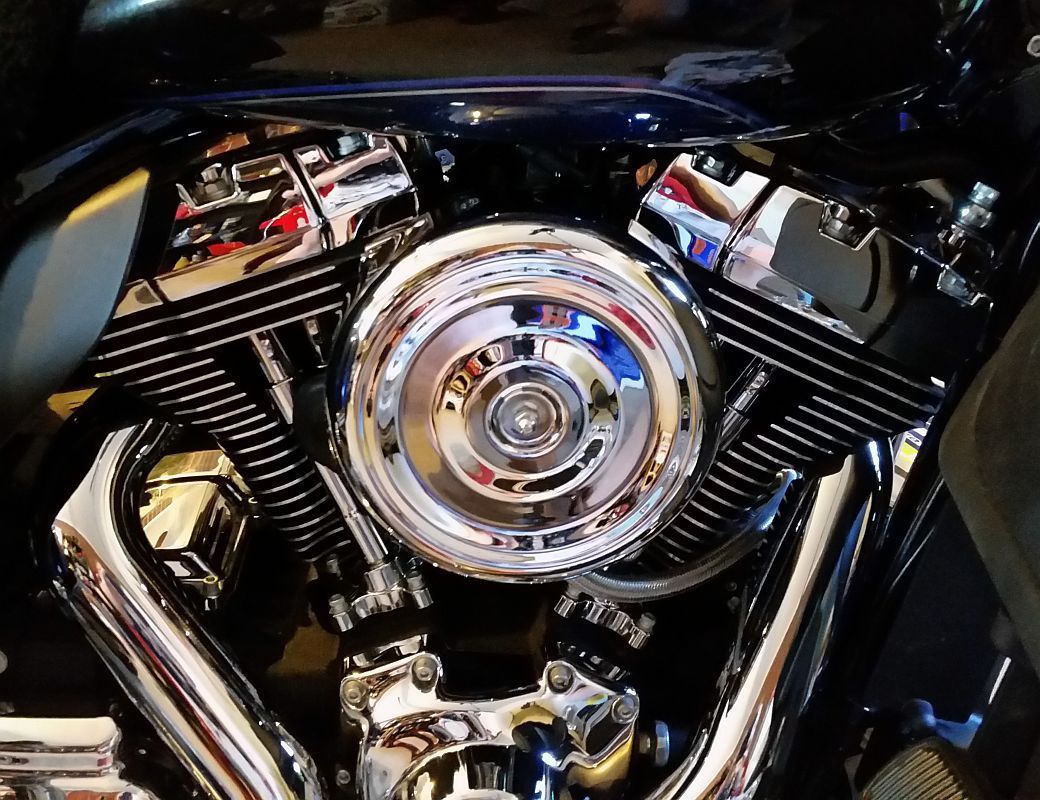
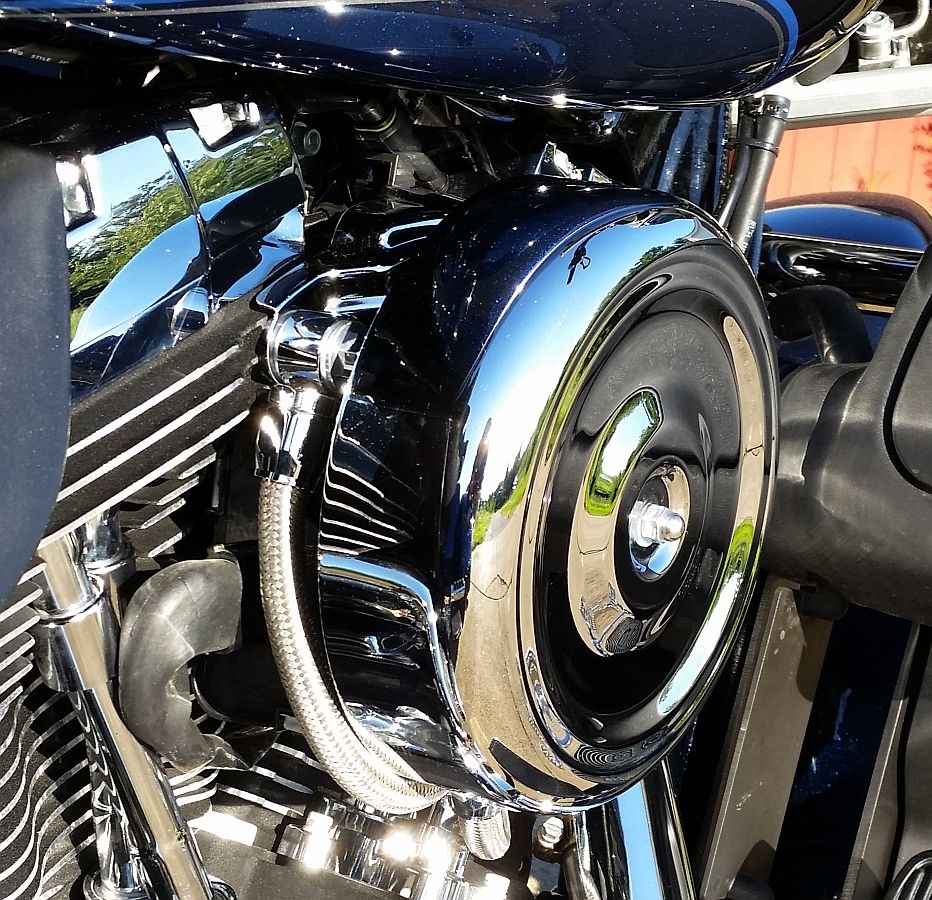
On the TBW Servo Cover and the Support Bracket cover. I am not one much for chrome, but I REALLY like the set-up quite well. Covers up the wires from the servo motor, and the Rocker covers are nicely tied together with the support bracket cover.
Results (so far)
I have had it out on the road only about 100 miles since the Stage 1 upgrade. Did a couple of auto-tune runs. WOW! Stock (with the Power Vision) this thing was stronger than the Stage 1 2011 TG (which dyno'd at 97 ft. lbs).
Now with the Stage 1 on the 2014, it has significantly more power! Will be interesting to see what #'s it produces. It is more than enough for the riding we do.
As far as heat, we will know much better in a week or so. Mary and I are going on a 4 day ride this coming weekend and I'll report back after that on the heat (or hopefully lack thereof).
Wiring-
Next thing I did was a bunch of wiring.
Power Point in Tour-Pak
Two ports for heated gear
Cig Lighter mounted on handlebars
Power Vision cable routed better
Already had the Wards Parts Werks fans wire, but cleaned that up a bit
Isolator, canbus converter, and adapter for some aux lights
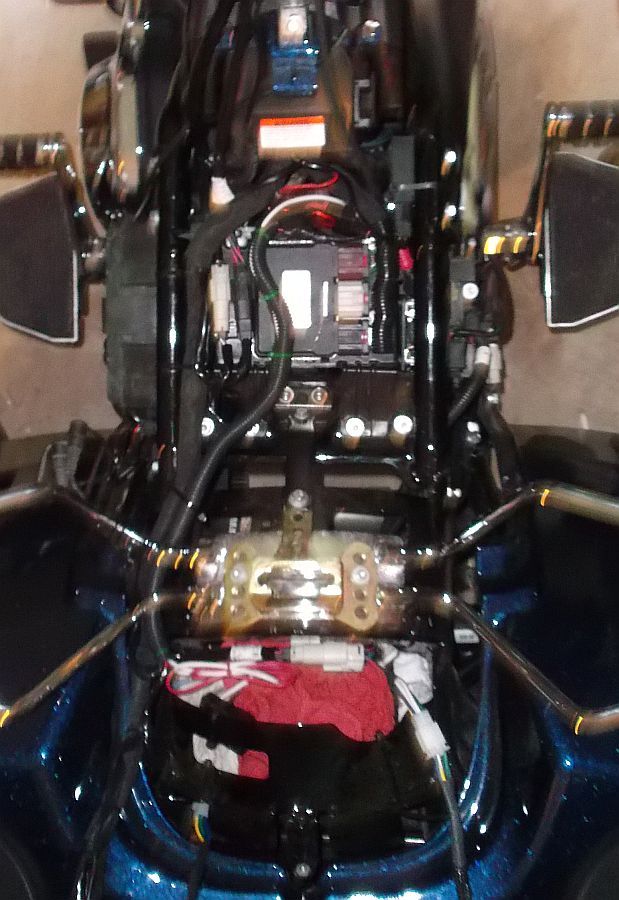
These are all connected directly to the battery with inline fuses. It was a real rats nest of wires once I had hooked everything up and tested to make sure it was all working. All that went without a hitch. But I did not take a pic of it when it was a rats nest...just too nasty looking.
But below is a pic of how it turned out once I tucked almost all the wires into a flexible wire conduit. I was more than a little nervous/cautious doing all this wiring on a Canbus system. But it all worked out well, and is much cleaner than the wiring I did on the 2011 TG.
Handlebars-
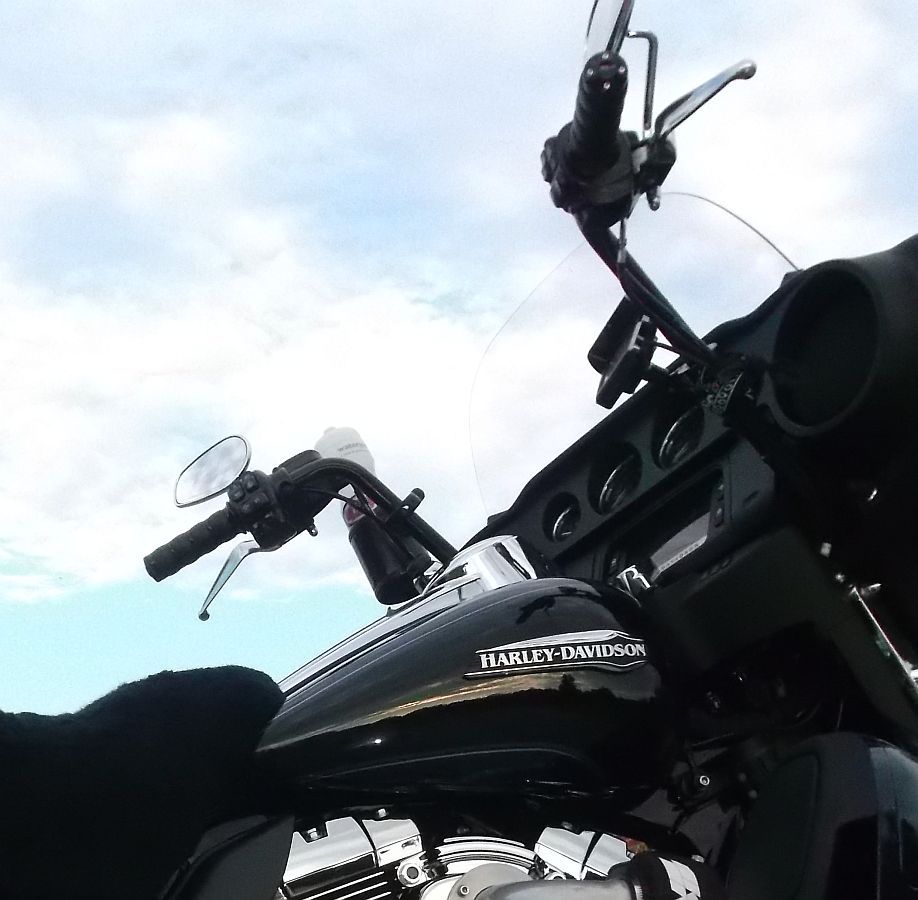
I need to take some better pics, but the one below are the stock bars, extended 9" longer.
Much more comfortable, and I have the following mounted on them with room to spare.
Drink holder
Power Vision
Cig Lighter
Video Camera mount
I also have some ISO grips on it and am really starting to feel a bit at home on the 2014.
Will have more to report after this next trip.
Kevin