Okay, so as is my norm I woke at 4:30. Decided to "polish" the tank lift. Big mistake ... LOL ... had cotton fibers all over my bed room. Who knew the $4 polishing kit from harbor freight would spit them out at first. Once it did ... might as well keep going. Here's a comparison.

It did a pretty good job. In hindsight, I should have gotten the black ones. You will see what I mean later.
Okay, when mr sun came up, I headed out to install these and the air deflector wings.
Step one was to remove the seat. Having done this before on my 15 Tri, I opted to cheat a bit. I put the 1/2" spacers in the back of the tank first. Having the back of the tank up an additional 1/2" made lifting the front easier IMHO. I put the longer screws in and left them just short of hand tight.
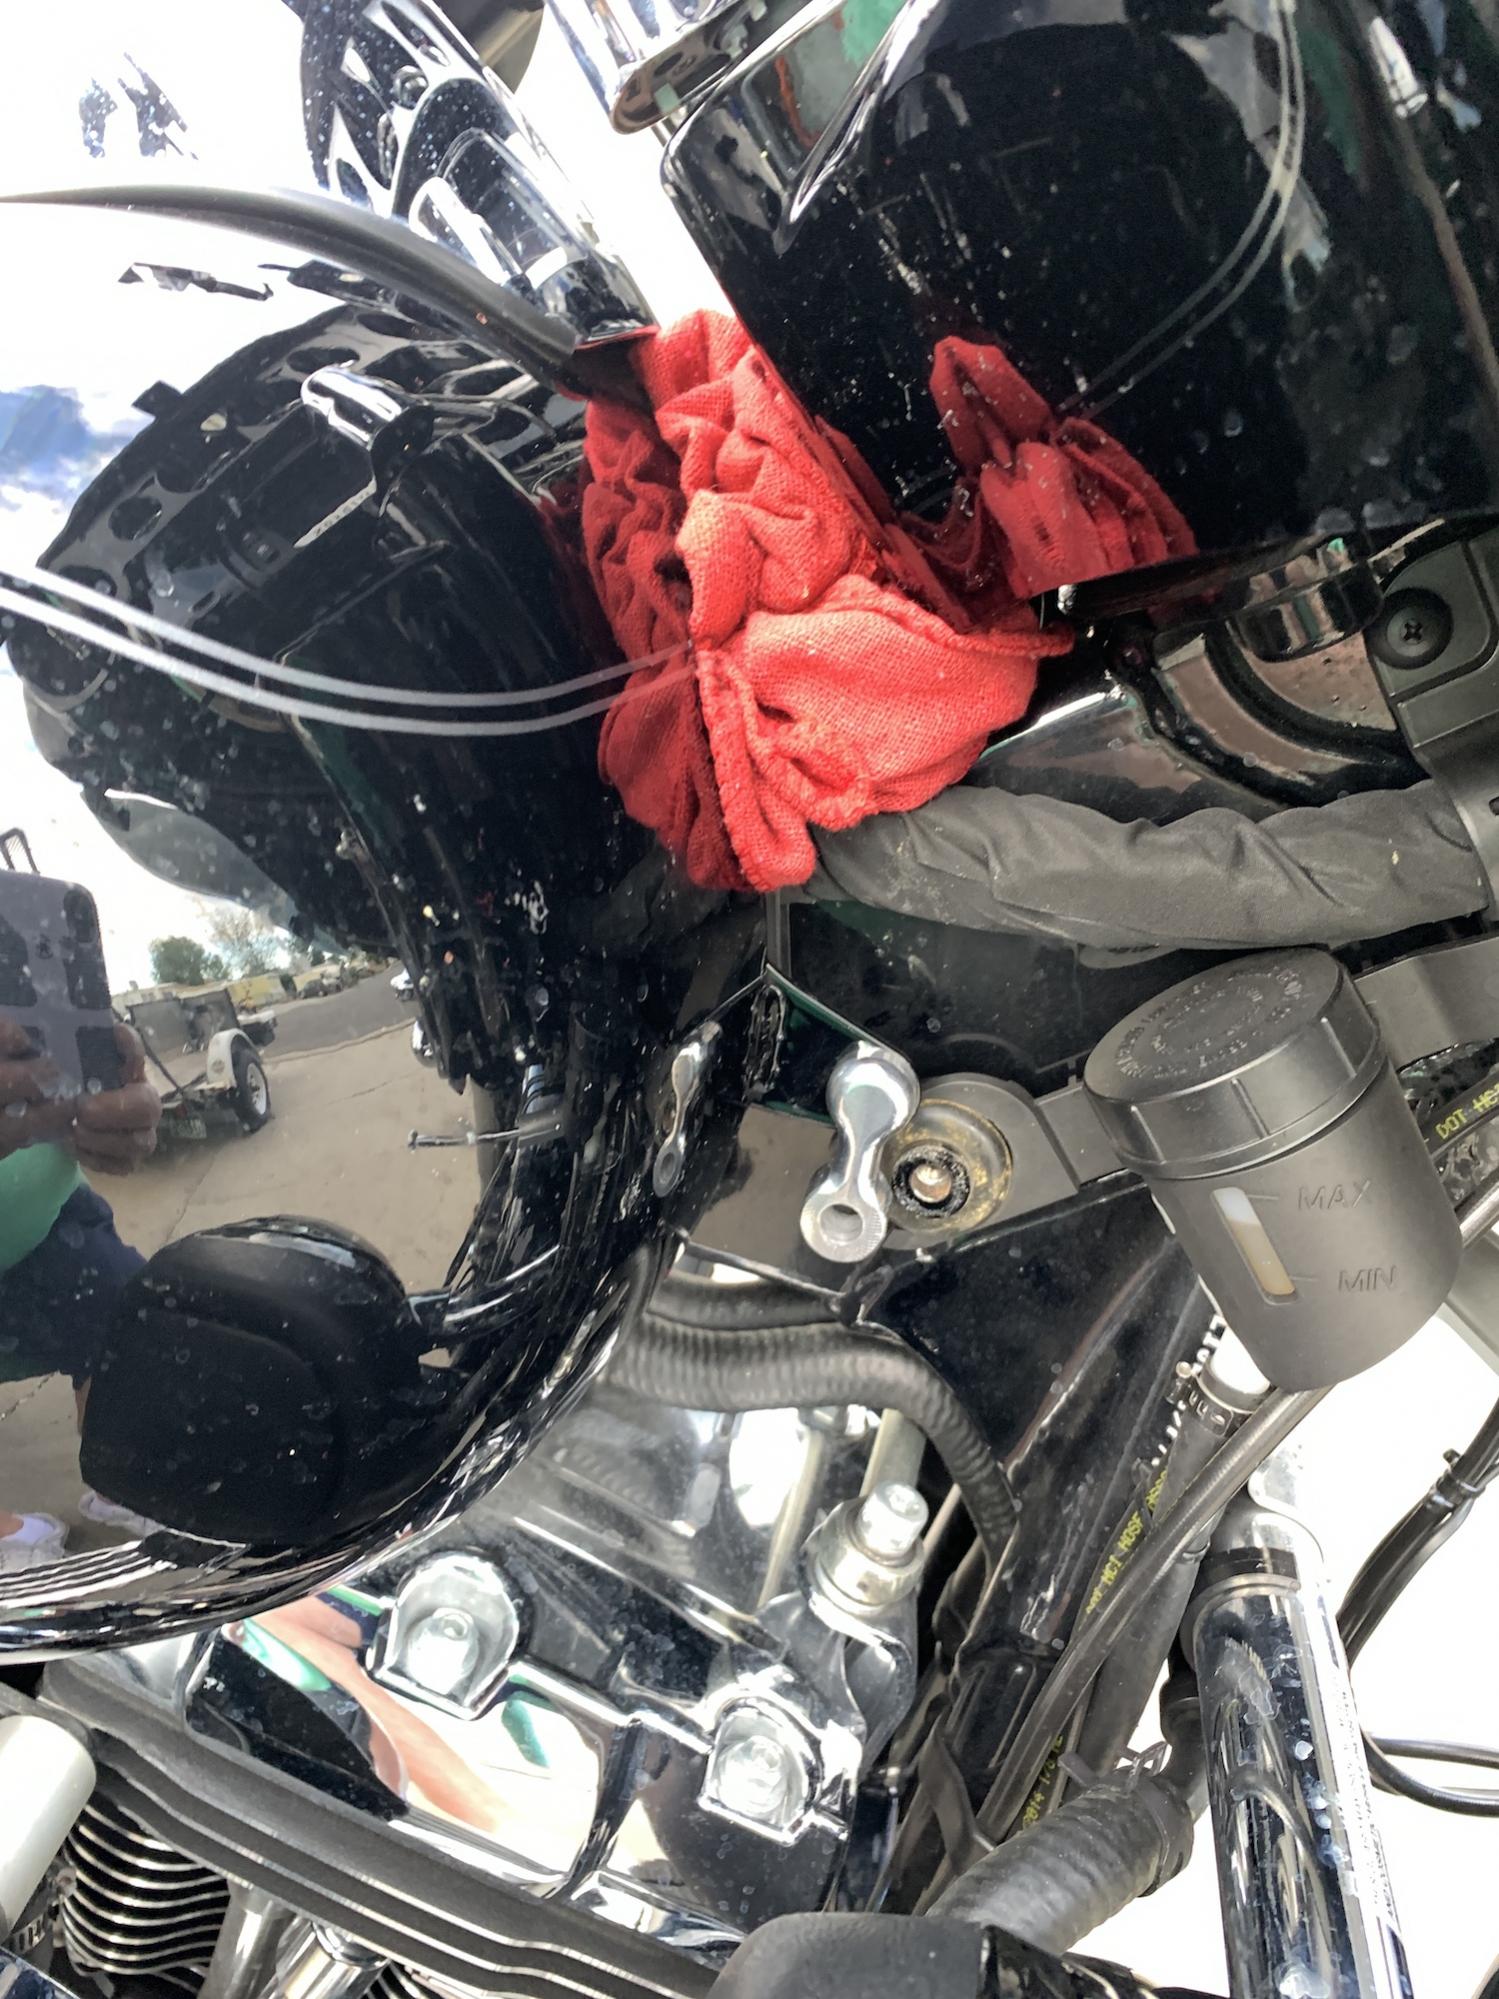
Next I removed the front tank bolts and rolled some rags into a ball that would roughly fit under the tank on the backbone to keep it close to the right height.
Next step, I put the lift on the tank with blue locktite, but, left them hand tight.
Left:

Right:
Next I installed the air deflector wings.
Left:

Right:

Those pics are taken after tightening all the hardware. (I forgot to get pics while putting them on. I recommend a rag over the lower faring to prevent scratching while getting everything aligned).
Next was to tighten down all the hardware. This can be challenging. Not a lot of room there. I used a shorty wrench to tighten the tank to tank lift nuts.

The tank lift to frame bolts I was able to get an allen socket on them. What makes the hardware thing so challenging is the wire harness running down the backbone near the tank bolts.
So, with everything tight (didn't show anything on the deluxe part ... just two bolts and spacers) ... the last step was to test for clearance. I did have to bend the air deflectors just a tad to get them to not touch the lower faring. Not a big deal.
Right Gap:

Left Gap:

Center Gap:

Okay, so all installed and the seat put back on. Let's talk review:
Took the trike for a test ride (Mom wanted me to take a package to UPS for her). It was 65* so I just hopped on the trike and headed out (shorts ..

). Dropped the package off and decided to do a 10 mile retune on the highway. I can attest that the air deflector wings shove a ton of air down on the engine ... my legs where freezing ... LOL. On the other end of the spectrum, the wind buffeting I normally get from between the Batwing faring and lower fairings was significantly less. Part of this might be the 1" lift and 1/2" rear lift, can't tell. On my 15 Tri I did the 2" and 1/2" deluxe, if I remember right. I don't remember a lot of reduced wind buffeting.
All in all, I like the air management of the two items together ...
Okay, did you figure out why, in hindsight, I should have gone with the black lifts? LOL ... with the wings, there is only about 3/4 of the top of the tank lift showing. With a larger lift, I'm sure they would show more. I do like the look of the CNC cut ones though, much cleaner.


 Likes:
  Thanks:


Originally Posted by paws