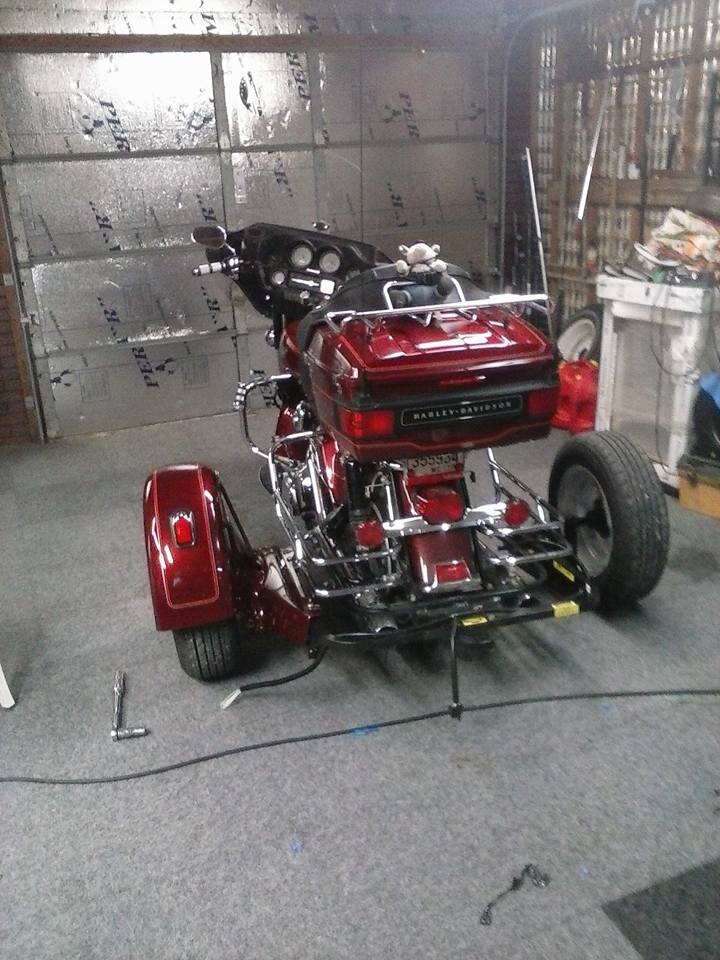
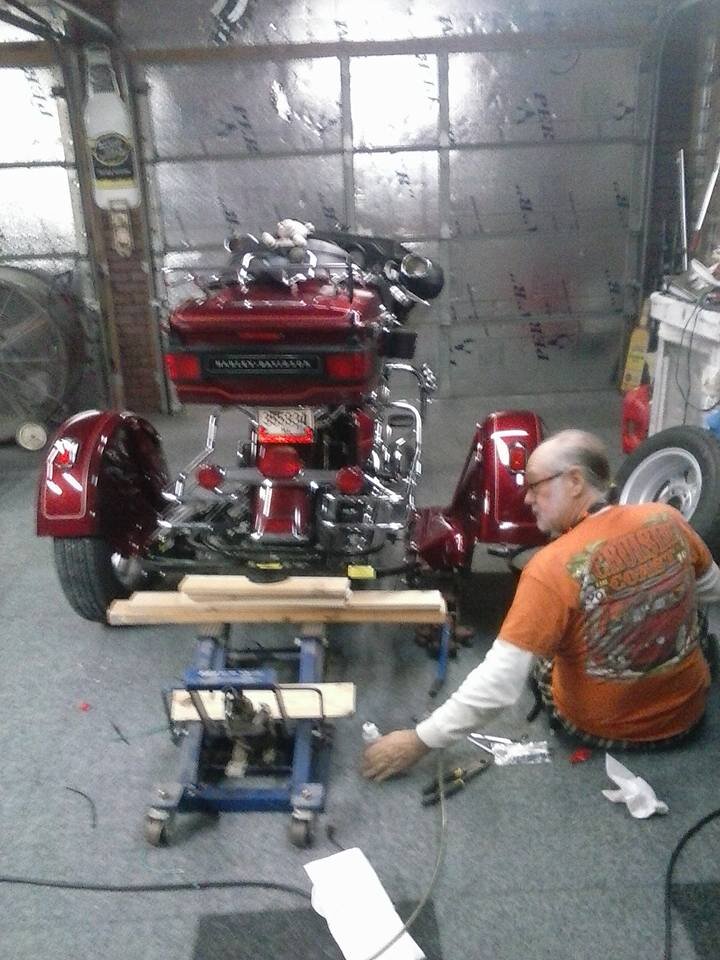
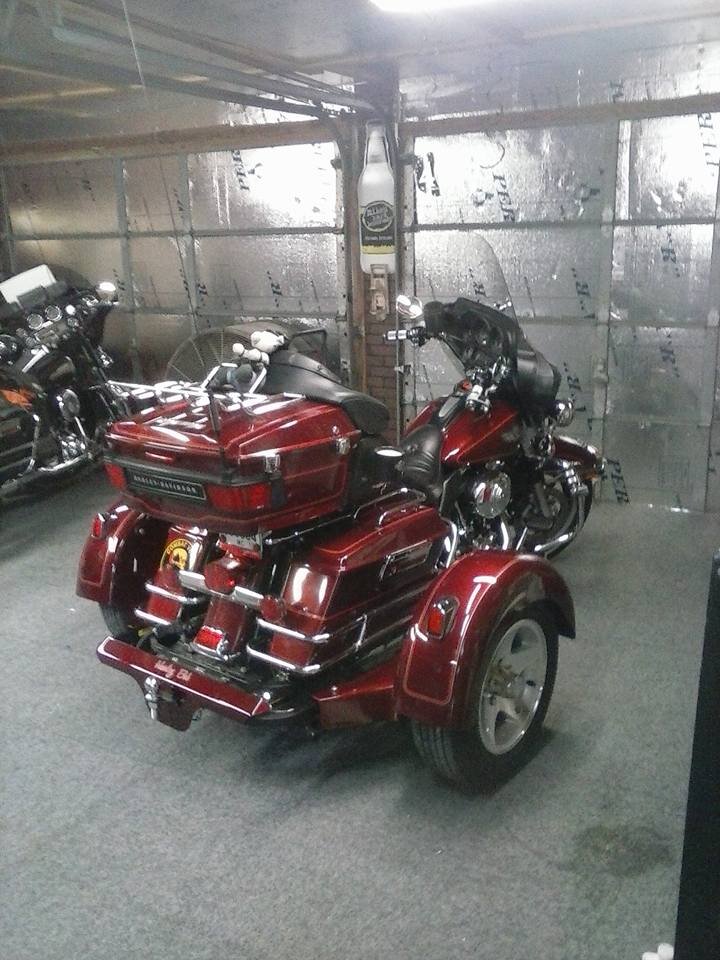
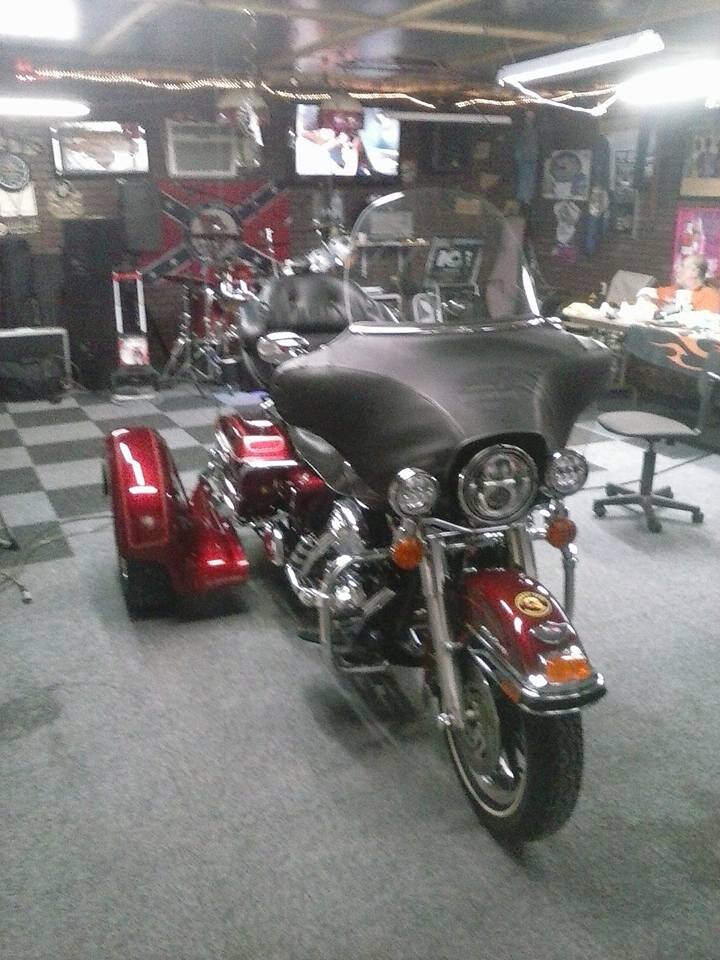
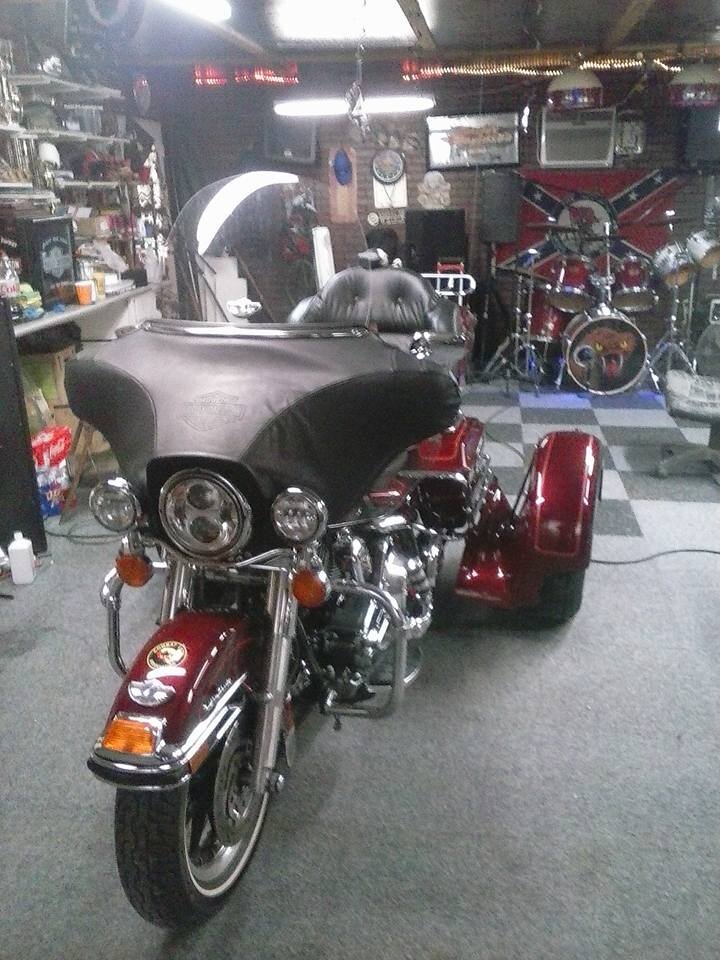
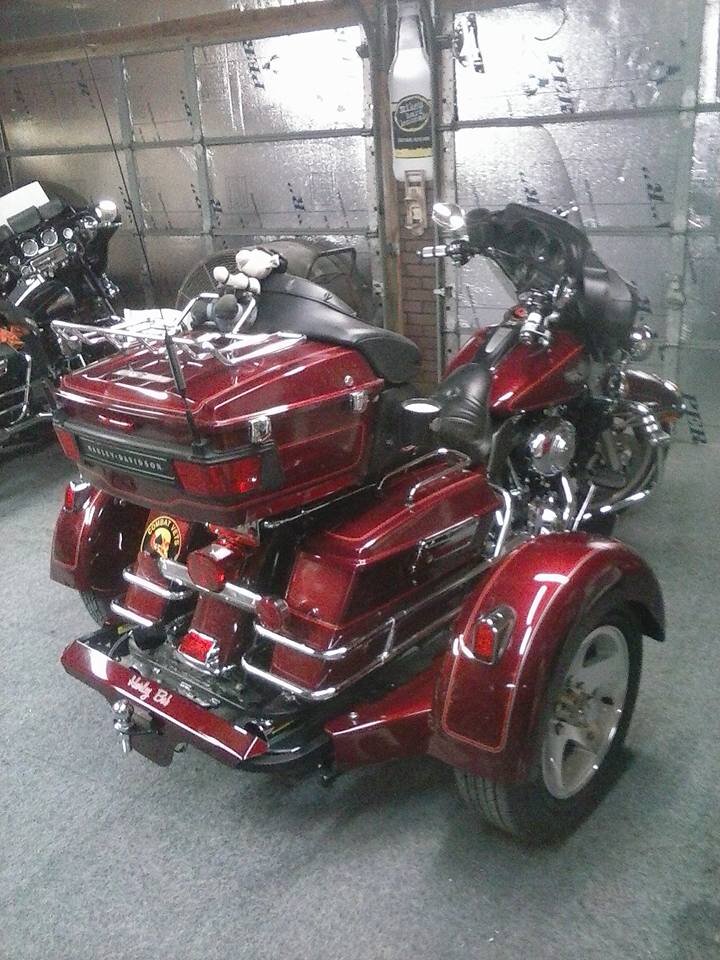
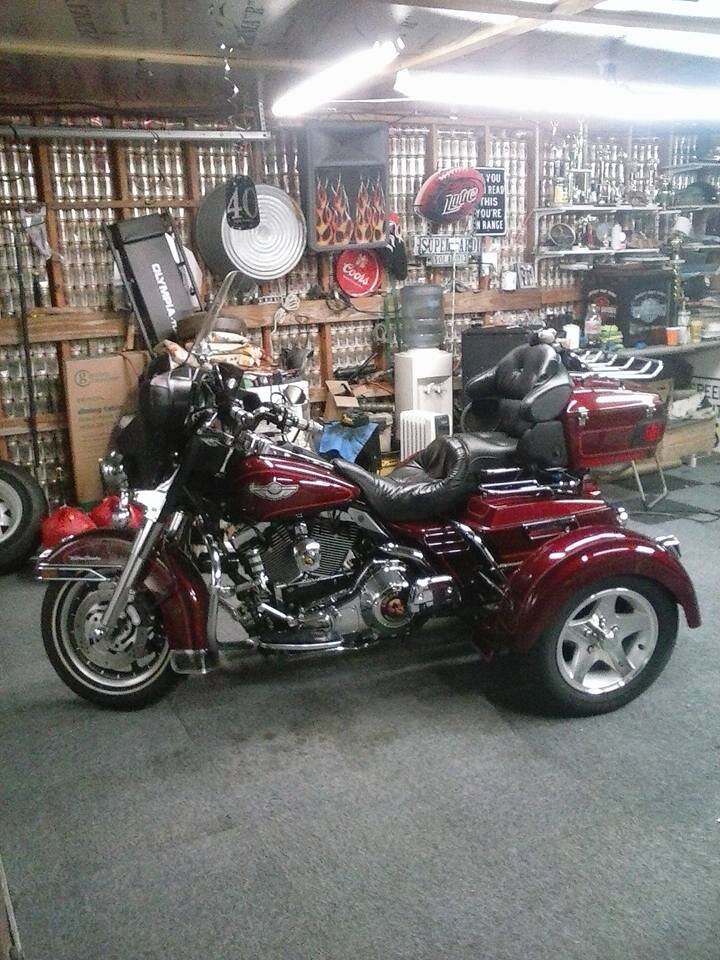
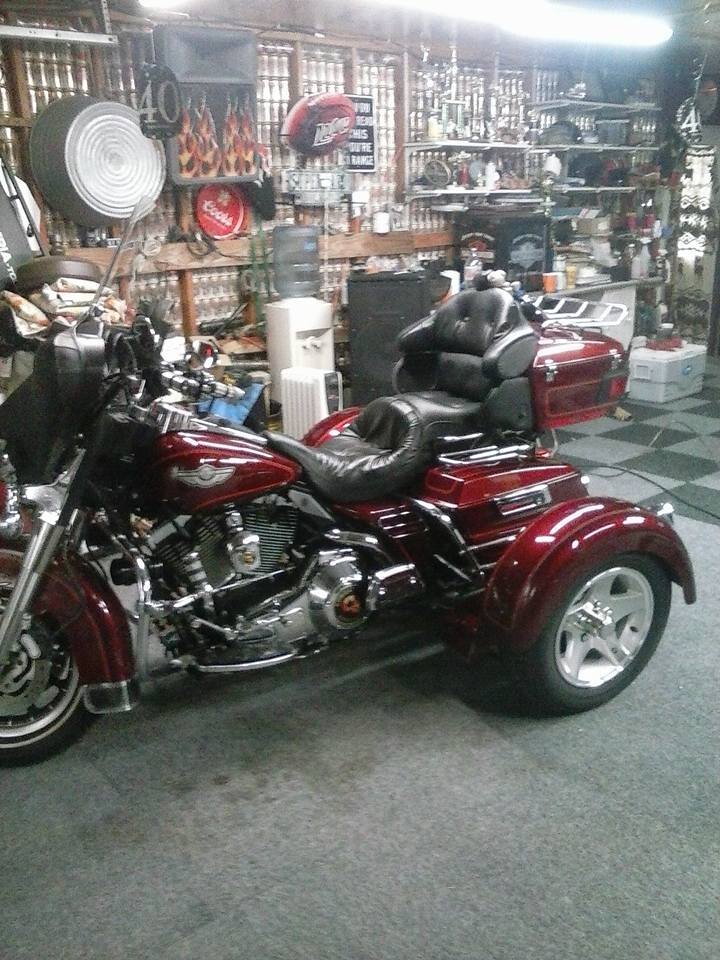
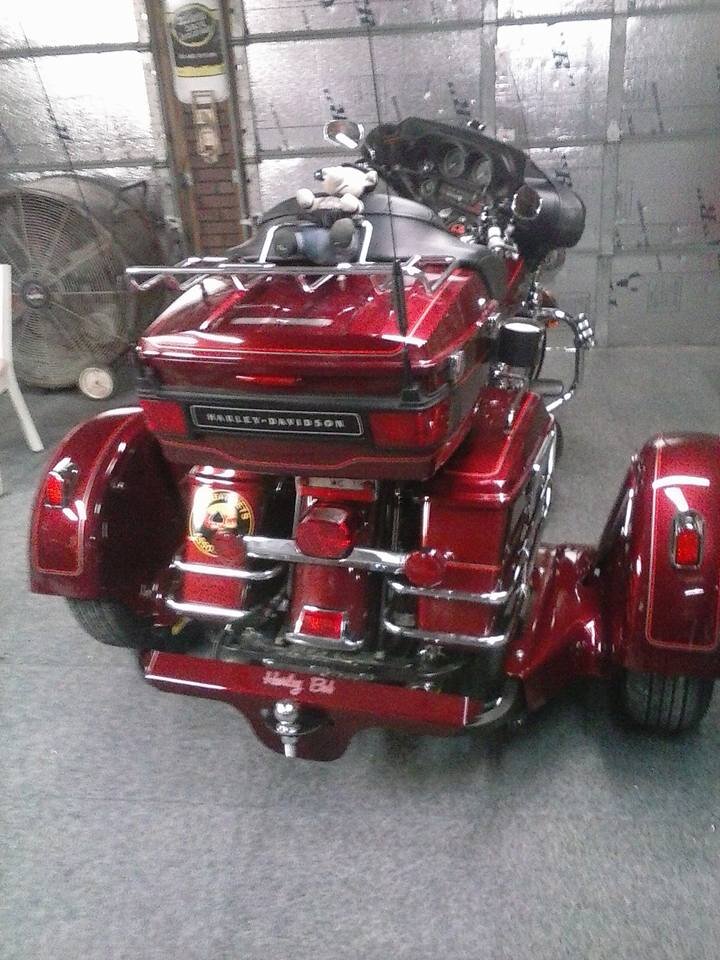
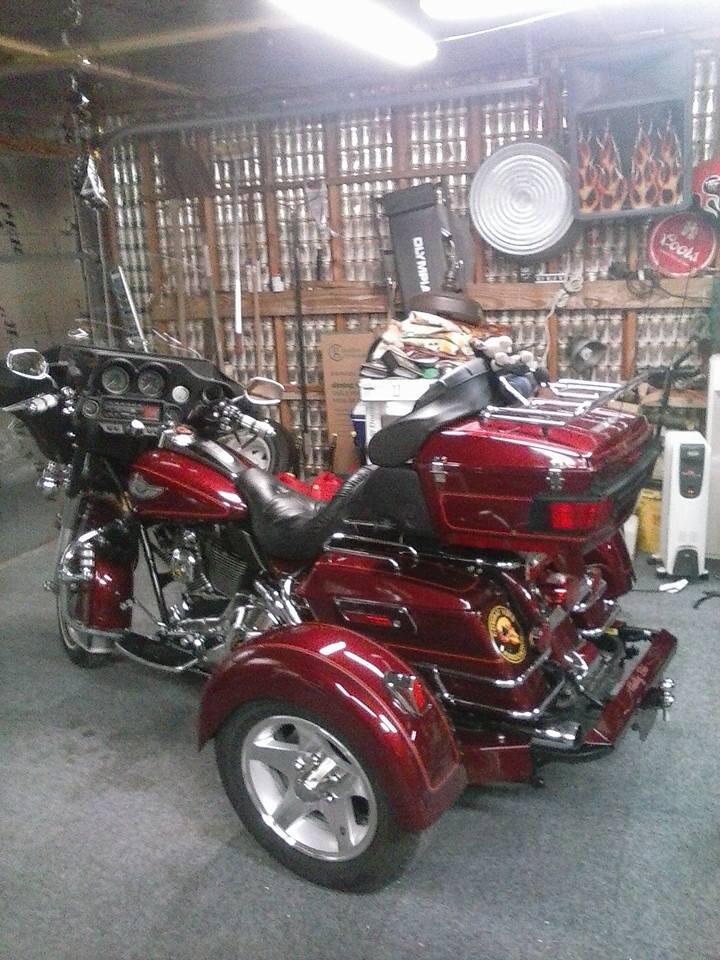
My Tow-Pac 14" InstaTrike Install on Ultra Classic Harley

That's a hunk of junk! What kit is that? Who makes it? Please Tell us it could save someone from getting hurt or killed! U bolts will slide!

Looks like a Richland Roadster.I different thought process for suspension than any other.The axle is welded solid to the frame and the brackets run across the frame are designed to flex.They used to claim you could ride with only 1 side on if you really wanted to.

I know a guy who has one. He told me it took a lot of time to get the feel of riding it.

He told me that he has two white lights he didn't like and you have to remove the kickstand. He said riding it reminded him of riding in a boat because the back end would move around. So I decided agents that one.
 
I think many companies including some of the more known brands use U bolts to fasten the attaching plates to the bike.The difference being as you have pointed out is they attach to the frame where this one uses the crash bars.Perodic hardware checks and proper install are important to prevent damage to even the frame area on those machines.Attachment points and methods are tuff with outrigger kits and i don't think I have seen the perfect one yet.
 
OK Lets Get Back On Subject!

{My Tow-Pac 14" InstaTrike Install on Ultra Classic Harley}

My Tow-Pac 14" InstaTrike Install on Ultra Classic Harley

Rainy and nasty today. So I headed to town to get the last few things I will need when the painter calls me to bring my bike to his place for the final install!

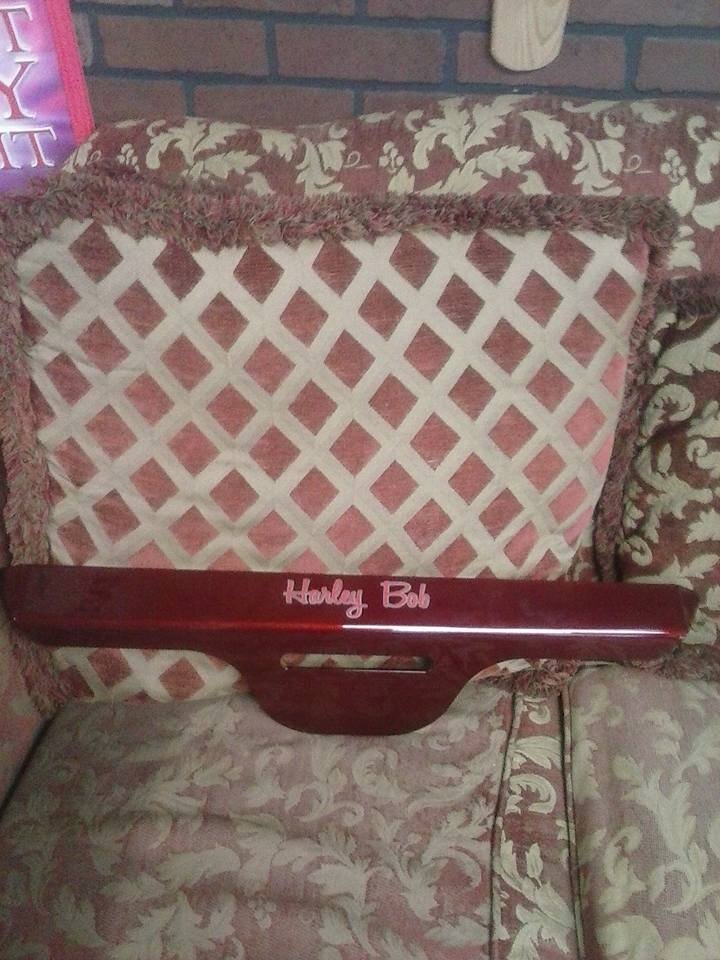
First the back frame cover is held on by double side tape no bolts or screws.

Tow-Pac89.jpg

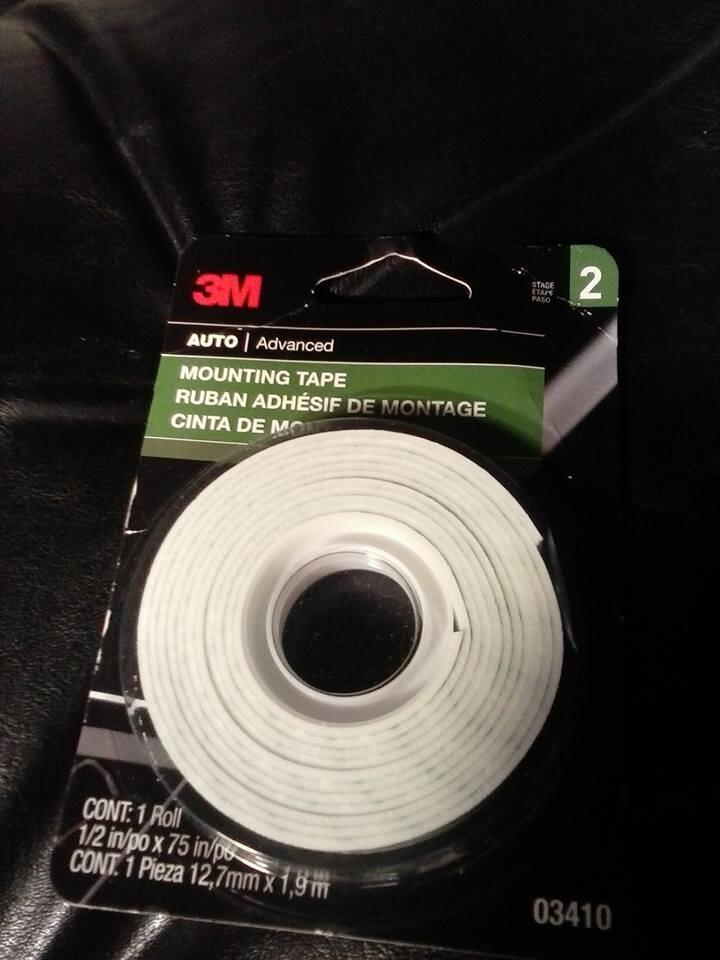
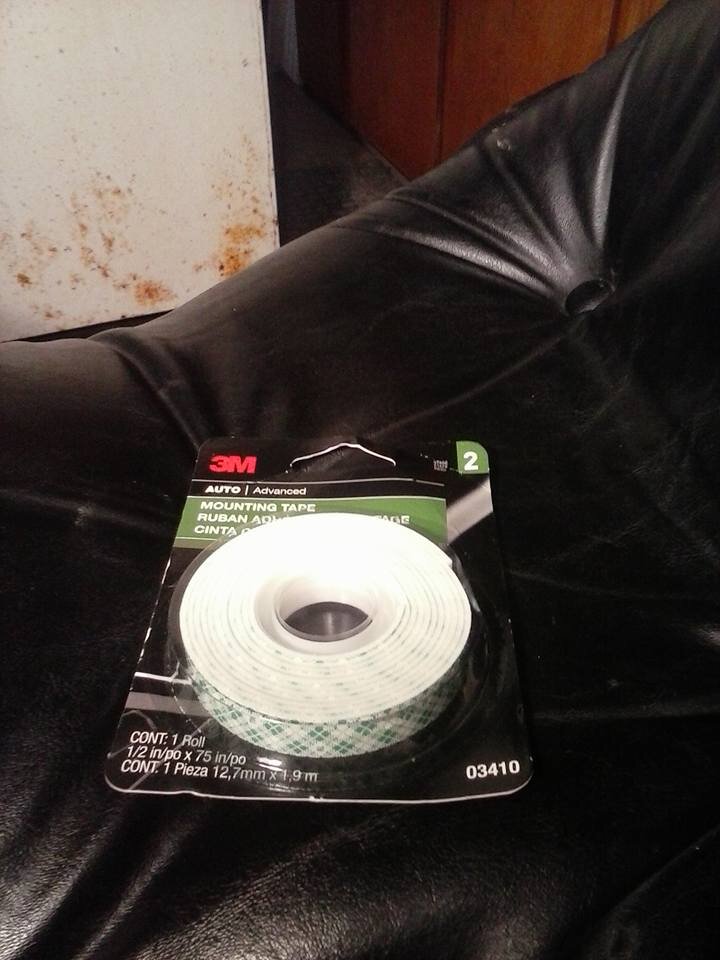
So I got some at the auto parts store.

Tow-Pac119.jpgTow-Pac118.jpg

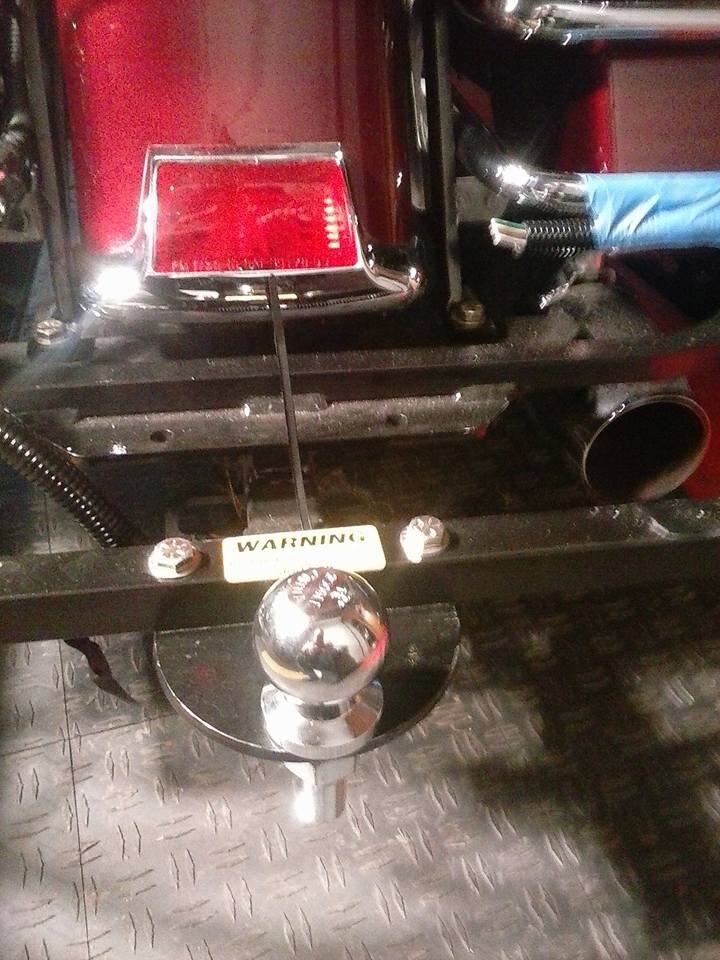
If the tape should fail and it should not, then this trailer ball will keep it on the bike.

Tow-Pac117.jpg
 
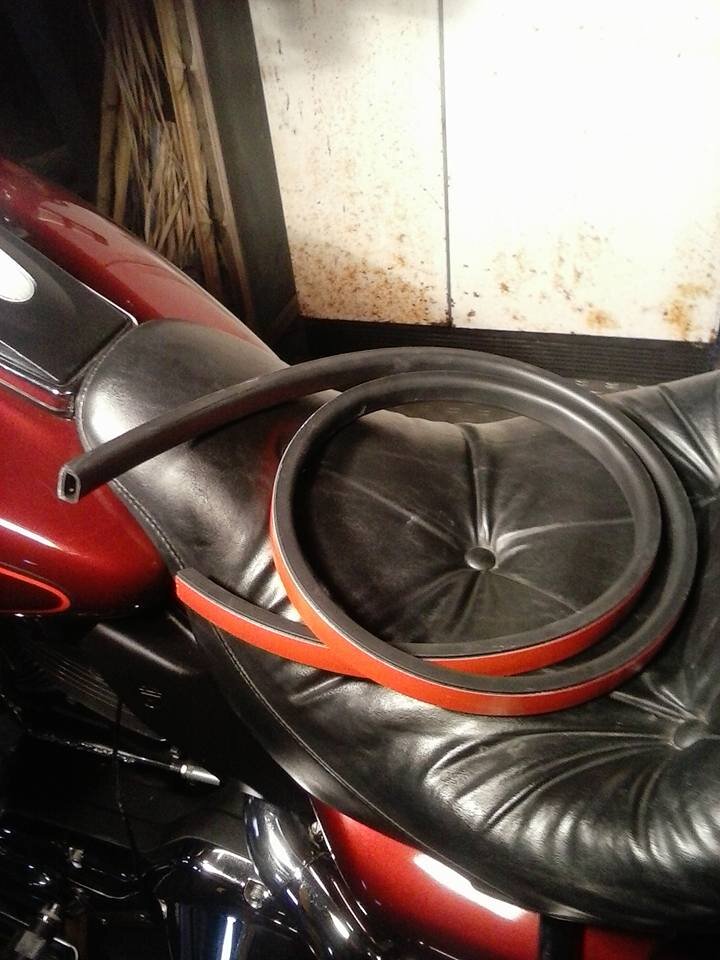
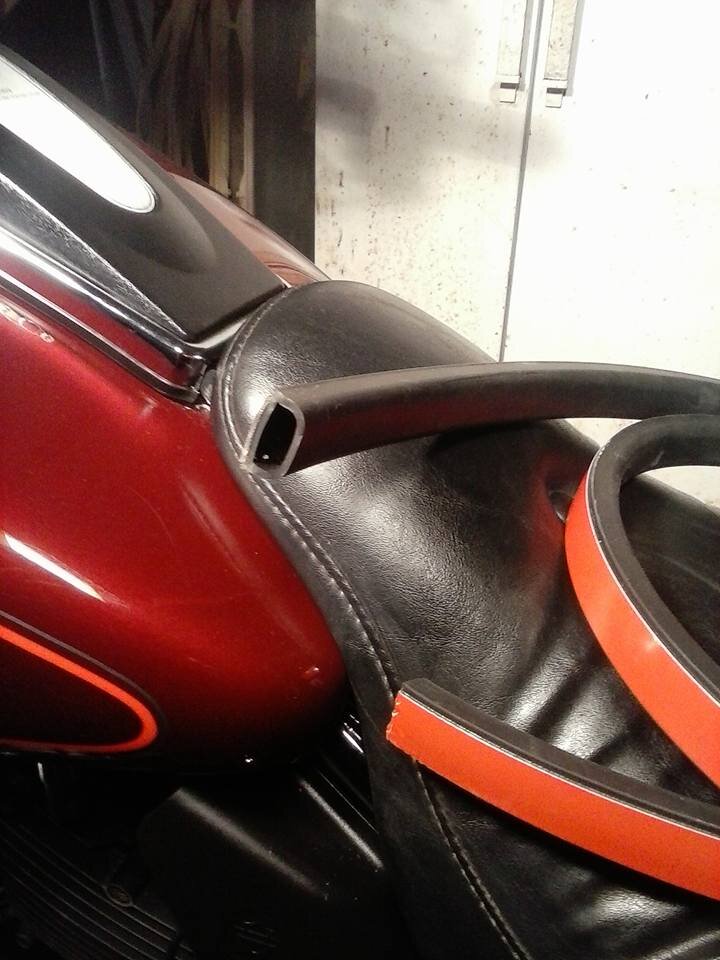
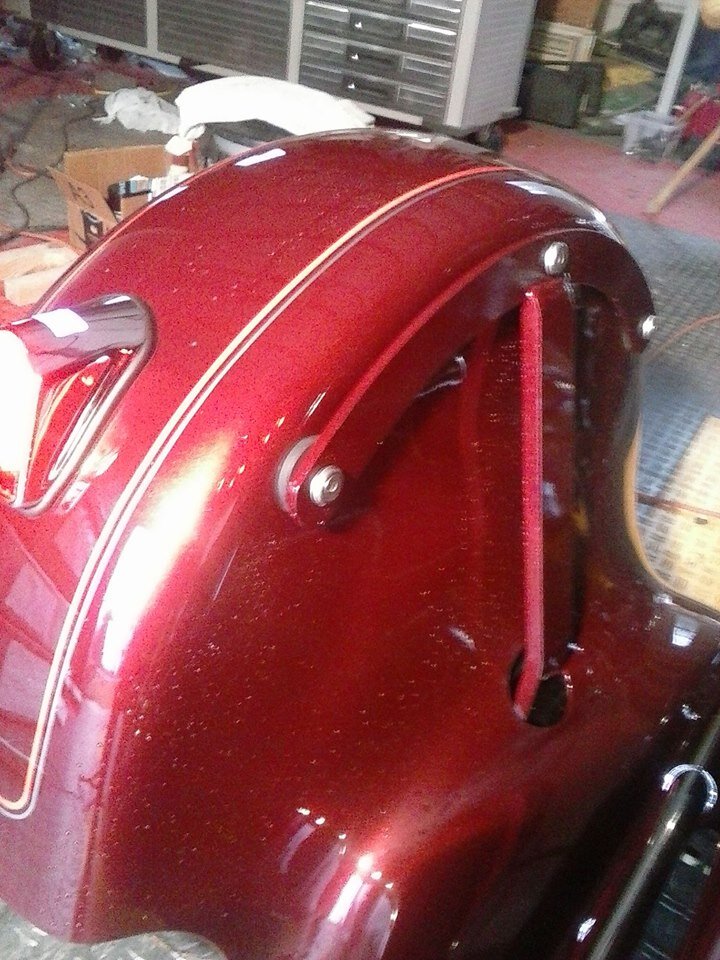
Denis, the painter asked me to get some of this adhesive loom. It has one side that will stick to the underside of the fenders to hold the wires for the tail lights! I have some other stickers that has a side that sticks and you put a tie wrap in. I will use those as well. He told me this is the best. I got 6 ft. at the Harley Shop. The part that is red is the tape you remove to expose the glue side. After cleaning the place you want to stick it to with rubbing alcohol, you just push it in place.

Tow-Pac121.jpg

Tow-Pac120.jpg
 
THE FINAL INSTALL!

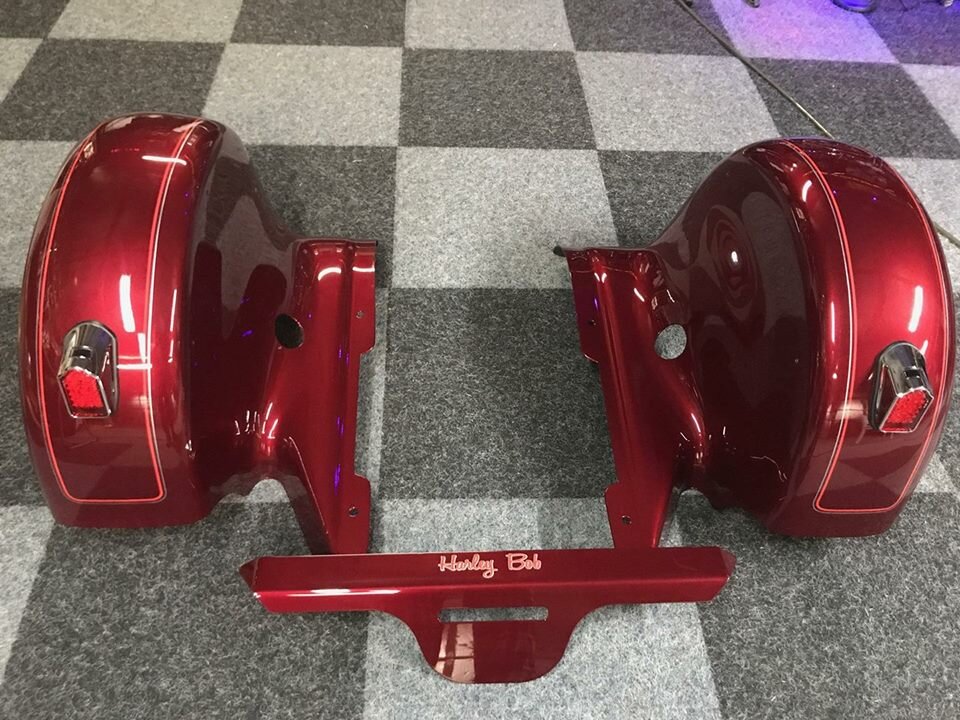
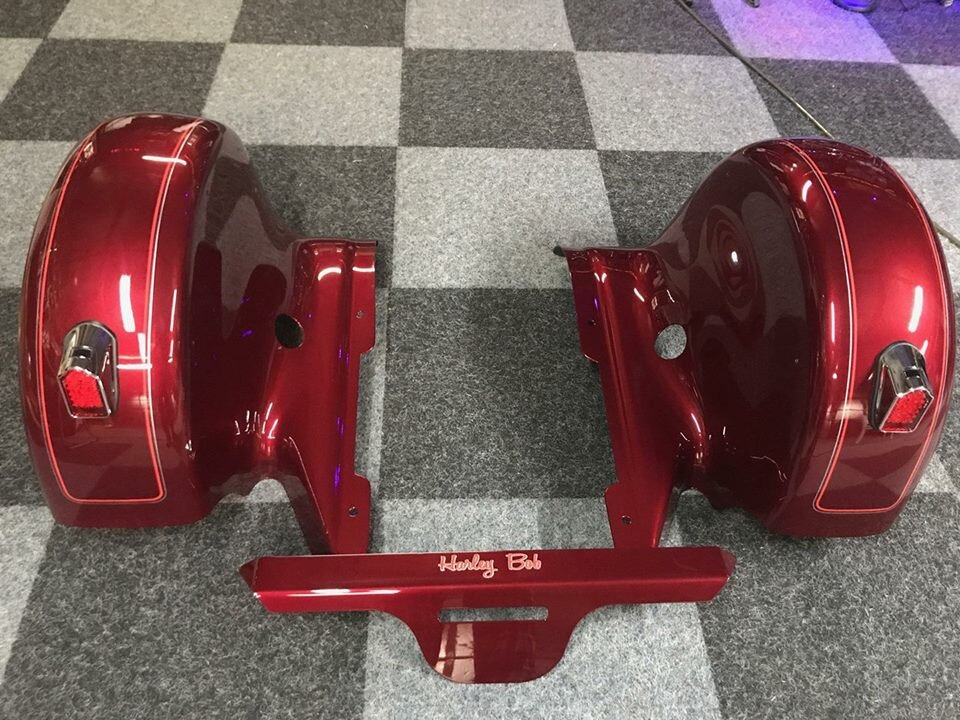
I just got a call from Denis, parts are ready so I'm heading over there in the morning and we will install them! There are two fender "T"bars not shone in this picture, That bolt to the inside of the fenders and go through the big holes and bolt to the frame.

Finally!

I will take pictures and post them here!

Tow-Pac122.jpg
 
THE FINAL INSTALL!

I just got a call from Denis, parts are ready so I'm heading over there in the morning and we will install them! There are two fender "T"bars not shone in this picture, That bolt to the inside of the fenders and go through the big holes and bolt to the frame.

Finally!

I will take pictures and post them here!

View attachment 52853

Tow-Pac122.jpg

Weather looks good so it's a GO for 9 A.M. in the morning!
 
Looks great Bob - can't wait to see the finished product... FWIW, I drilled and tapped in 4 places with 6/32 BHMS for my frame cover... I like the ability to have it removable for various reasons... Wire loom is a good idea... I used Panduit cable tie mounts to secure my wiring... Very aggressive mounts and haven't had one come off yet... Too cold to ride here now and getting colder next week... Looks like it's going to be a while before I get back on the bike...

Les
 
Completed! It took Three hours non stop to get it all together.

I road 10 miles in the Cold Rain to get this job finished and 10 miles back to my house. I just got a big bowl of warm Homemade soup in me and just glad it is Finished and She's home! These pictures were taken at the painter just before I left for home! It's going to turn to Ice in a day so had to get this finished today!

triked.jpg

triked1.jpg

triked2.jpg

triked3.jpg

triked4.jpg

triked5.jpg

triked6.jpg

triked7.jpg

triked8.jpg

When the weather gets better, I'll do some test riding!
 
Les

Thanks for all your help, It took about 7 weeks.

I first thought "Oh should take about 2, 3 tops! LOL!

I'm still waiting to hear from Tow-Pac on my refund!

Then I will do some test riding and do a summery of this experience for others

considering on getting a Tow-Pac out rigger trike!
 
Your welcome Bob, but I didn't do much - you did all the work - just some words of encouragement from myself and the others...

Looking forward to hearing of your riding experience with the 14" tires... Wondering how you set the down force or preload on those??? With my 12" tires, the Tow Pac guys told me to grab a 12" tire and turn it... I should just be able to break it loose from the ground doing that if it's adjusted properly... That procedure might be difficult with the 14" tires due to their size and mass and ground footprint...

Cold here this morning - about 24 degrees right now - no riding today!! Have to take my daughter and her husband to the airport a bit later as they journey home... The granddaughter is here for another day or so and then she departs as well, and another Christmas (and year) has passed...

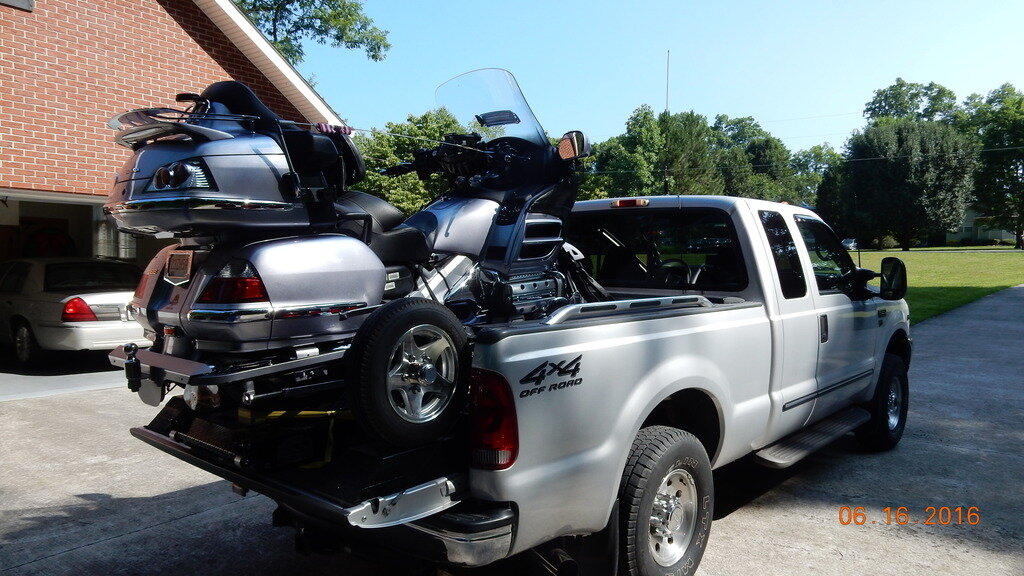
I just noticed that it looks like you have a bra on the front of your bike... I use one when I'm on trips but usually don't have it on when I'm riding at home... The bra helps protect the front of my Wing when she's sitting in the back of the truck up high and being transported that way... I also use a vinyl windshield cover that my bride sewed up for me to protect the windshield as well... Every little bit helps ya know... Here's a pic of the bike with Tow Pac attached in the back of the truck...

DSCN0003.jpg

Will be heading west this coming summer to ride amongst the Giant Sequoia's and visit Napa Valley (if there is anything left of it by the time the fires stop)... Also traveling up north again this year to ride in an old club event called "The Amazing Challenge"...

Ya'll stay warm - Spring will be here before ya know it!!

Les
 
The down force or preload, has never been adjusted by me.

Factory told me it was set for my bike before shipment!

But who knows if this happen???

I thing the cart's tires are taking a lot of the weight!

With this set up with "The 14" tires." To get weight off the tire you have to jack it

way up. about 1 1/2' to get the tires up off the ground.

Now with it on the ground, no jack, I put a torque wrench on the lugs and torque them to 75' lbs. and the tire does not budge!

Here is a picture of the fender braces. They are 1/2" flat bar.

The finders do not budge when pushed on. Yet to give it a 75 M.P.H. test.

So much for the super clean bike, need to be washed again, I did knock a lot of yesterdays grime off of it with a hose. Still rainy and cold here.

triked13.jpg

****OK I can slide the tire on the Cart. I pull on the rim with my hand in one of the slots on the rim and pull back on the rim kneeling at the back of the cart and the tire slides. Not hard but at the same time not real easy to slide! ****


Well, if you really have to give a good tug with both hands with gloves on, that's what they told me it should be... I do know when my bike is on the center stand, my wheels are off the ground just a bit, and the left one (viewed from rear) is higher off the ground than the right... I attribute this to the bike being a bit crooked on the centerstand as viewed from the back...

With the bike on the ground in riding position, the measurement of the frame at the corners in the rear is about 11" off the floor to the top of the frame on both sides, and both sides are within 1/16" or less... Same for tire parallelism - less than 1/16" out on either side... The cart seems to hold good alignment if I first tighten the receiver stinger bolt, then tighten the left side lean stop nut and then the right side lean stop nut, in that order... I periodically run a 1/2-20 die up and down the bolts to clean up the threads a bit... I damaged the left one a bit when the nut cross threaded during a removal of the cart a while back, but I got it cleaned up enough to be functional again... I assume the bolts are just pressed in but I don't have a shop press (yet!!) and I would have to remove the sub frame to press out the old bolt and insert the new one... So for now, all is good...

Just dropped the kids at the Chattanooga Airport and the temp is up to 40 degrees with sunny skies, but still a bit cold for these old bones...

Les
 

Welcome to the Trike Talk Community

Join our vibrant online community dedicated to all things Trikes! Whether you're a seasoned rider or just starting out, this is the place to share experiences, tips, and stories about your three-wheeled adventures. Explore modifications, maintenance advice, and rides, all while connecting with fellow trike enthusiasts from around the globe

Forum statistics

Threads
55,527
Messages
838,725
Members
22,629
Latest member
Highwayman 90

Trike Talk Community

Welcome to a community dedicated to the most diverse and fastest growing powersports segment, Motorcycle Trikes. Come join the discussion about the best makes and models, popular modifications and proven performance hacks, trike touring and travel, maintenance, meetups and more!

Register Already a member? Login

Forum statistics

Threads
55,527
Messages
838,725
Members
22,629
Latest member
Highwayman 90
 photo 260e2760-d89e-45b2-8675-2bc26fb3d465.jpg

 photo Trike-Talk-150-x-200.gif

 photo DK Trike Talk Right side banner 19.jpg

Merziere Reverser

 photo 9796095c-0d4b-4a9b-88ed-efe4c498d084.png
 photo f9866e4e-75c5-471a-86f5-5e72a446ecc3.png
Back
Top