Chappy KC
New member
I was thinking of moving the top box back about 3 or 4" so wifey could get a little more room. I have the Kawasaki Voyager with the Motor Trike Challenger kit. Has anybody ever attempted this action?
Follow along with the video below to see how to install our site as a web app on your home screen.
Note: This feature may not be available in some browsers.
 epper:For less than $20 I move the top box back about 3" and it has made a world of difference. I will try to post pics and/or explain the process and parts needed if anybody is interested. I know only a few of us are so I won't waste my time here today without a demand. Maybe later in the Garage section?
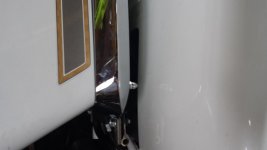
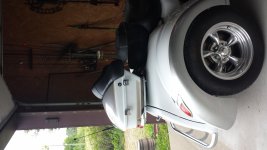
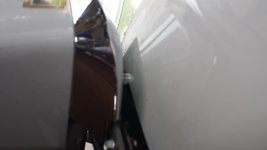
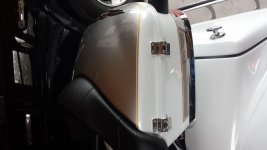
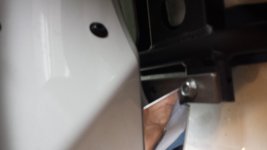
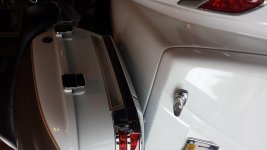
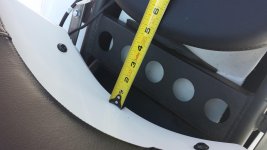
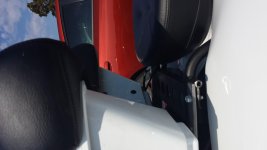
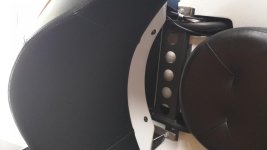
Hi Chappy, Nice Job. TomHere are some pics of what I was talking about and the finished product minus the pad I need to make.*
Icedad I think you should. It will make your trike look sooo much more awesome! People will think you are a god!
Welcome to a community dedicated to the most diverse and fastest growing powersports segment, Motorcycle Trikes. Come join the discussion about the best makes and models, popular modifications and proven performance hacks, trike touring and travel, maintenance, meetups and more!
Register Already a member? Login


