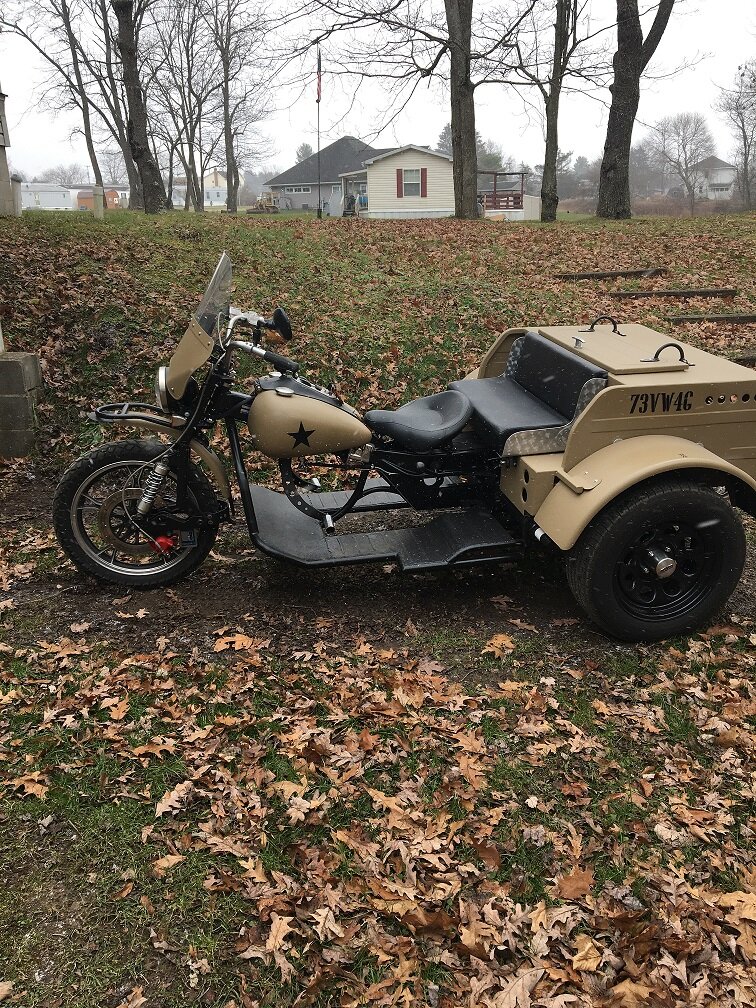
4th generation of my trike

I got an idea stuck in my head so I had to try it. I was thinking I needed a fairing and windshield. I messed around a little yesterday and came up with this so far.

IMG_0526.JPG

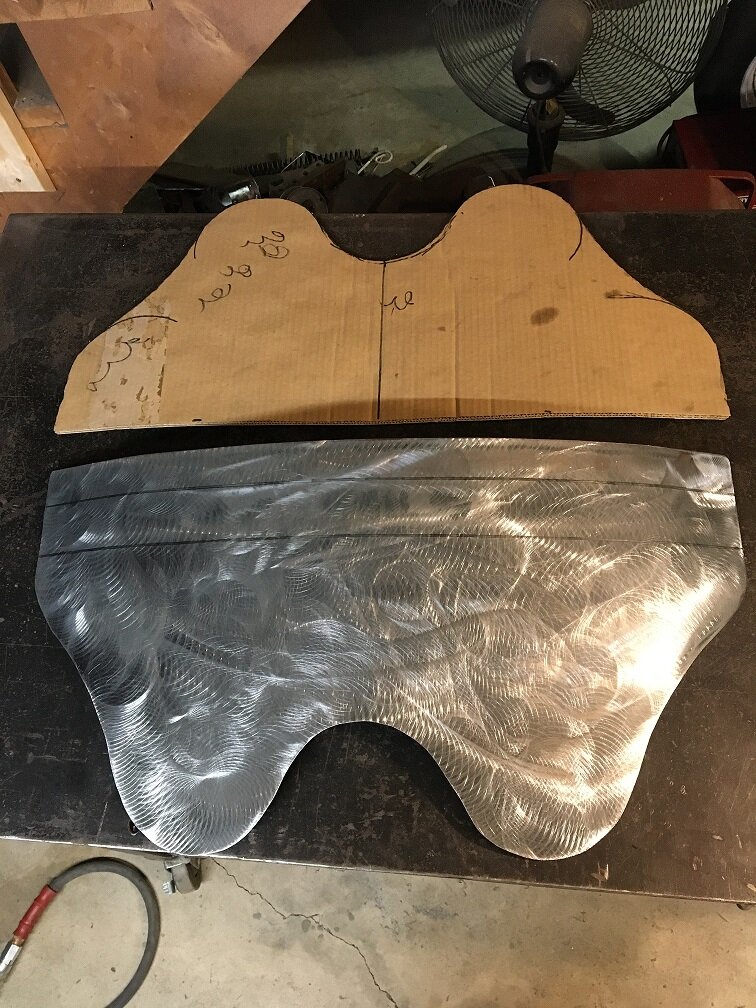
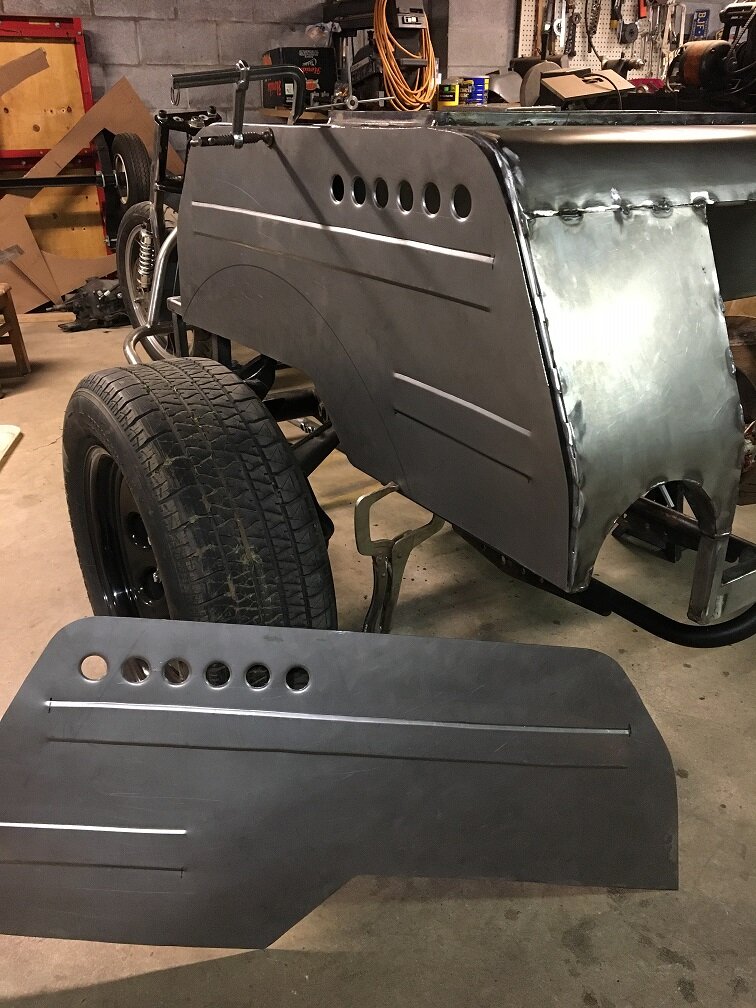
I made a template out of cardboard then cut it out of 18 ga. mild steel.

IMG_0527.JPG

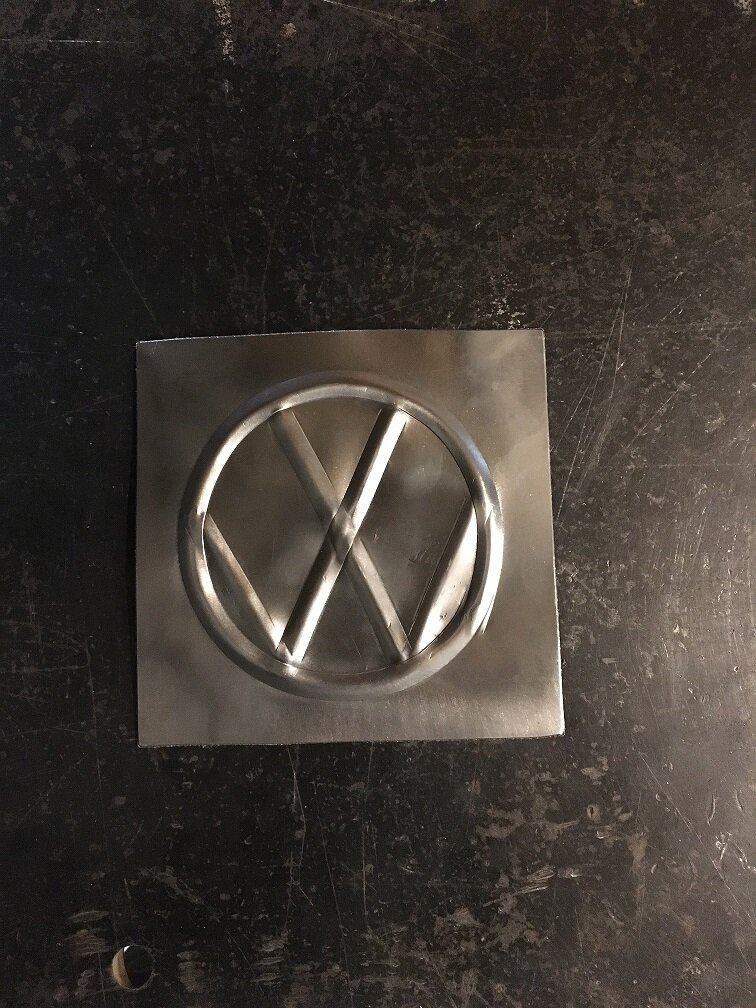
I also used my bead roller to make this out of a piece of scrap.

IMG_0529.JPG

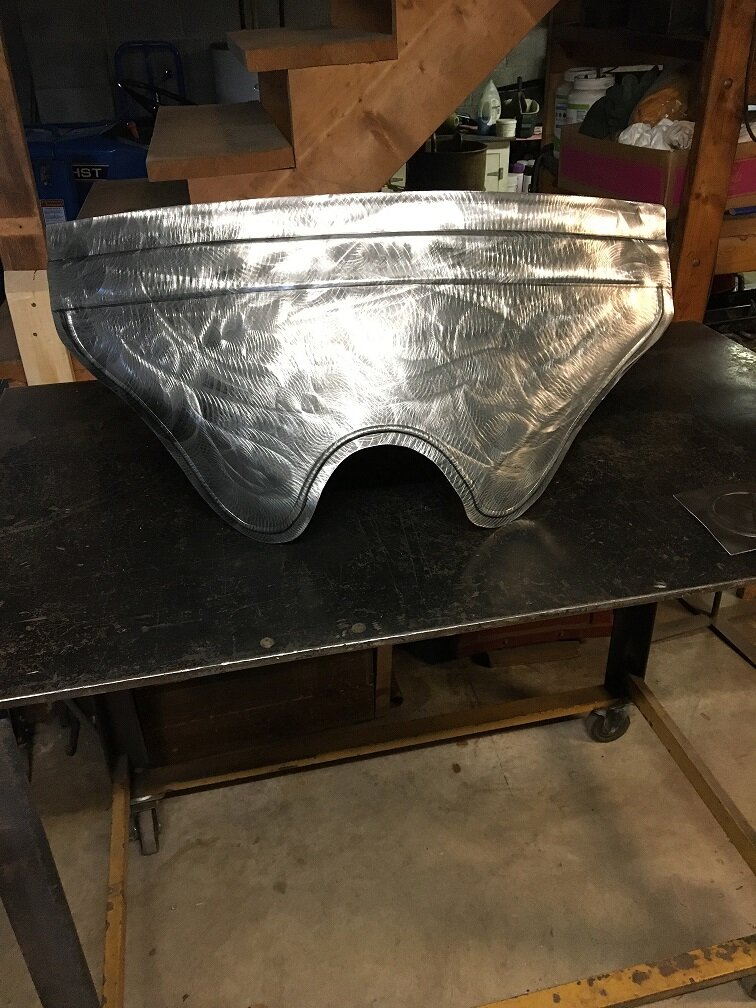
I did some bead rolling and bending to give it some strength and make it look like a fairing.

IMG_0530.JPG

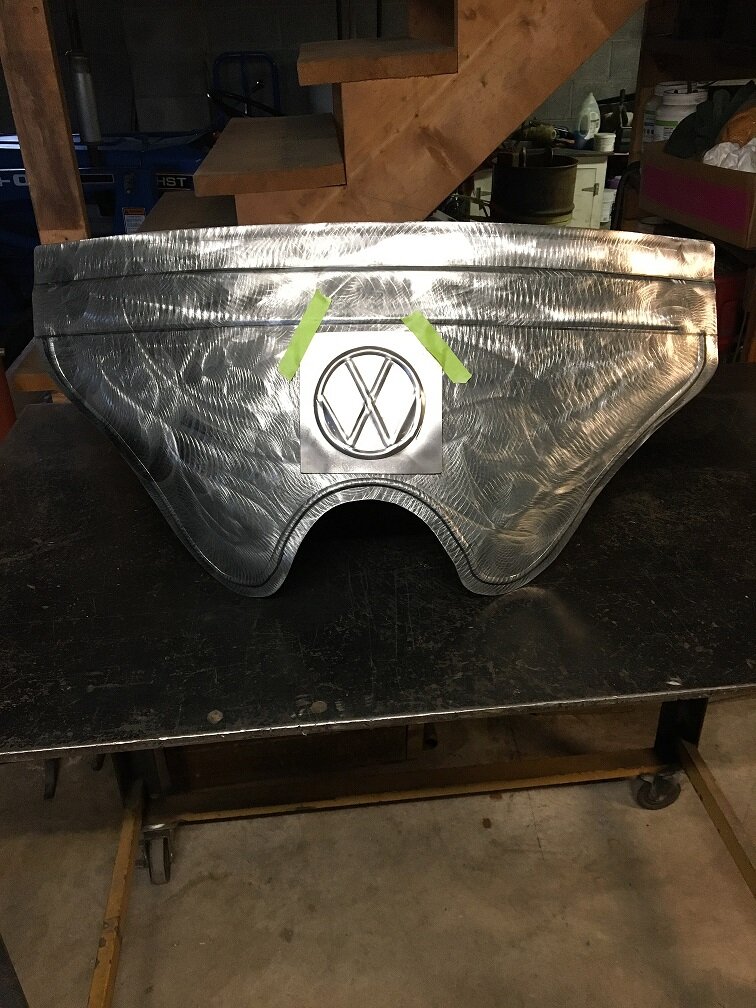
The plan is to cut a hole to insert the VW image into the front. A lot of little tack welds to keep it from warping then some finish sanding. We'll see how that turns out.

So far I have zero money invested buying anything. I'm using stuff I had left over from the trike build. I will have to buy some lexon and maybe some strap metal for mounting brackets. I still have some paint left over.

If it doesn't turn out right I can always use it as a wall hanger decoration.
 
like it...nice use of the bead roller for both fairing and emblem...looks like an offset for the windshield bottom also...needing something similar for mine....65/70 without a fairing/windshield gets kinda breezey! With the texters on cruise control it may be safer riding at higher speeds?....liked riding better back when 55 was the limit, but, wish in one hand....
 
Hi Larry, There is an offset for the windshield. I used the dies on the bead roller that tip the metal ( I guess that's what you call it). I tipped it up then moved down 2" and tipped it down making a ridge like I did on the side of the body.

IMG_0255.jpg

When the trike was white I sat lower and it seemed to block the wind more. Now I get more wind noise so hopefully this will help without giving me buffeting.

Here in central PA we have tons of little winding back roads in the 45 to 55 mph range that go from little town to little town with small restaurants. Ride to Eat, Eat to Ride.:D
 
I got a little done yesterday.

IMG_0531.JPG

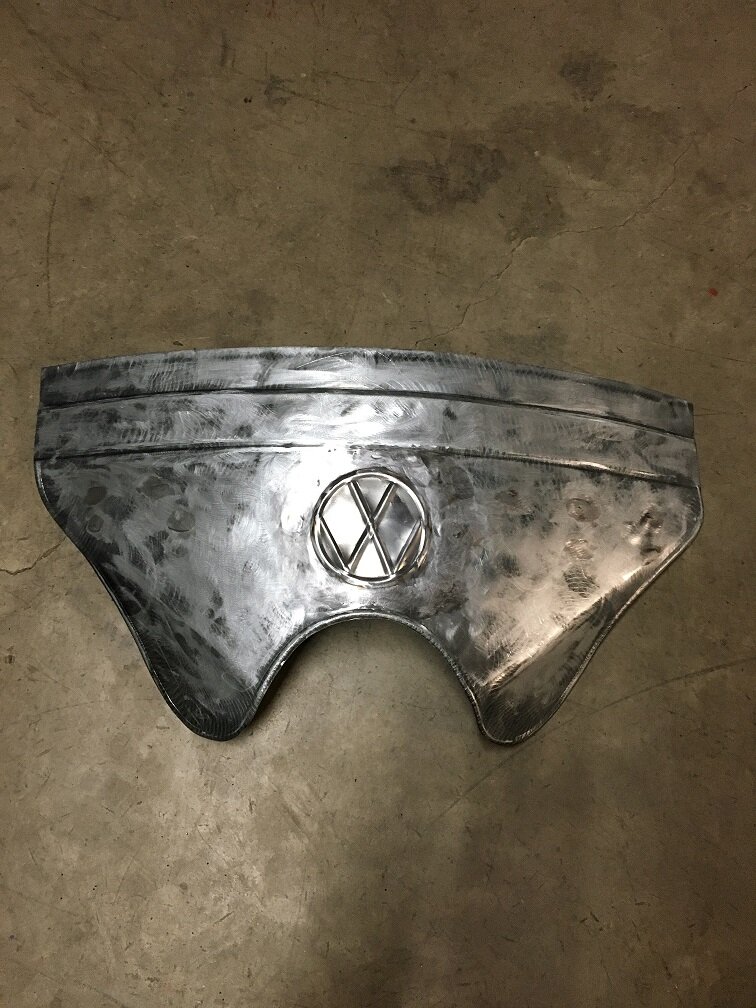
It took a lot of time to put the VW in. Spot weld and let it cool then repeat. I used a mig., I think a tig welder would probably be better with less clean up after. It will need a skim coat of body filler.

I trimmed it back to the edge of the bead roll to give me more clearance on the gas tank at full steering lock.

IMG_0533.JPG

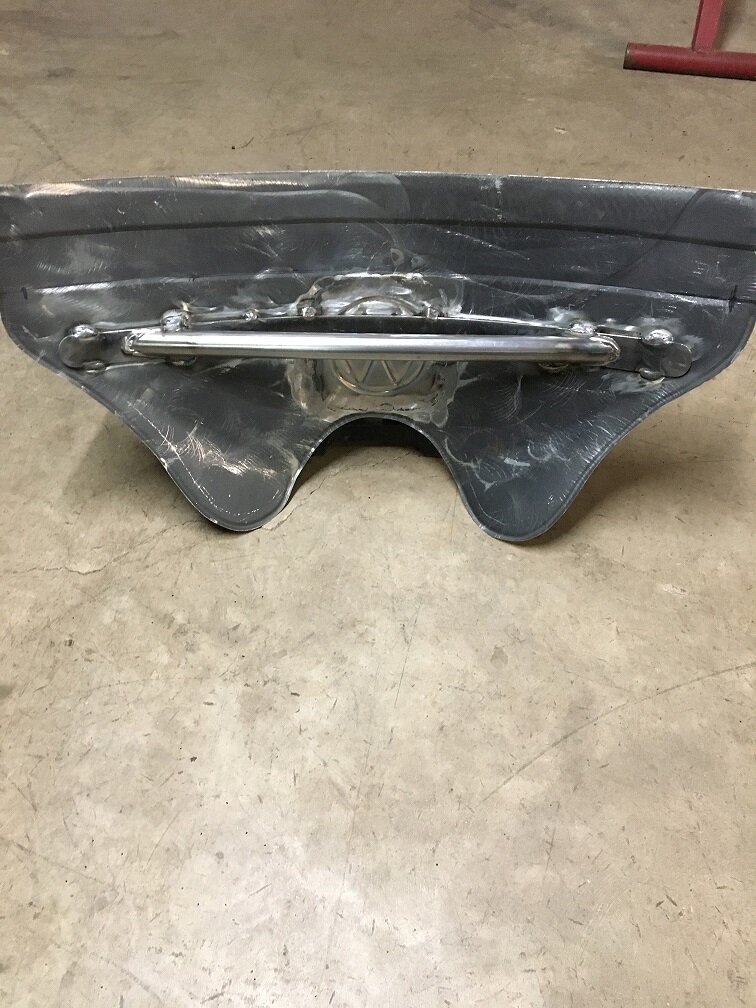
On the back side I curved some 1/8" X 1 1/4" strap and braced it with 1" tubing. I'll weld mounting brackets to the tubing for the upper mount. The 1" tube seems over kill but I figured GPS holders and other accessories mount to the handlebars so this will give me an optional spot. The back side will get painted with pick-up bed liner.
 
I've been slowly working on the fairing. No hurry, we got a dusting of snow today so I think my riding days are coming to an end for this year.

IMG_0538.JPG

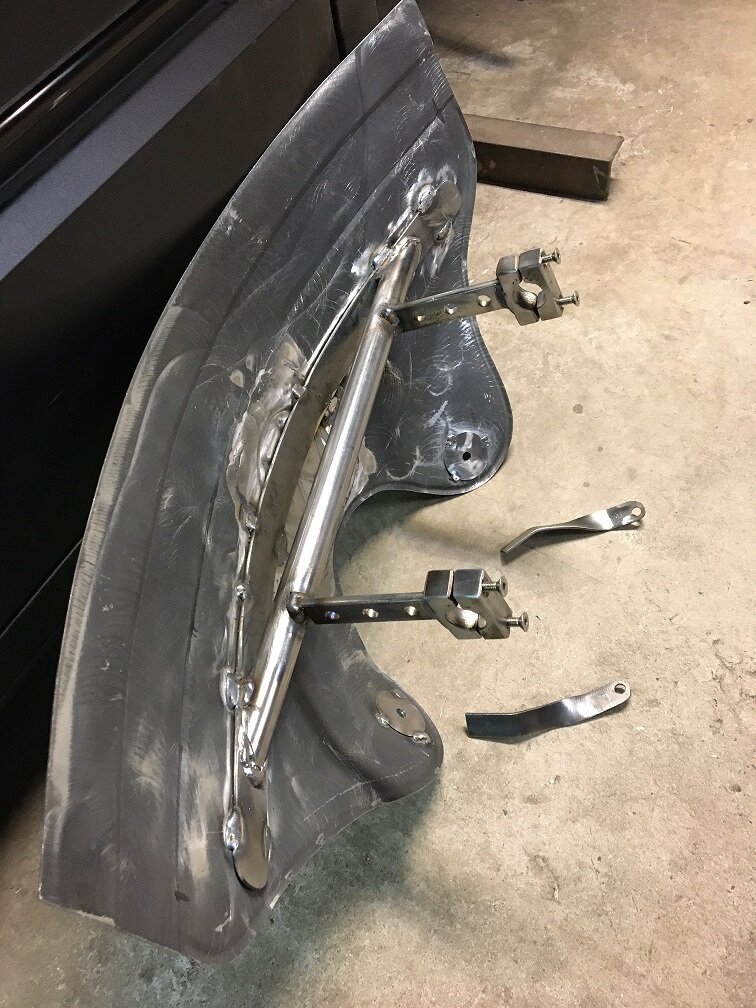
This is how I"m going to mount it. I made the clamps that hook it to the handle bars. It's pretty solid with just that and it's

adjustable up and down. To make sure it won't move I made the bottom brackets. They'll bolt to the fender mount and the bottom of the fairing. You can see I tacked some fender washers on the inside on the bottom to double up the thickness to avoid cracks. When I'm all done and test ride I might have to modify the bottom mounts to adjust for buffeting.

I may have to trim the top down some. When I had it on the trike it seemed a little to high and blocked my sight line.

It's getting close to body work and paint.
 
A few days ago I painted the back black with the same paint I used for the frame and front end. I'd like to put some bed liner on some of the back but I don't have any and I only need a small amount. I hate to buy a can big enough to do a truck bed for all I need. I have time to think about it.

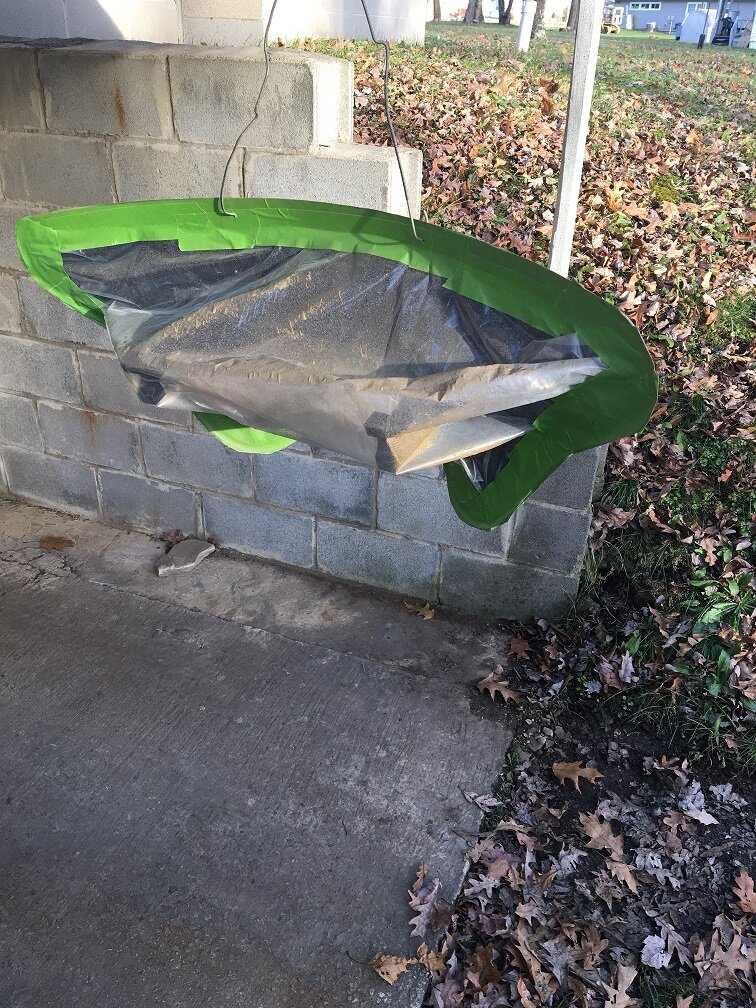
I taped up the back so I could paint the front.

IMG_0541.JPG

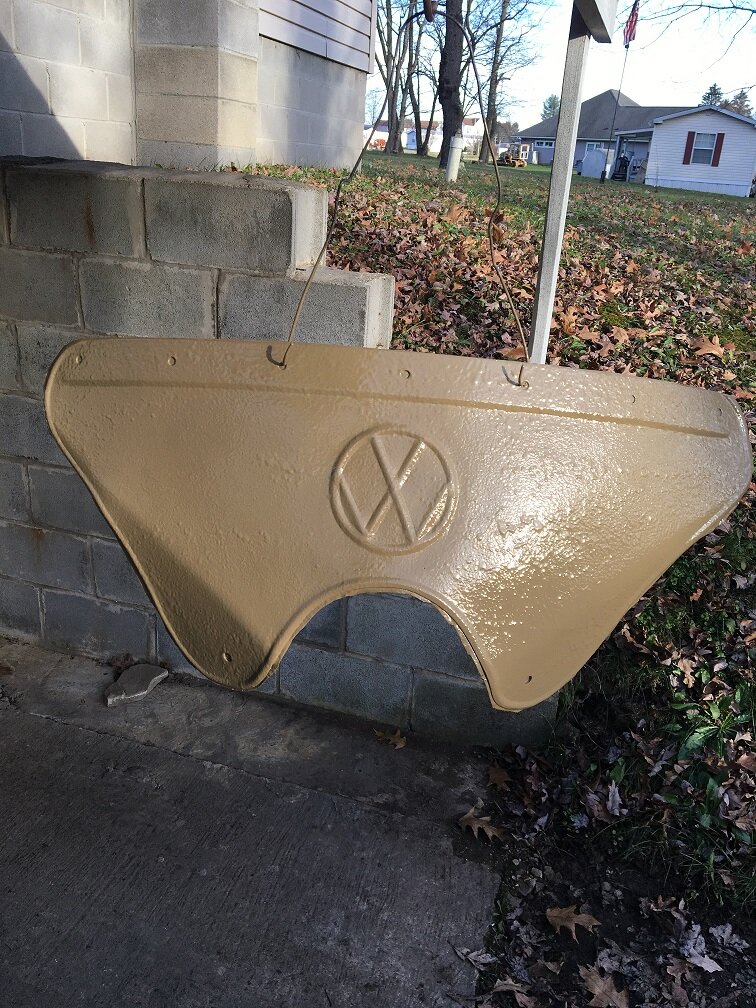
I primed it the other day and today I gave it a shot of the duck boat paint.

IMG_0543.JPG

It takes a couple of weeks to really cure. It's kind of soft until then. Once it's cured it's very tough and gas and oil resistant.
 
Had to back up and get a refresh on your build....the fairing/windshield will be a great finish....just thinking, some desert looking helmets?

Sure do like the look of that machine.....damn near can feel sand in my teeth!
 
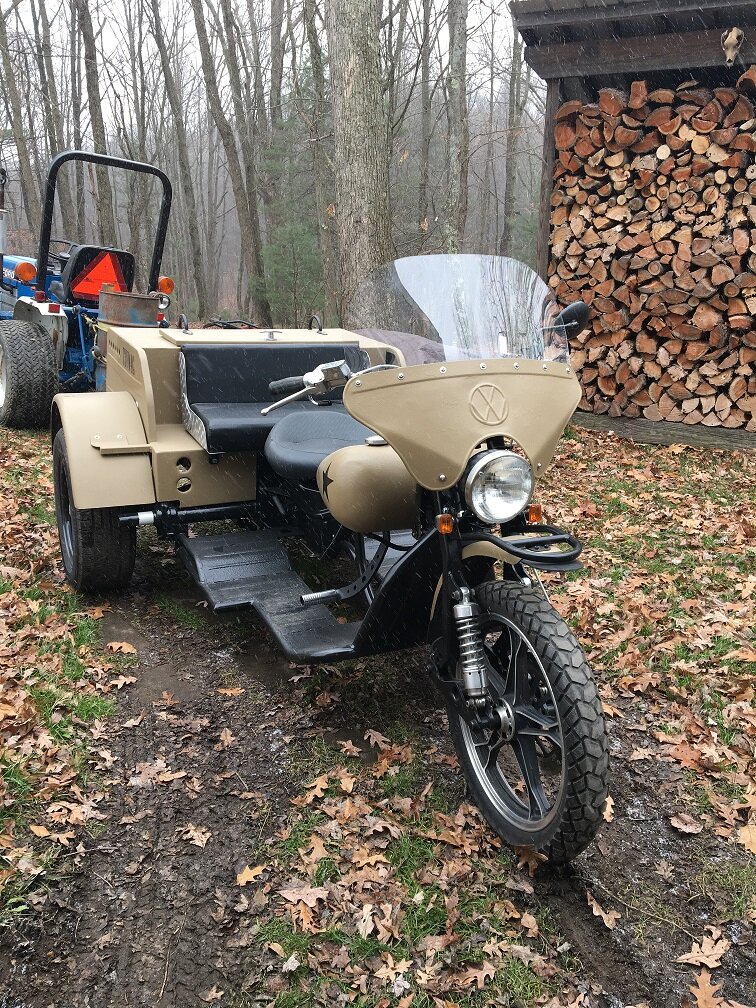
I finished up the fairing today. It's spitting snow right now so I think I'll wait to test it. I know, what better time to test?:Shrug:

IMG_0550.JPG

IMG_0551.JPG

IMG_0553.JPG

I like it. I think it needed it to balance out the size of the back end.

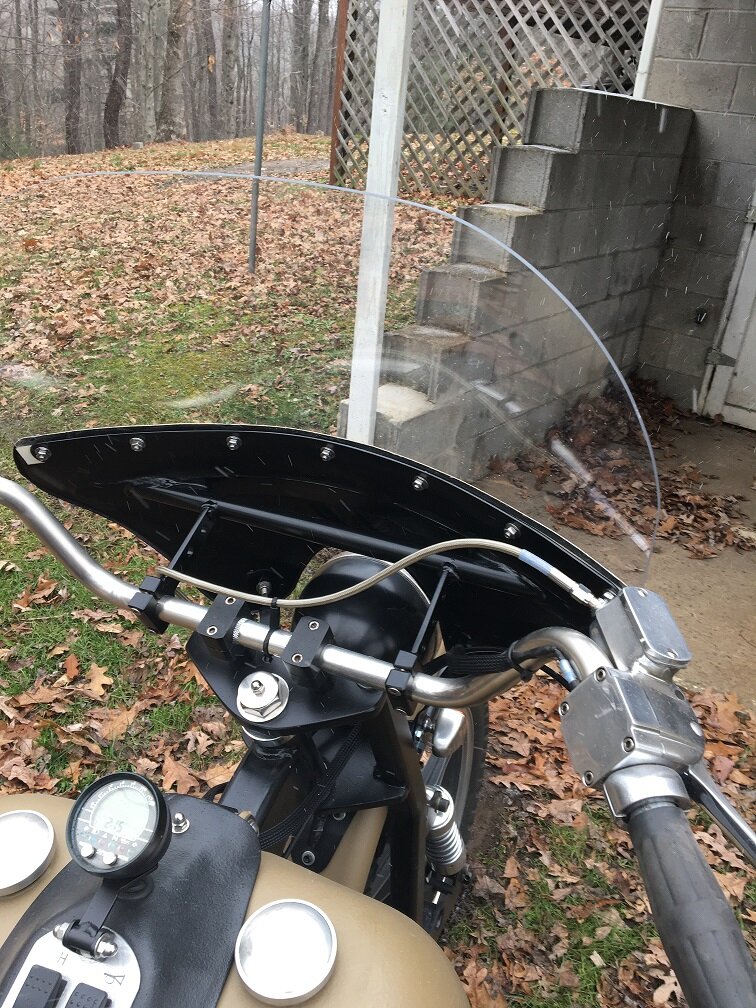
I got the Lexon from McMaster-Carr and the stainless button head bolts and stuff from my local ACE hardware.

I'm hoping the gap between the headlight and the fairing will allow air in to break up any buffeting.
 
Nice match to existing theme, the first ride will tell the aerodynamic story...Can't help but admire that wood pile...this time of the year it's the first thing I notice. lol
 
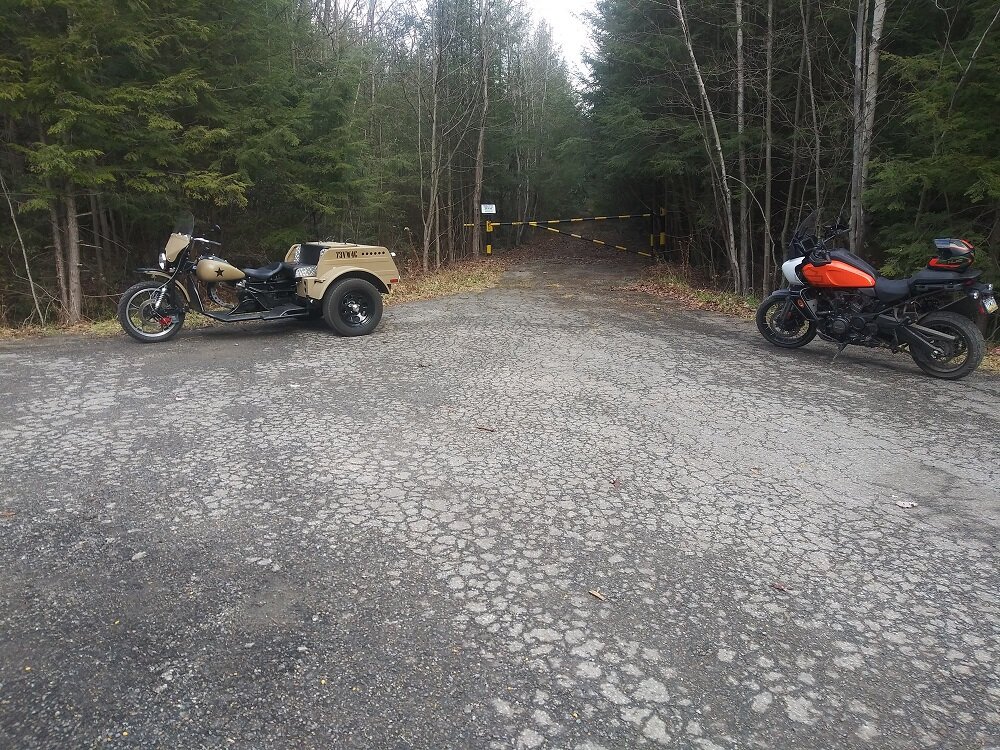
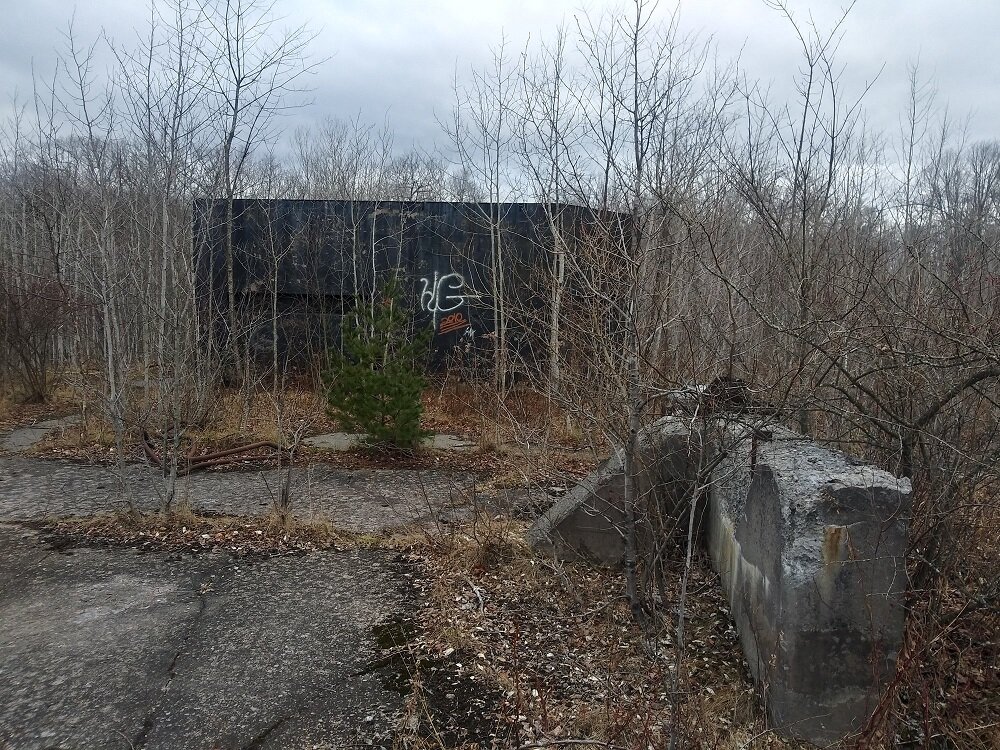
It was a strange warm day on the 16th so I took a ride and met another fellow at the Quehanna nuclear jet testing bunkers about 35 miles from home. It was a government contract facility that did secret stuff in the 1950s. They would tie jet engines down and rev them until they blew up. The guys would observe from the bunkers behind bullet proof glass. What a crazy job!

20211216_120242_HDR.jpg

This is one of the bunkers. It's getting a little over grown after 60+ years.

20211216_114402_HDR.jpg

You can see the slot where the window was and the cement where they bolted the engines down.

The fairing worked great. I got some buffeting from 50 mph on up. I might make a taller windshield, maybe 3"-4" taller just to see how that works. I then can cut the one that's on there now down real short for summer time.
 
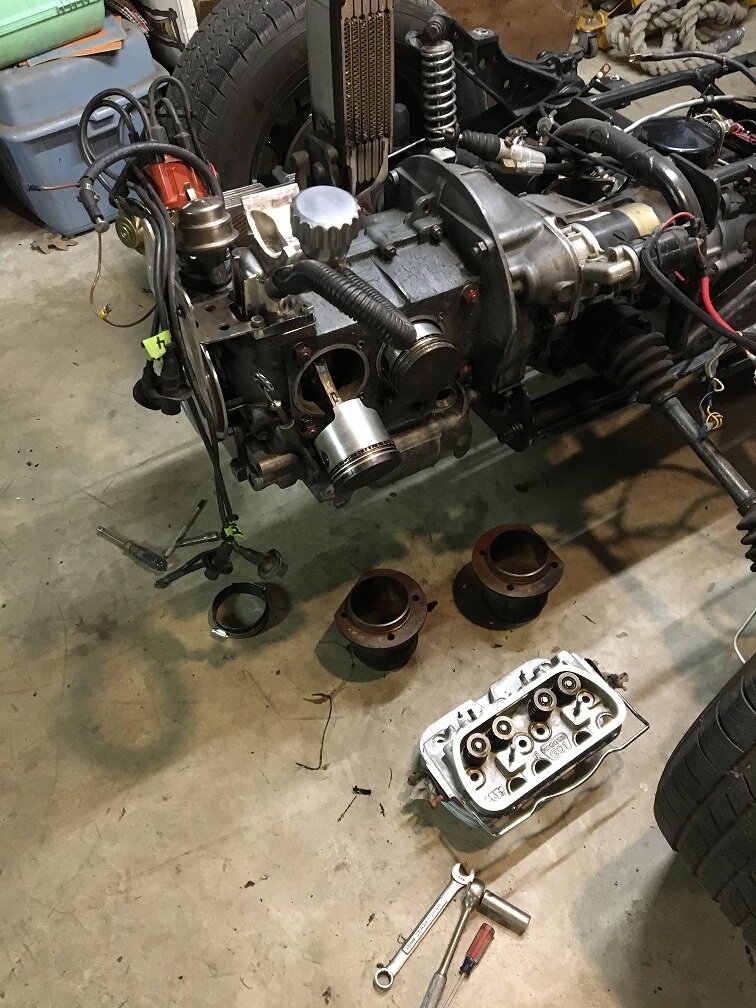
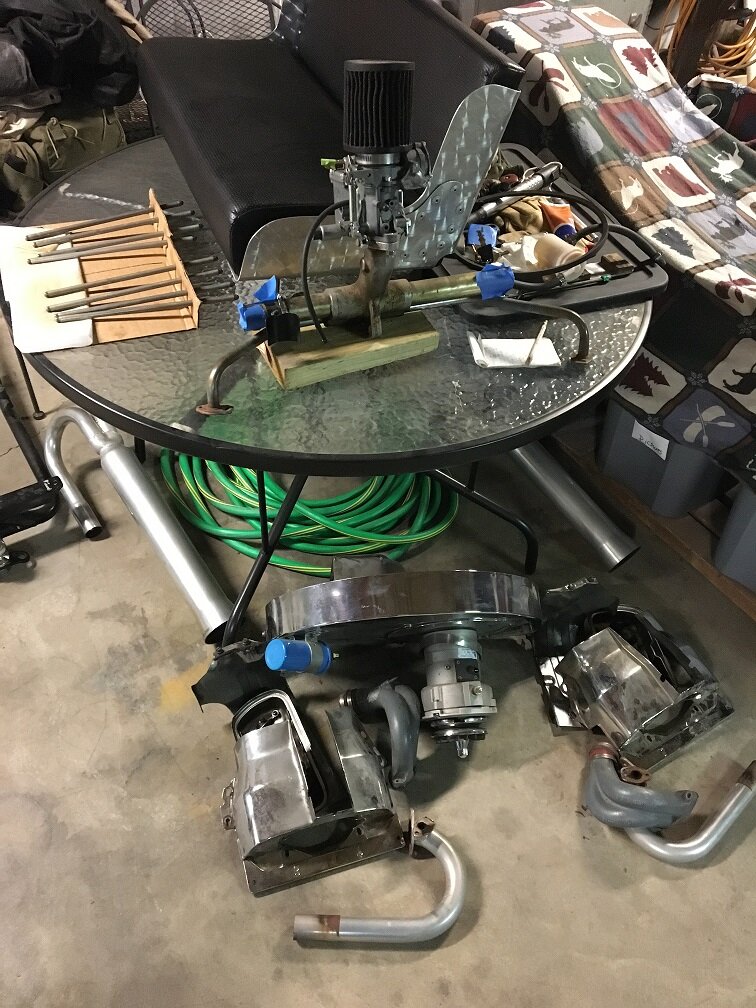
We have about 6" of snow right now and the over night temps. are going to be around 0*F so this seems like a good time to do some fixing up. It's been about 15 years since my engine was built and I don't think I had proper breathing on it for most of that time. Between gaskets getting old and too much internal pressure blowing past some gaskets I had leaks all over. I got a complete engine gasket set and started tearing things apart.

IMG_0562.JPG

IMG_0563.JPG

I found the compression ring gaps were lined up with each other, they're not supposed to be. Other than that everything looked good so far.

I'm going to revamp my air cleaner set-up when I get up to that point. I want my breather lines to go to the air cleaner like on a stock engine.

My intake gaskets were very hard and broke apart when I took them off. May have had an intake leak there. On the one manifold there was a tube that maybe was a vacuum inlet that was just crimped shut. I don't need it for my set-up but I could suck air through the crimp. An intake leak there for sure.

Sure is nice doing this stuff in the warm. I used to work on big engines outside when it was 0* out.
 
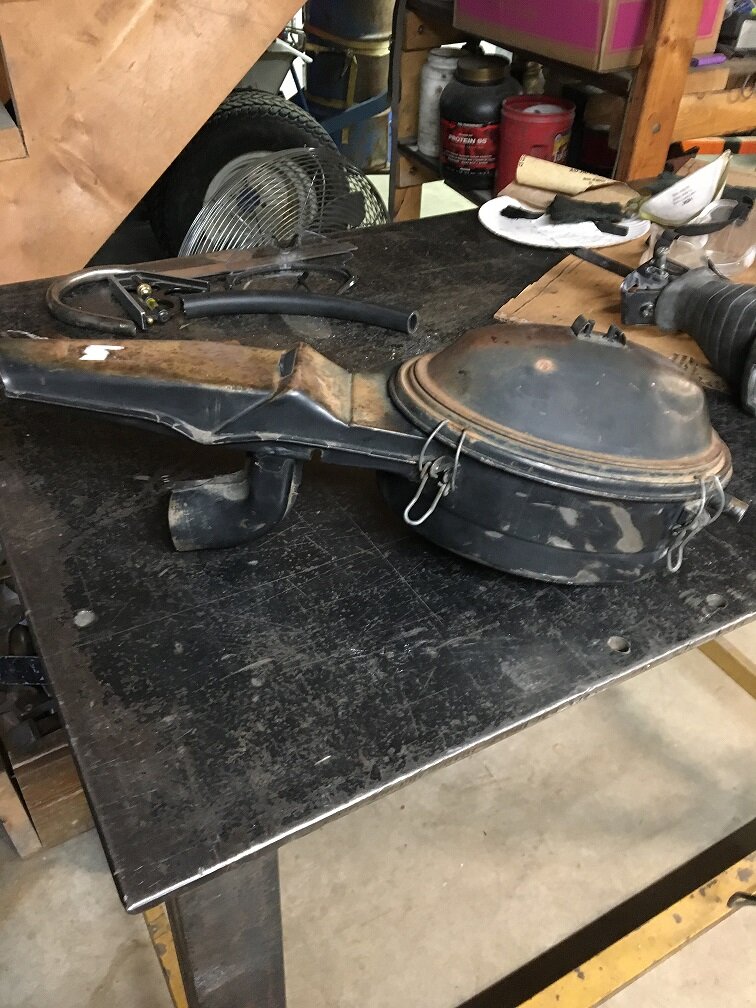
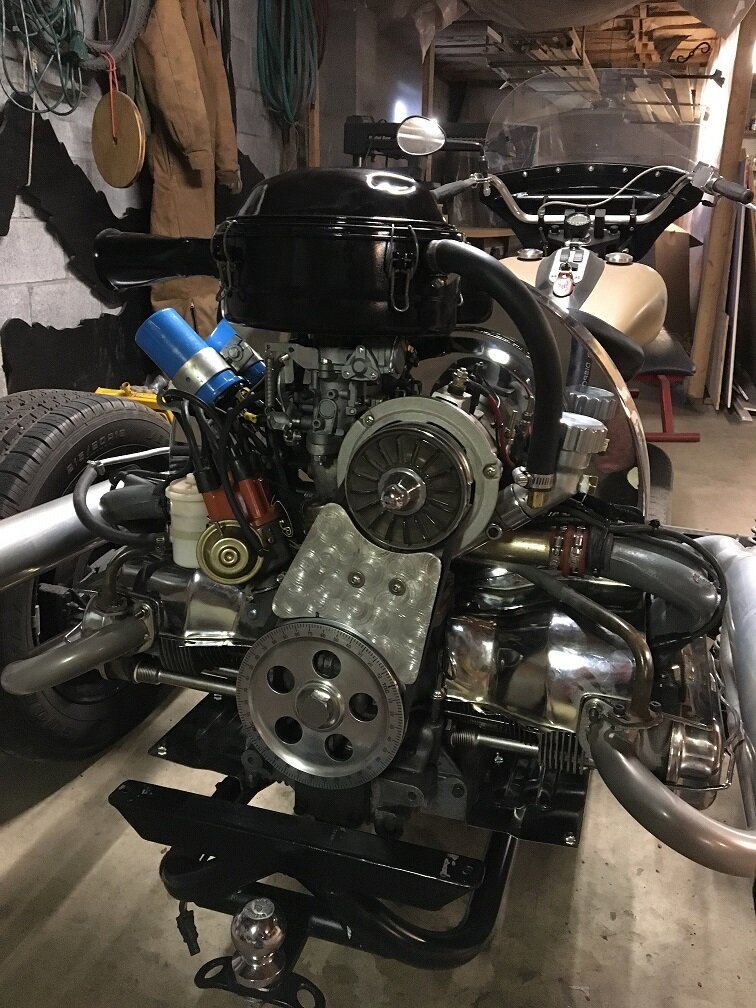
A little update. I got the engine all back together and wanted to do something different with the air cleaner. I decided to go with a stock one. I figured VW put a lot of thought into what was best. I bought a 1972 one off ebay. It's the last year of oil bath cleaners and it's made of metal. In 1973 they went with a plastic one with a paper element.

IMG_0596.JPG

It had a flapper inside the snout for cold weather running. I don't run it in the winter so I cleaned it up a bit.

IMG_0597.JPG

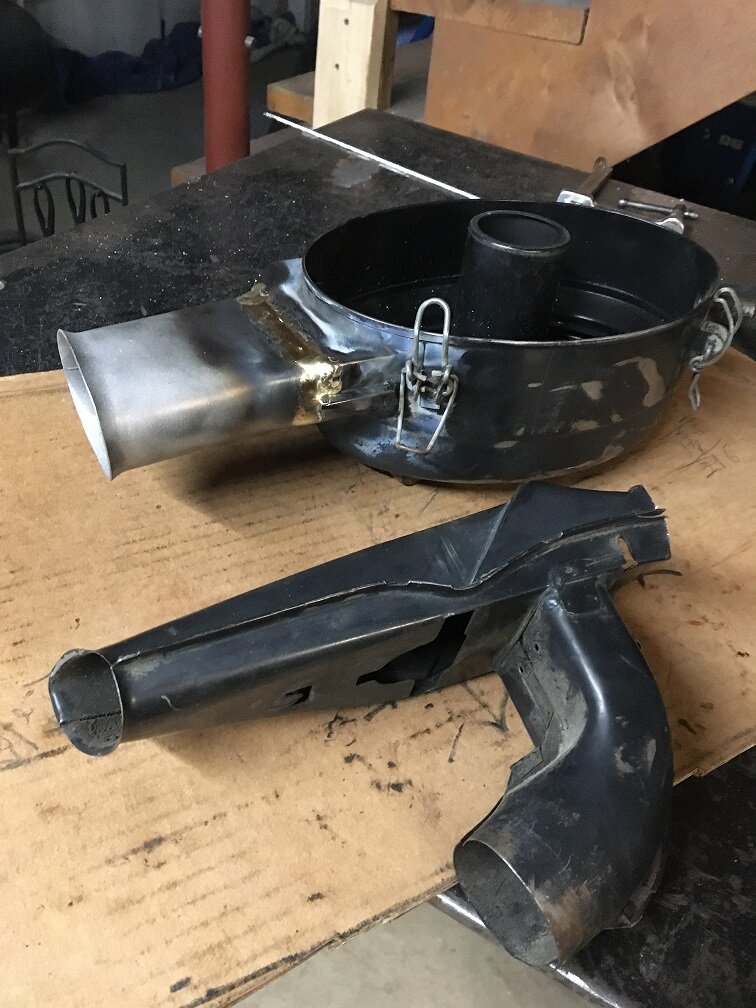
I cut the old snout off and made a new one.

IMG_0598.JPG

IMG_0599.JPG

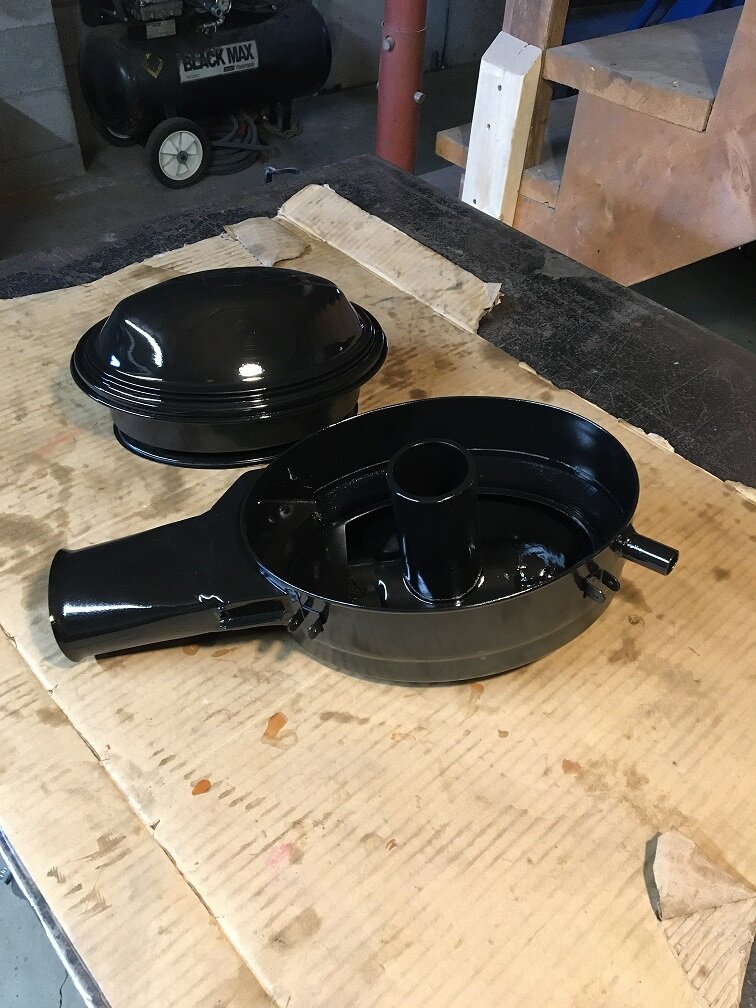
All painted and mounted. There's only one problem, it's too tall for the body to fit back on. I'm not worried, I have a plan.

IMG_0600.JPG

Step one in the solution. That's as far as I got today.
 
A little update. I got the engine all back together and wanted to do something different with the air cleaner. I decided to go with a stock one. I figured VW put a lot of thought into what was best. I bought a 1972 one off ebay. It's the last year of oil bath cleaners and it's made of metal. In 1973 they went with a plastic one with a paper element.

View attachment 107561

It had a flapper inside the snout for cold weather running. I don't run it in the winter so I cleaned it up a bit.

View attachment 107562

I cut the old snout off and made a new one.

View attachment 107563

View attachment 107564

All painted and mounted. There's only one problem, it's too tall for the body to fit back on. I'm not worried, I have a plan.

View attachment 107565

Step one in the solution. That's as far as I got today.
cool work
 
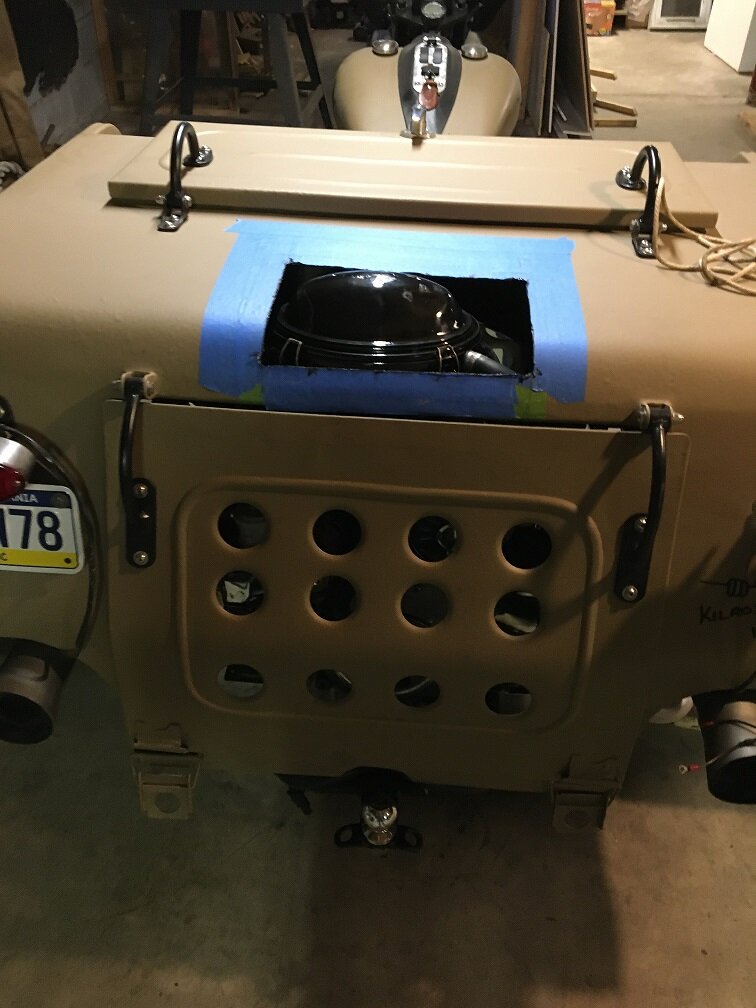
I covered the hole I had to cut.

IMG_0608.JPG

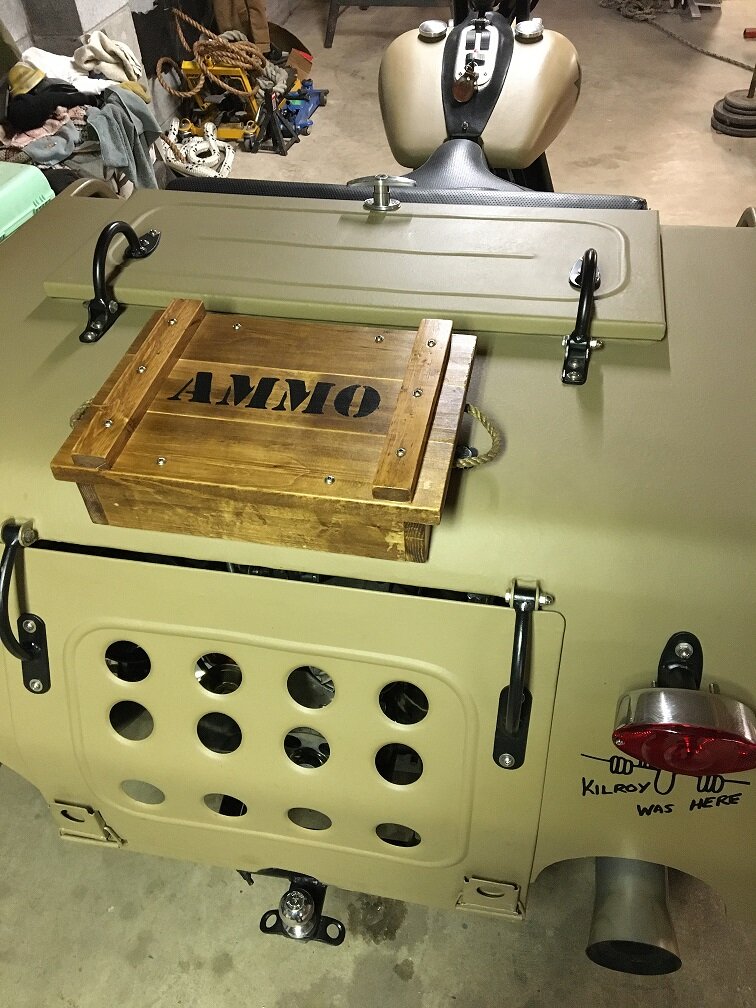
I had some scrap boards hanging around so I screwed them together. I mounted it with 3 brackets. I can get at the bolts from on top to service the air cleaner.

IMG_0602.JPG

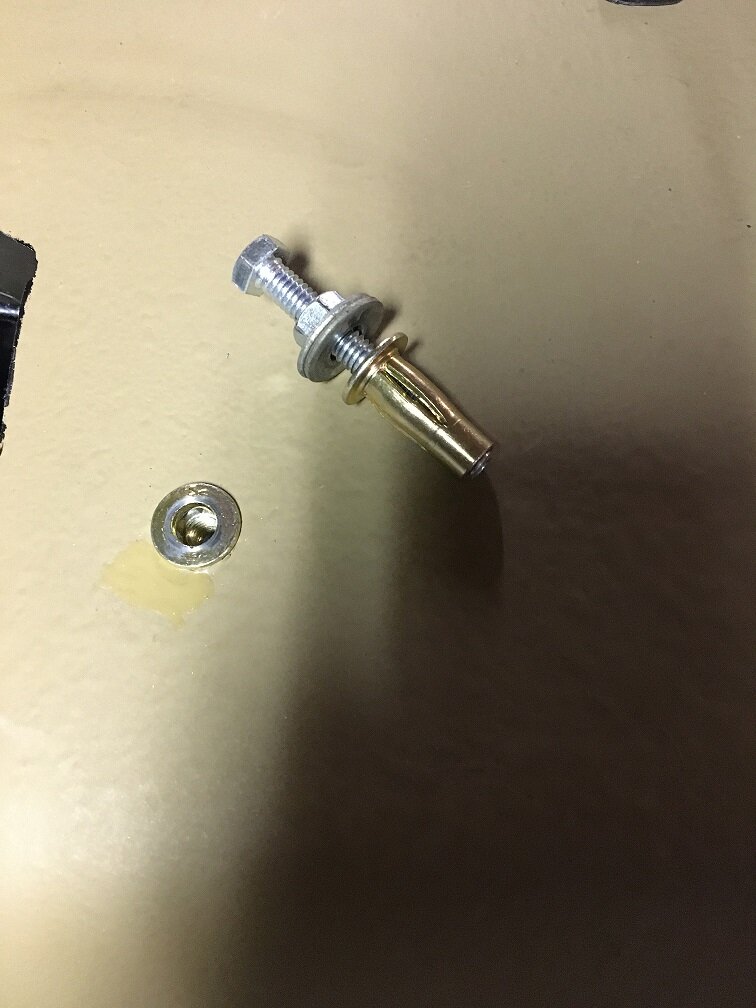
This is called a plus nut. It's a thread insert that you rivet in place with a special tool. I don't have the tool but you can crimp it into place with a bolt and nut. There are others called rivnuts that are shorter but don't clamp as much on the bottom.

IMG_0605.JPG

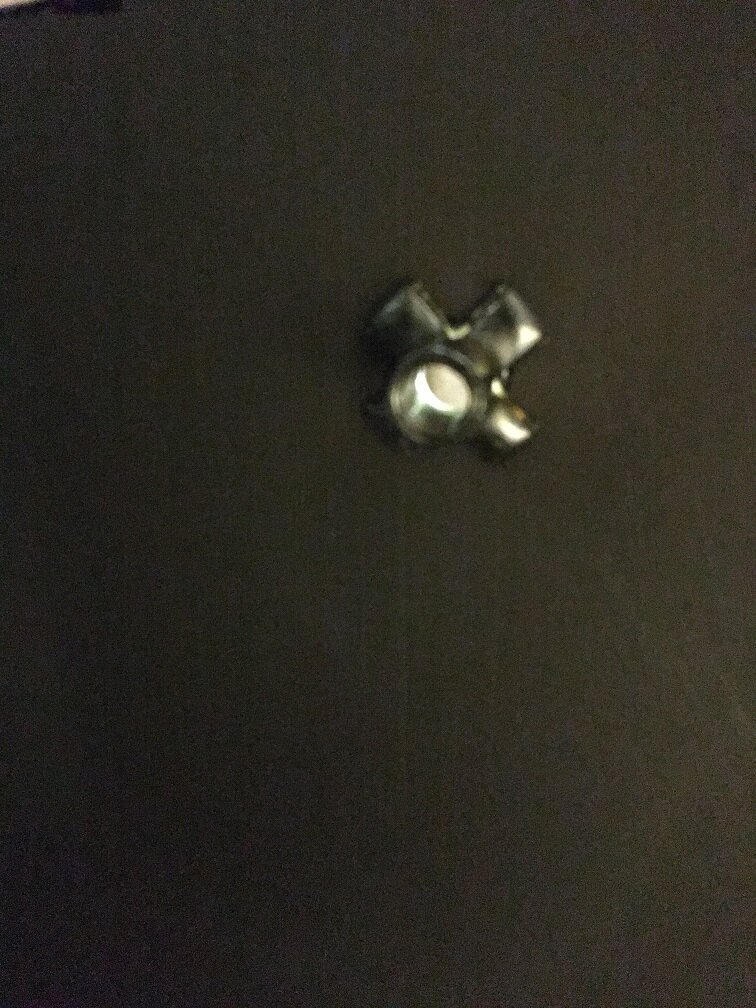
This is the bottom side after crimping. The ones I used where 5/16" but you can get all kinds of sizes.

I have it held on with regular bolts but I'll get stainless button head ones to match everything else.
 

Trike Talk Community

Welcome to a community dedicated to the most diverse and fastest growing powersports segment, Motorcycle Trikes. Come join the discussion about the best makes and models, popular modifications and proven performance hacks, trike touring and travel, maintenance, meetups and more!

Register Already a member? Login

Forum statistics

Threads
55,579
Messages
902,128
Members
22,558
Latest member
NILLA
 photo 260e2760-d89e-45b2-8675-2bc26fb3d465.jpg

 photo Trike-Talk-150-x-200.gif

 photo DK Trike Talk Right side banner 19.jpg

Merziere Reverser

 photo 9796095c-0d4b-4a9b-88ed-efe4c498d084.png
 photo f9866e4e-75c5-471a-86f5-5e72a446ecc3.png
Back
Top