G
gerald martin
Guest
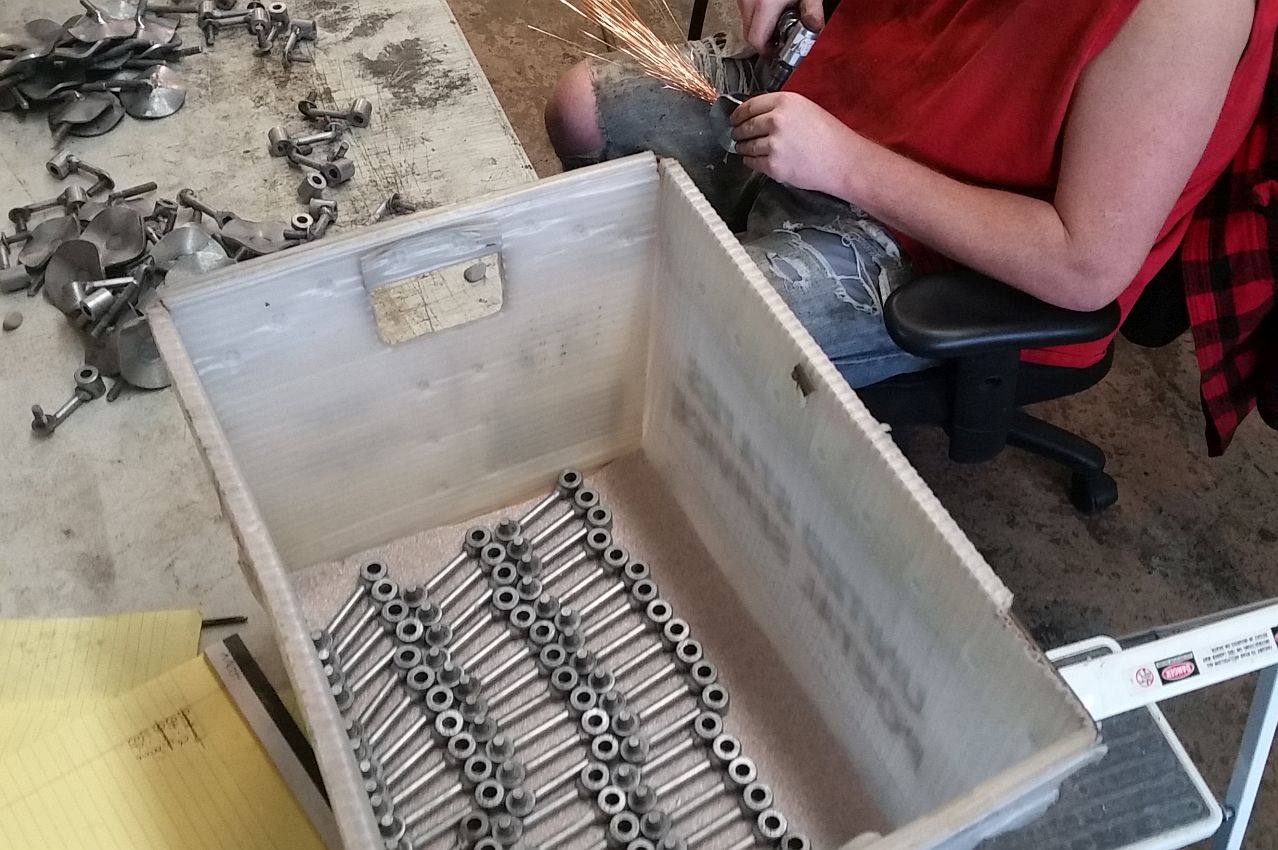
slugs
Thank you Kevin, I have learned something new today. I guess I should have known better that especially you and your company would not use something with a potential danger
My Apologies
Gerald
Thank you Kevin, I have learned something new today. I guess I should have known better that especially you and your company would not use something with a potential danger
My Apologies
Gerald


")