peteg59
Meme Master
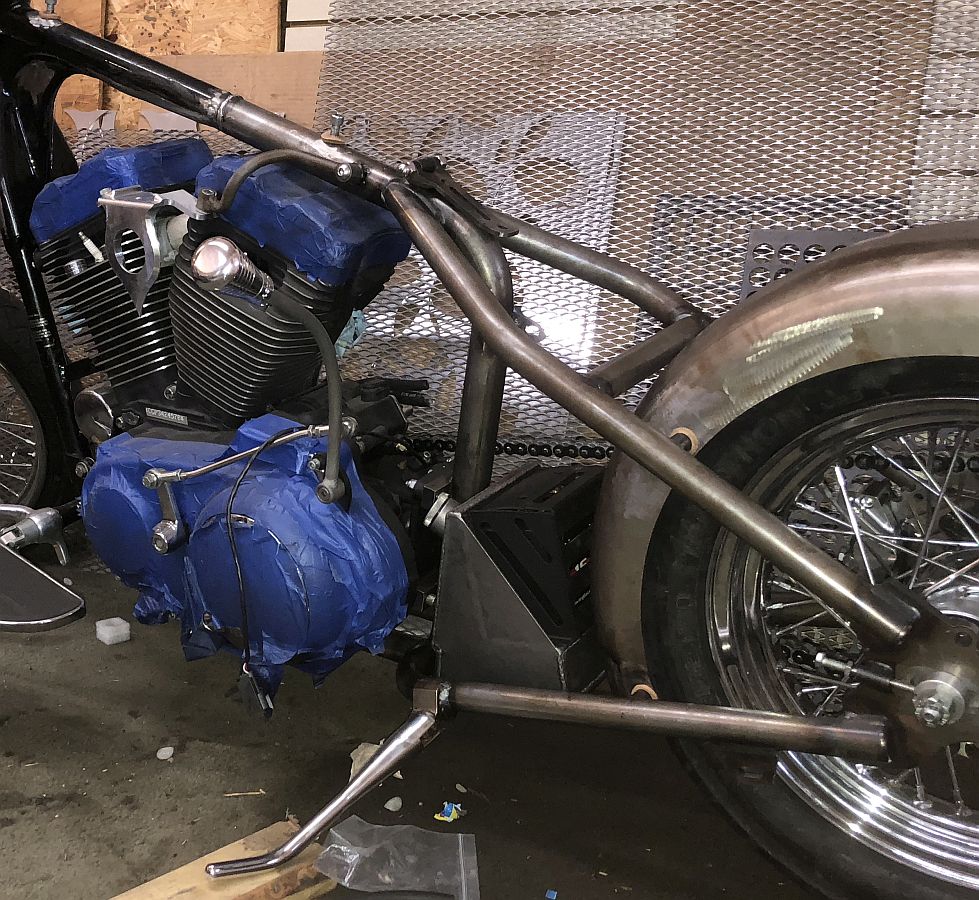
Although not really needed unless you plan on putting a "pillion pad" on it, are you going to put a fender brace on it?
If not, the fender brace tabs on the frame look "lonely"...")
If not, the fender brace tabs on the frame look "lonely"...