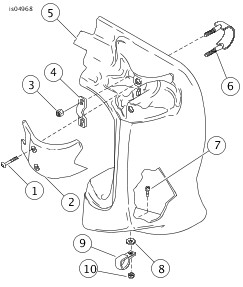
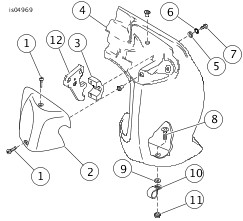
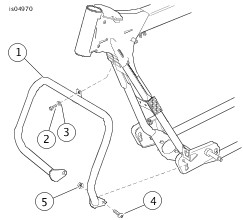
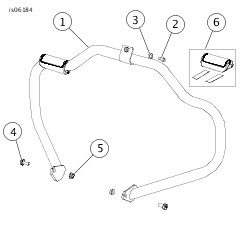
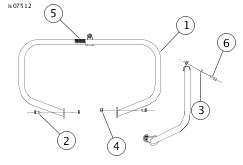
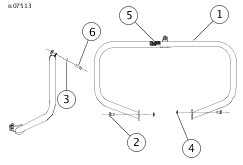
Anyone know the part numbers for the engine guards, chrome and black, that fit the freewheeler? I understand it requires a frame attachment for the damper. How hard was it to attach?
Engine guard from Harley and damper attachement
- Thread starter Yosamite
- Start date


Similar threads
Welcome to the Trike Talk Community
Join our vibrant online community dedicated to all things Trikes! Whether you're a seasoned rider or just starting out, this is the place to share experiences, tips, and stories about your three-wheeled adventures. Explore modifications, maintenance advice, and rides, all while connecting with fellow trike enthusiasts from around the globe
Forum statistics
Trike Talk Community
Welcome to a community dedicated to the most diverse and fastest growing powersports segment, Motorcycle Trikes. Come join the discussion about the best makes and models, popular modifications and proven performance hacks, trike touring and travel, maintenance, meetups and more!
Register Already a member? LoginForum statistics
Share this page


