DK Custom Products
Sponsor
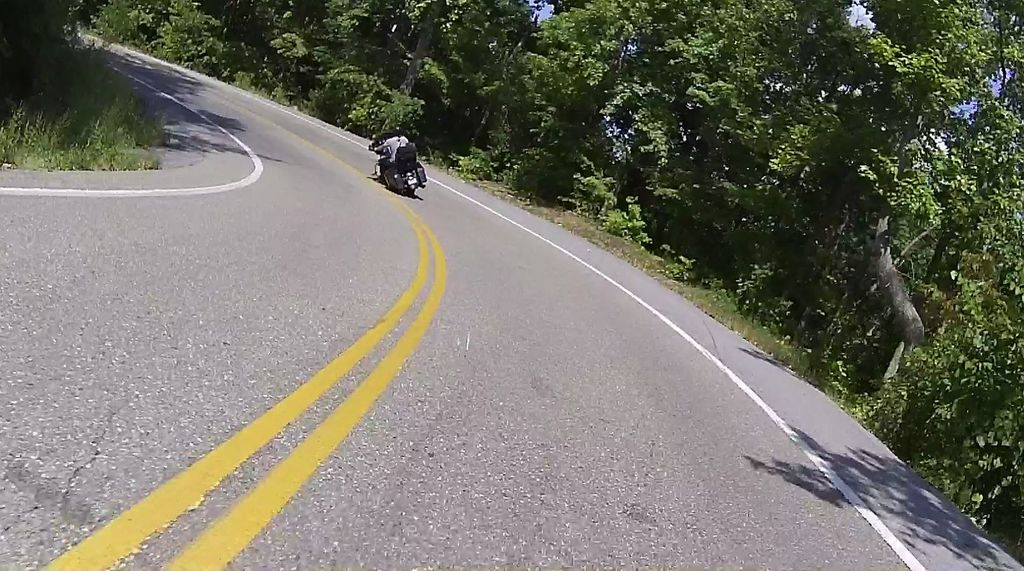
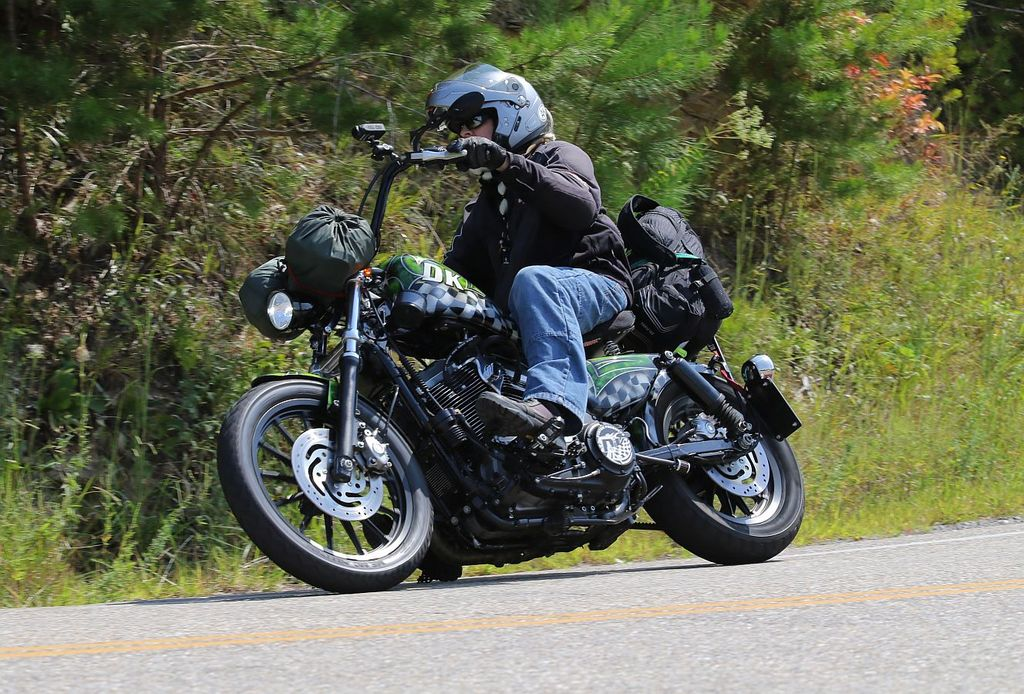
DK Custom-Parts Info, Testing, & Results w/ Pics & Fun-to-Read Ride Reports
DK Custom Products
In this thread, we will be periodically posting write-ups and testing report links, and photos, of various different parts and products that we carry, manufactured by us, or other companies.
We will also be occassionally posting links to ride write-ups by Kevin(The K in "DK"). These are fun to read!
Introduction
The sole purpose of this thread is to share testing information (of our own products and others) with our fellow riders here on TrikeTalk, helping to enhance their riding experience. Most do not have the luxury of testing parts and products they're interested in, prior to purchasing.
These reports may include our objective findings and our subjective experiences.
Why is testing so crucial to us?
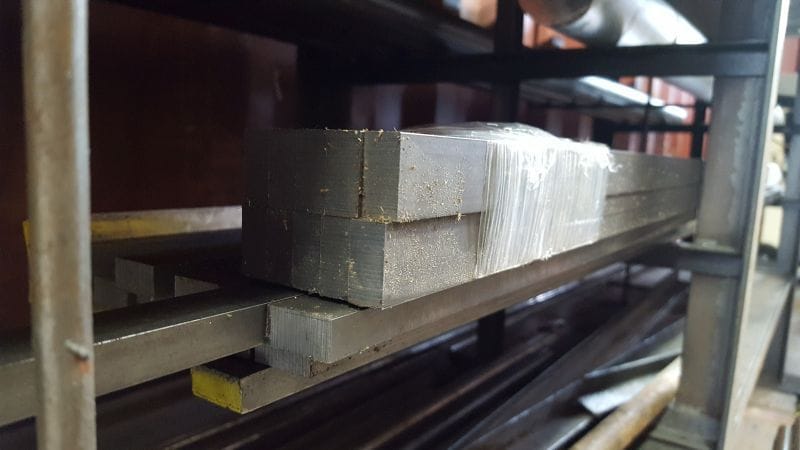
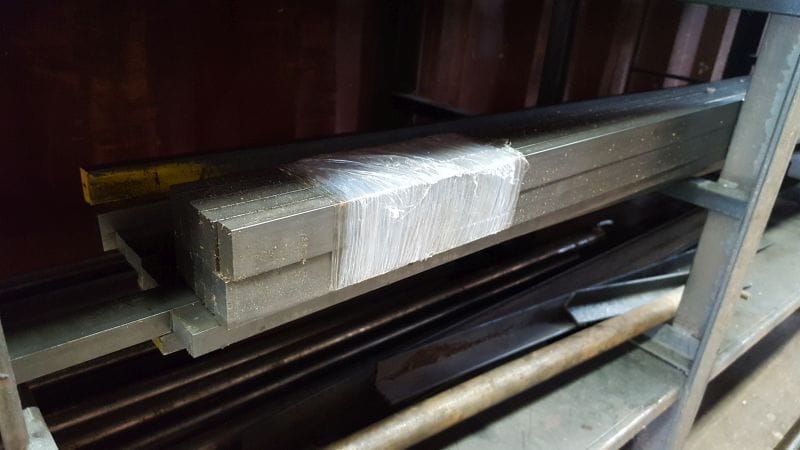
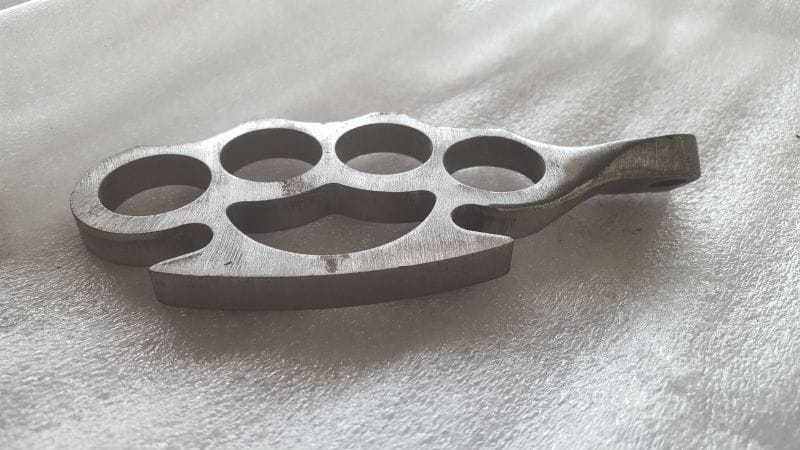
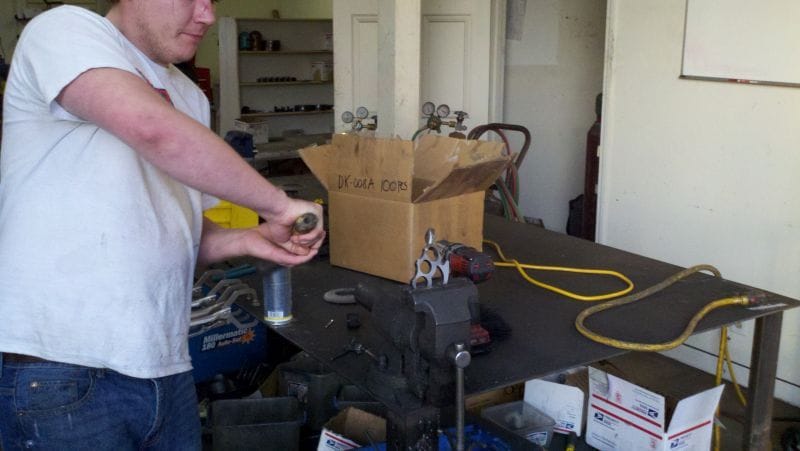
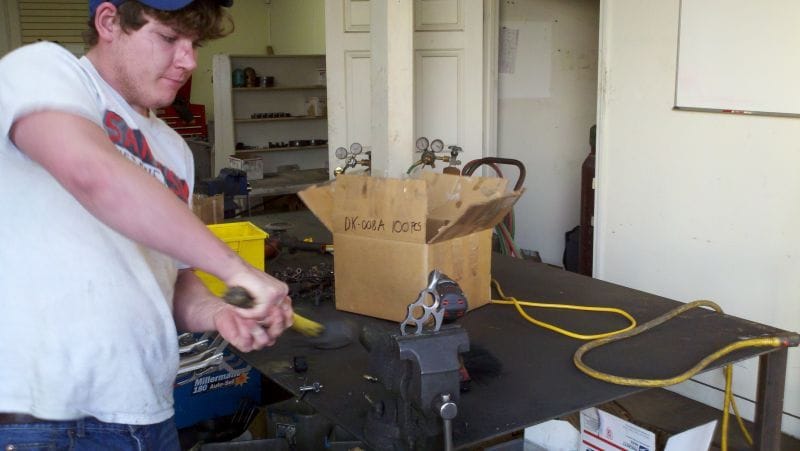
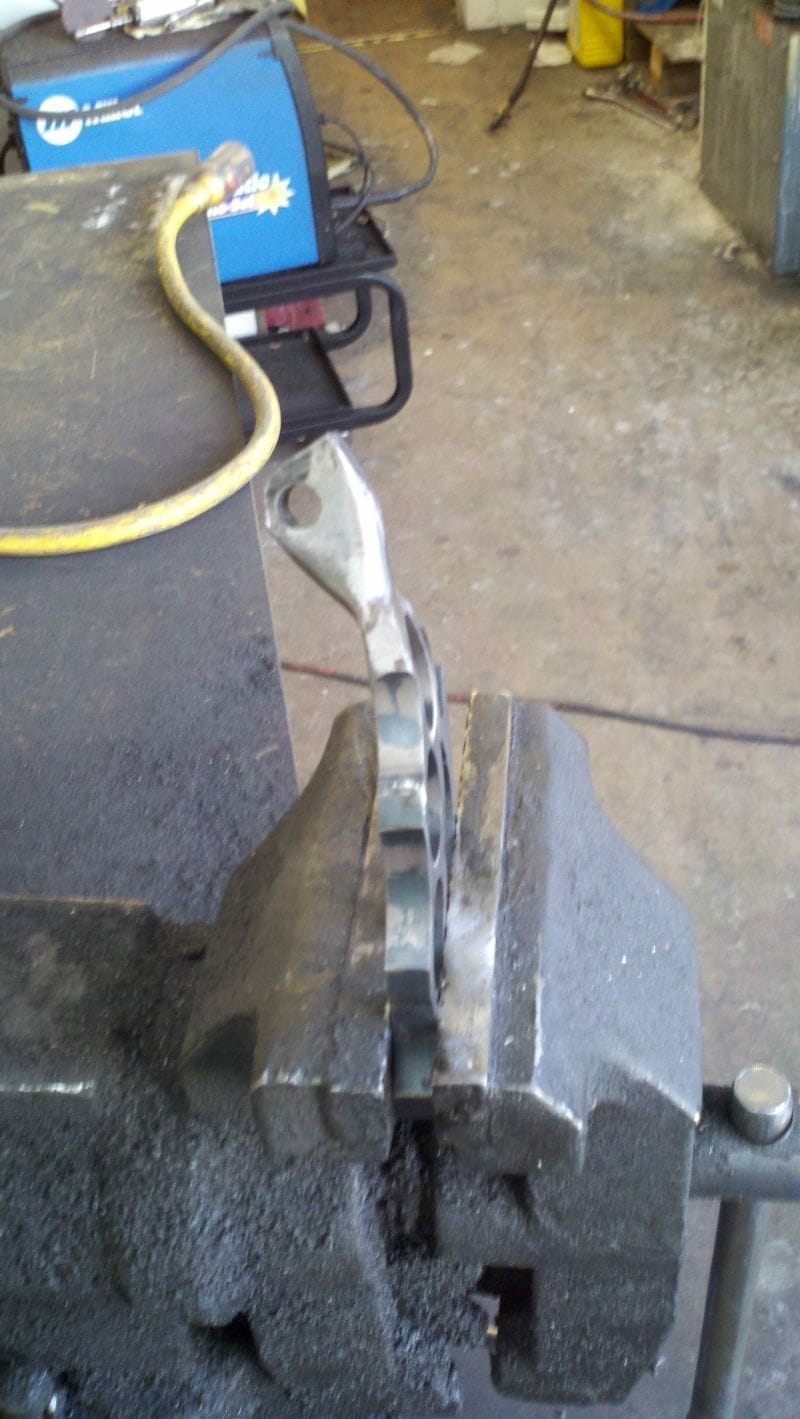
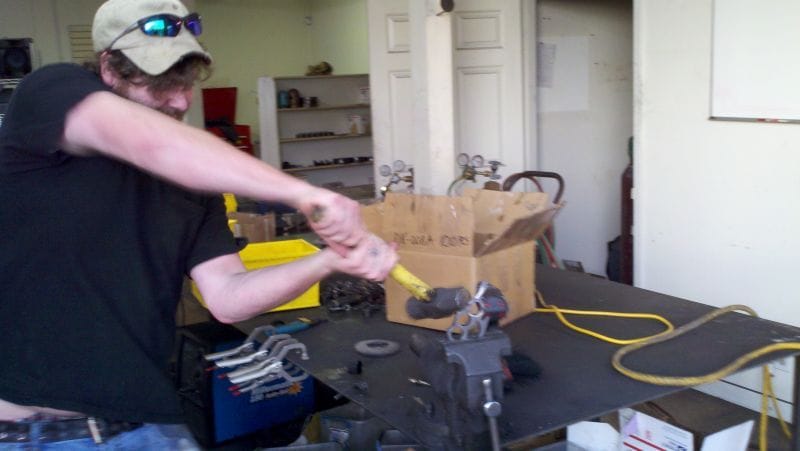
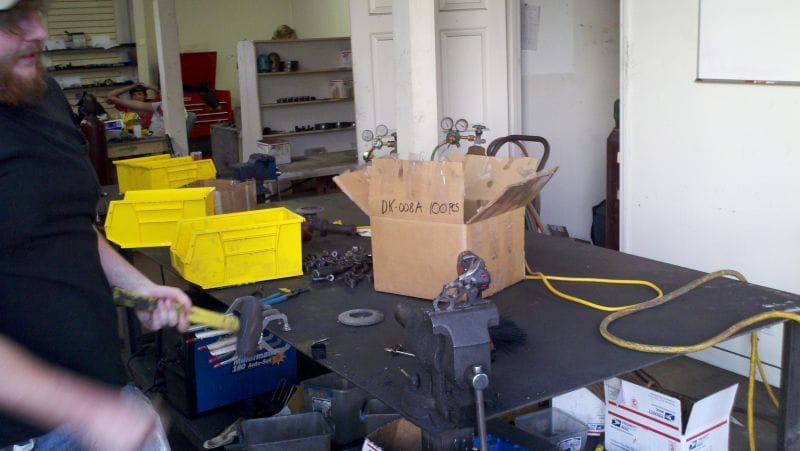
All parts carried by DK Custom Products, whether manufactured here at DK, or by any other company, were put through extensive testing on our own bikes prior to making the decision to make or carry a part.
Over 50% of the parts we tested, did not cut it, and we do not carry them because they simply did not pass the test for reasons that were either subjective, objective, or a combination of both.
There are a few different reasons testing is so very important to us here at DK Custom Products.
Our number one goal is to enhance the overall riding experience for all. We can not accurately give suggestions on our parts, or even parts made by other companies, without torture testing them to see how they do.
All DK Custom Products manufactured parts have a LIFETIME warranty. We cannot comfortably offer this without testing and determining our parts are made to last for the lifetime of the bike.
Lastly, DK Custom Products has a very good reputation of providing 3 things: Quality Parts, Fast Accurate Shipping, and Superior Customer Service.
Without testing, we cannot know if a part is a Quality Part.
Testing and Instructions/Technical Info
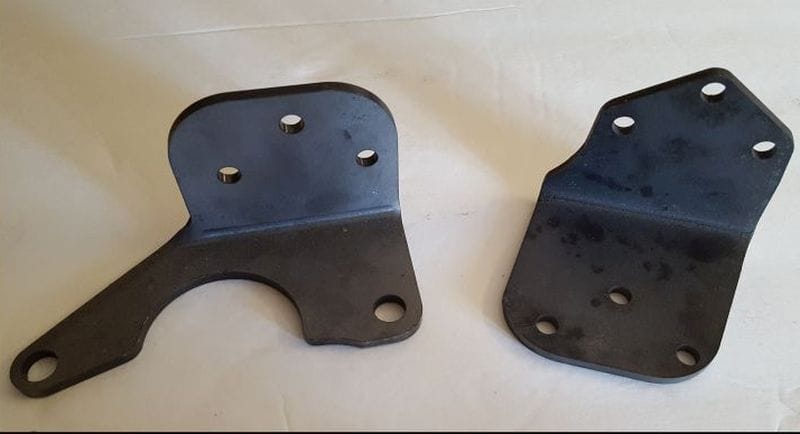
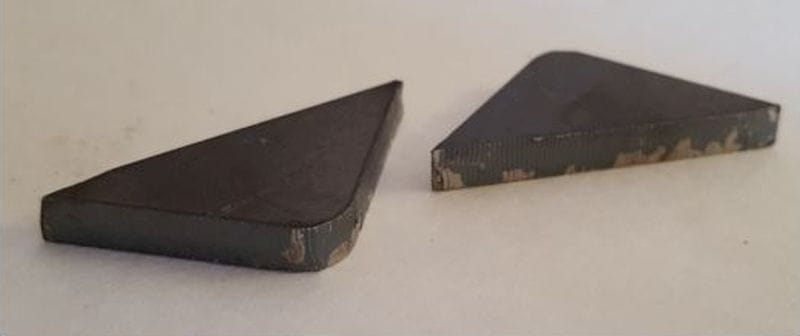
Every part sold by DK Custom Products comes with step-by-step installation instructions. During testing, we take notes through the entire installation process, trying to anticipate every possible question one may have, and answer it as clearly and comprehensively as possible in the instructions.
All installation instructions are available for viewing on the website for each part so that the Customer can see exactly what is required during installation prior to purchasing or while waiting for the parts to arrive.
Many of our parts have a 'Technical Info' tab with pictures of each step of installation, as actually seeing each step of install is very helpful when installing certain parts. On some parts' 'Technical Info' tab, there is information explaining how the parts work to help the Customer better understand why certain parts would be beneficial to his or her bike for performance as well as engine longevity.
There are also installation videos of many parts on the 'Technical Info' tab.
We also have quite a few videos on our youtube page...at these links
http://www.dkcustomproducts.com/harley-exhaust-myths-and-facts.htm
https://www.youtube.com/user/DKCustomProducts/playlists
Suggesting Alternatives or Other Companies
It's a fact, some parts are better than others, both in looks and performance.
We, at DK Custom Products, like for the Customer to know and understand, under any circumstance, if there is a part or company out there that would be a better option for what You are looking to do with Your bike, we will always suggest the alternative part or the other company.
Our Main Goal is to enhance the overall riding experience for All, even if that means the Customer doesn't purchase from DK Custom.
The first report link with very useful information will be posted soon. Stay tuned!
Please feel free to post any questions you may have about any report, part, or link posted.
Ride Free and Ride Safe from our team at DK Custom Products!
In this thread, we will be periodically posting write-ups and testing report links, and photos, of various different parts and products that we carry, manufactured by us, or other companies.
We will also be occassionally posting links to ride write-ups by Kevin(The K in "DK"). These are fun to read!
Introduction
The sole purpose of this thread is to share testing information (of our own products and others) with our fellow riders here on TrikeTalk, helping to enhance their riding experience. Most do not have the luxury of testing parts and products they're interested in, prior to purchasing.
These reports may include our objective findings and our subjective experiences.
Why is testing so crucial to us?
All parts carried by DK Custom Products, whether manufactured here at DK, or by any other company, were put through extensive testing on our own bikes prior to making the decision to make or carry a part.
Over 50% of the parts we tested, did not cut it, and we do not carry them because they simply did not pass the test for reasons that were either subjective, objective, or a combination of both.
There are a few different reasons testing is so very important to us here at DK Custom Products.
Our number one goal is to enhance the overall riding experience for all. We can not accurately give suggestions on our parts, or even parts made by other companies, without torture testing them to see how they do.
All DK Custom Products manufactured parts have a LIFETIME warranty. We cannot comfortably offer this without testing and determining our parts are made to last for the lifetime of the bike.
Lastly, DK Custom Products has a very good reputation of providing 3 things: Quality Parts, Fast Accurate Shipping, and Superior Customer Service.
Without testing, we cannot know if a part is a Quality Part.
Testing and Instructions/Technical Info
Every part sold by DK Custom Products comes with step-by-step installation instructions. During testing, we take notes through the entire installation process, trying to anticipate every possible question one may have, and answer it as clearly and comprehensively as possible in the instructions.
All installation instructions are available for viewing on the website for each part so that the Customer can see exactly what is required during installation prior to purchasing or while waiting for the parts to arrive.
Many of our parts have a 'Technical Info' tab with pictures of each step of installation, as actually seeing each step of install is very helpful when installing certain parts. On some parts' 'Technical Info' tab, there is information explaining how the parts work to help the Customer better understand why certain parts would be beneficial to his or her bike for performance as well as engine longevity.
There are also installation videos of many parts on the 'Technical Info' tab.
We also have quite a few videos on our youtube page...at these links
http://www.dkcustomproducts.com/harley-exhaust-myths-and-facts.htm
https://www.youtube.com/user/DKCustomProducts/playlists
Suggesting Alternatives or Other Companies
It's a fact, some parts are better than others, both in looks and performance.
We, at DK Custom Products, like for the Customer to know and understand, under any circumstance, if there is a part or company out there that would be a better option for what You are looking to do with Your bike, we will always suggest the alternative part or the other company.
Our Main Goal is to enhance the overall riding experience for All, even if that means the Customer doesn't purchase from DK Custom.
The first report link with very useful information will be posted soon. Stay tuned!
Please feel free to post any questions you may have about any report, part, or link posted.
Ride Free and Ride Safe from our team at DK Custom Products!
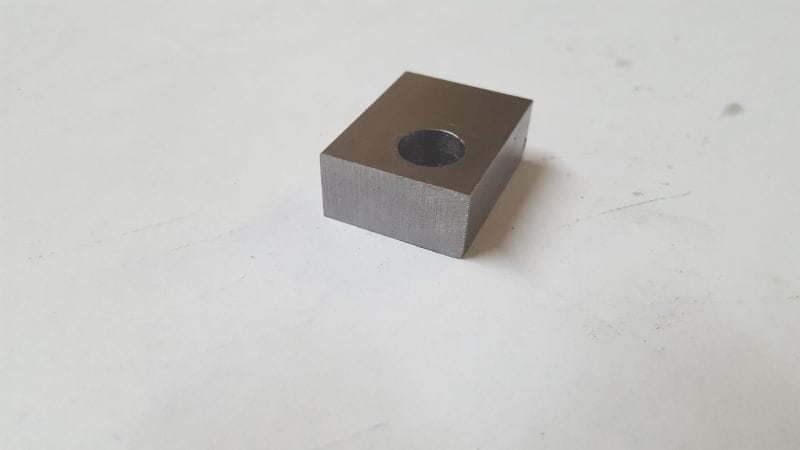
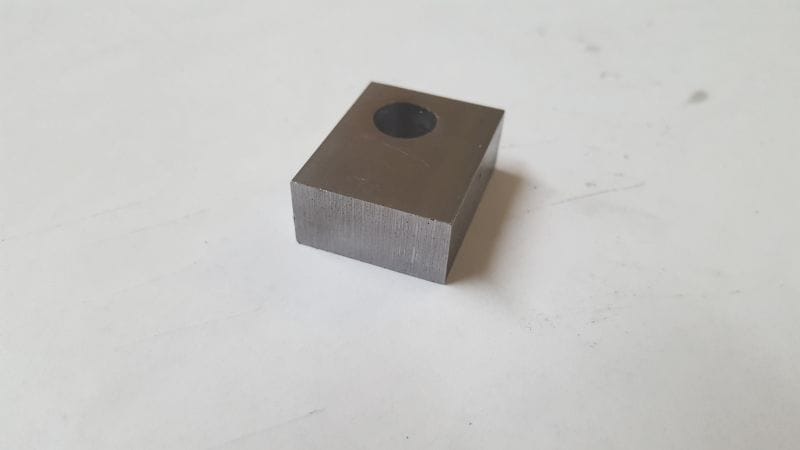

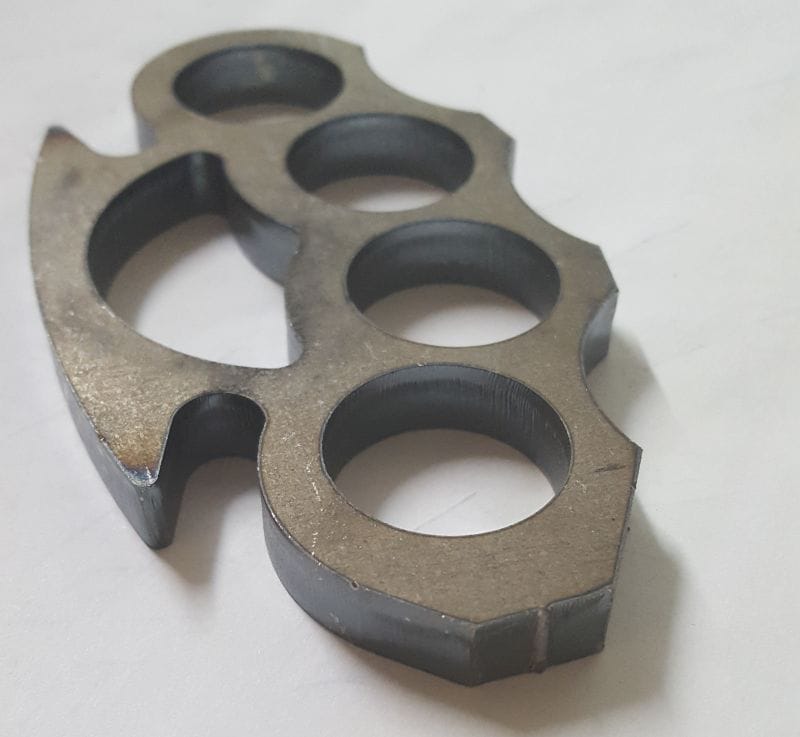


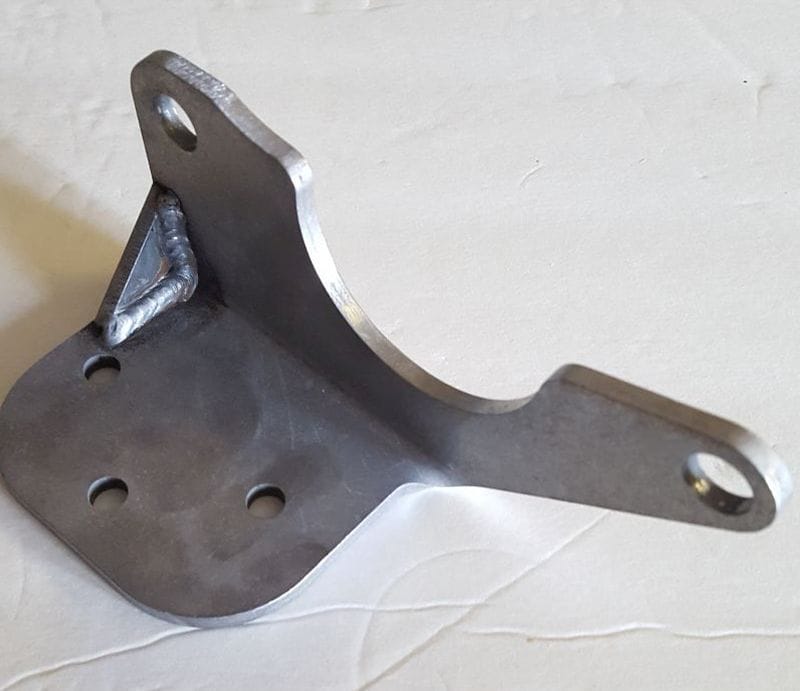
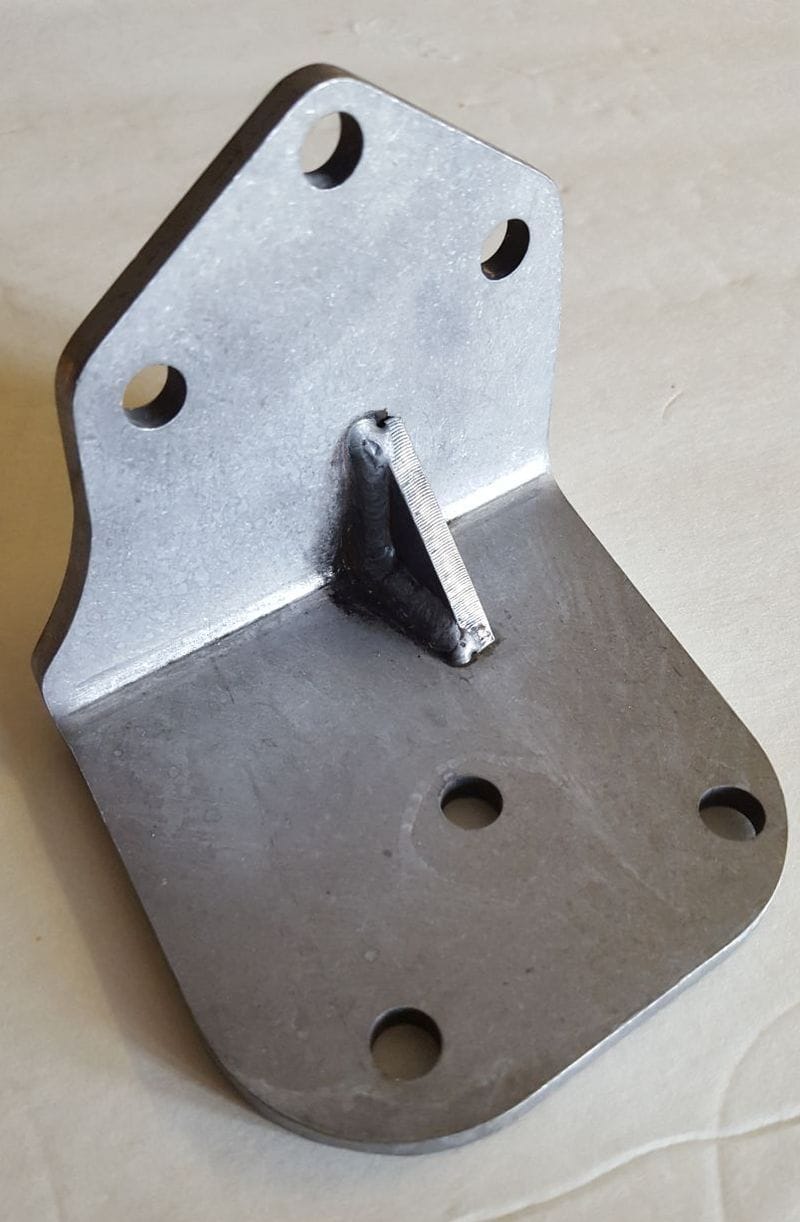
") ) and we were ready to go into production with our Lifetime Warranty.
) and we were ready to go into production with our Lifetime Warranty.