Newbee Question

May 6, 2018
18
11
Forney, TX USA
I'm doing a more thorough inspection before riding and I discovered this. It's on the front right side running from the air suspension to the caliper bracket. I'll assume it is not supposed to be bent. LOL The one on the left side is fine. Doesn't seem like a high stress area. Wonder what caused it? Just thinking out loud. The water is because I just washed it.

 
I'm doing a more thorough inspection before riding and I discovered this. It's on the front right side running from the air suspension to the caliper bracket. I'll assume it is not supposed to be bent. LOL The one on the left side is fine. Doesn't seem like a high stress area. Wonder what caused it? Just thinking out loud. The water is because I just washed it.


Road debris's might have hit it.....I would change it out before it [might] snap at the bend behind the nut..
 
Good question as to what bent it? When you do replace it I would suggest not having but a thread or two showing . It doesn't need to be adjusted out that far on either end or either side. Secondly, it looks like your front shocks is set at the firmest setting. If it is, you will get a much better ride if you lower the setting by one click. Good luck and enjoy you Stallion.

tomg
 
Another question. The rubber step cover is missing on the passenger side. The gentleman that I bought it from said it "blew off". The drivers side has 6 screws holding it down. Did it originally come screwed down or just glued on? The screw holes look random. Here's a pic of the drivers side after I removed it (using it to make a template).

 
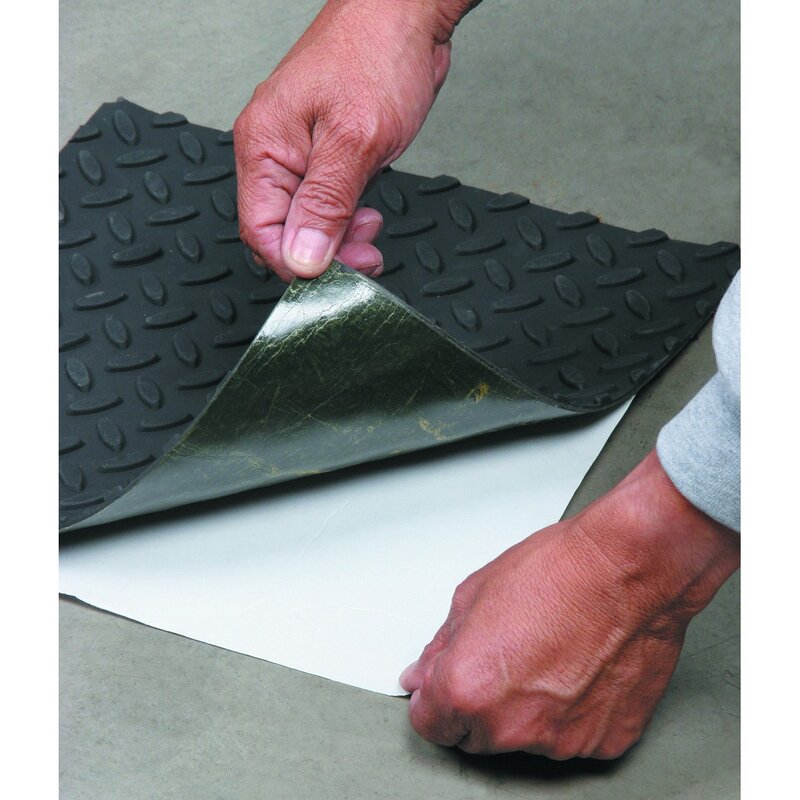
I sent Brandy at motortrike an email about these at the same time I posted this. She has responded that my trike is one of the plastic (not fiberglass) bodies. Yes, the screws were added by a previous owner. They do have the step covers in stock for "only" $131.25 each plus shipping. I'm thinking about making a matching set out of this. $6 at Harbor Freight for a 12" X 12" which should make two.

rubberstep.jpg
 
needs replaced

I'm doing a more thorough inspection before riding and I discovered this. It's on the front right side running from the air suspension to the caliper bracket. I'll assume it is not supposed to be bent. LOL The one on the left side is fine. Doesn't seem like a high stress area. Wonder what caused it? Just thinking out loud. The water is because I just washed it.

looks like it was adjusted out to far , but still wood have taken a good amount of force to bend it like that , I'am thinking maybe hit a curb while turning if it only the one side but would look to replace both sides at the same time . you didn't say how many miles on it unless i miss it ? Anyway hitting something that hard may have weakened the other side also.
 
22,000 miles on the trike. Other side heim joints do look OK and they were not adjusted as far out. I'll double check it again. I'll lower the shock setting to the middle and try it out. I put 2 new rear tires on today as they were the originals as per date code. Starting to dry rot / sidewall cracking. I'm going to replace the front also next week before riding. Here's the new side step rubber I made. What do you think? Thanks for everyone's input. I appreciate it.

 
22,000 miles on the trike. Other side heim joints do look OK and they were not adjusted as far out. I'll double check it again. I'll lower the shock setting to the middle and try it out. I put 2 new rear tires on today as they were the originals as per date code. Starting to dry rock / sidewall cracking. I'm going to replace the front also next week before riding. Here's the new side step rubber I made. What do you think? Thanks for everyone's input. I appreciate it.


Just lower the shocks one click at a time and ride it around the block and another click if needed . I have not seen or heard of anyone lowering it past the second click down and whatever you do not lower the rear shocks as it will make you feel like you are going to tip over and raising them back is a bear. I speak from experience! Tomg
 
It's not good to allow the brake calipers to hang by the lines. In mechanic circles the recommended practice is to use a bungee or other device to support the calipers when doing brake work.
 
good afternoon

I would like to ask a couple questions, how did the brake pads look on the bent rod side, also check to make sure that the wheel bearing on that side is not wasted it might leave a burr on the axle. suggestions for next time you take off wheel leave swing arms attached, take swing arms off while wheel is sitting on ground, there is no pressure now, when you take the axle out no binding. at this point change downtube bearings also, take swing arm off inspect bearing, you will find it oblong. I also have a question about the left front shock, I can't really tell by the picture but is it wearing a point on the swing arm where the shock body is hitting it, worn out shock bushing will leave a hole in the shock, leaves quite a mess. don't ask found out hard way:blush:. be careful when taking out the axle there is a seal inside the hubs that can get knocked around and ruin the axle over time, it just sits and spins. that would be my 2 cents.

good luck

Dragon
 
I did go ahead and hang the calipers. Normally I would have done it immediately but due to the extreme light weight of the aluminum calipers I delayed doing it. All shock bushings look good with no wear. Pads on both sides have even uniform wear and plenty of meat left. I am repacking the tapered bearings and replacing the outboard seals. National number was clearly marked 470625. Inboard seals are marked National 472644.
 
Does anyone have a tip for changing a fog light bulb?

I believe it is an H-3 bulb and the ground wire has to be soldered in. Most guys just toss those oem lights and go for some led ones which are much better. It is easy to find some

that will fit the same slot. For me, I had to modify the mount so that the light would not set so far back in the cowl. Hope this helps. Good luck.
 
Got the new front tire on and upgraded to all 4 chromoly heim joints. Had a problem with the valve stem. It broke when we went to replace the rubber seals. An 8.3MM was the smallest size I could find listed anywhere. It was still larger than the original and had to drill out the wheel. Found a 90 degree one. BTW, I'm pretty sure TMS had the wheels made by Budnik Wheels. They look just like some I had on a 32 Ford back in the early 2000's.


BTW, the exact size filter wrench for the FL910S oil filter for the Stallion is 74.2 MM 14 flute (not 74 MM). The 74 MM will work in most cases but is a tad sloppy/loose on the filter. A little hard to locate one but they are out there.

 
I bought my filter wrench at Cycle Gear for $10. Stockton universal 3 jaw auto adjustable. Best I've ever had and easiest to use. Also smaller than the one pictured. tomg
 

Welcome to the Trike Talk Community

Join our vibrant online community dedicated to all things Trikes! Whether you're a seasoned rider or just starting out, this is the place to share experiences, tips, and stories about your three-wheeled adventures. Explore modifications, maintenance advice, and rides, all while connecting with fellow trike enthusiasts from around the globe

Forum statistics

Threads
55,514
Messages
901,379
Members
22,559
Latest member
Semiringeye

Trike Talk Community

Welcome to a community dedicated to the most diverse and fastest growing powersports segment, Motorcycle Trikes. Come join the discussion about the best makes and models, popular modifications and proven performance hacks, trike touring and travel, maintenance, meetups and more!

Register Already a member? Login

Forum statistics

Threads
55,514
Messages
901,379
Members
22,559
Latest member
Semiringeye
 photo 260e2760-d89e-45b2-8675-2bc26fb3d465.jpg

 photo Trike-Talk-150-x-200.gif

 photo DK Trike Talk Right side banner 19.jpg

Merziere Reverser

 photo 9796095c-0d4b-4a9b-88ed-efe4c498d084.png
 photo f9866e4e-75c5-471a-86f5-5e72a446ecc3.png
Back
Top