What Did You Do To Your Freewheeler Today?

"What Did You Do" ... Preview

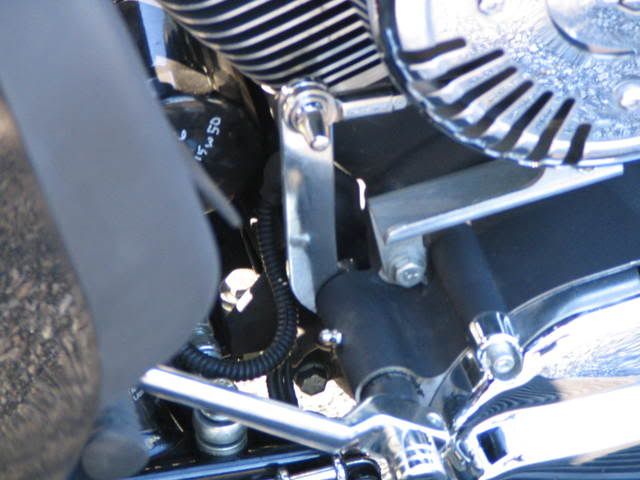
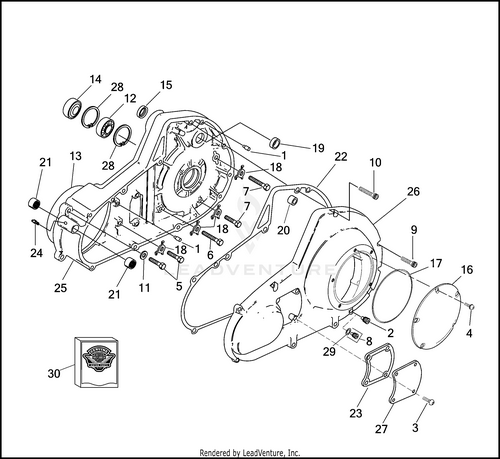
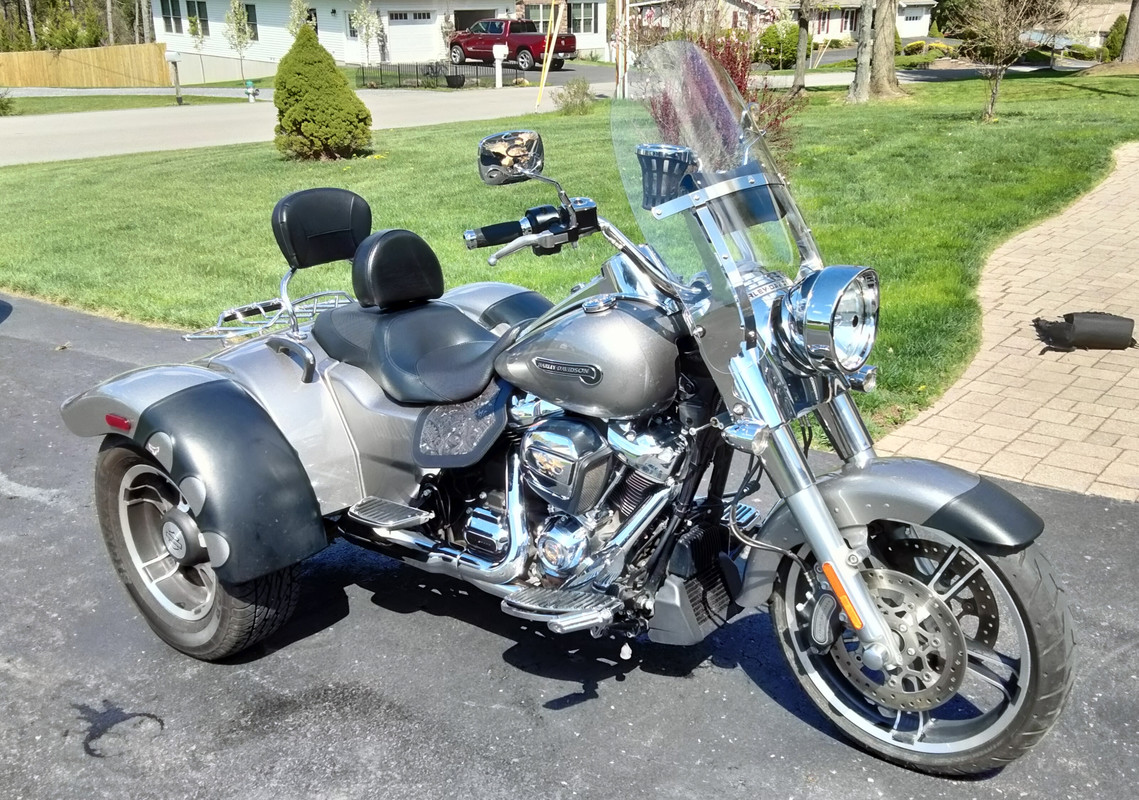
Ordered the Rider Floorboard Extension Kit this morning from DK Custom. I think this kit will definitely make a difference in comfort as well as heat dispersement. I have seen several vids on installing the kit. None of them were too spiffy :( DK doesn't have an install vid for this and the others show you the start and finish but leave out the actual disassembly and reassembly. The DK Install Instructions are very clear and easy to follow. I have heard many say that removing the factory bolts was quite challenging ... Anyone installed these? Any input on best tools or tricks will be greatly appreciated

Thanks so much

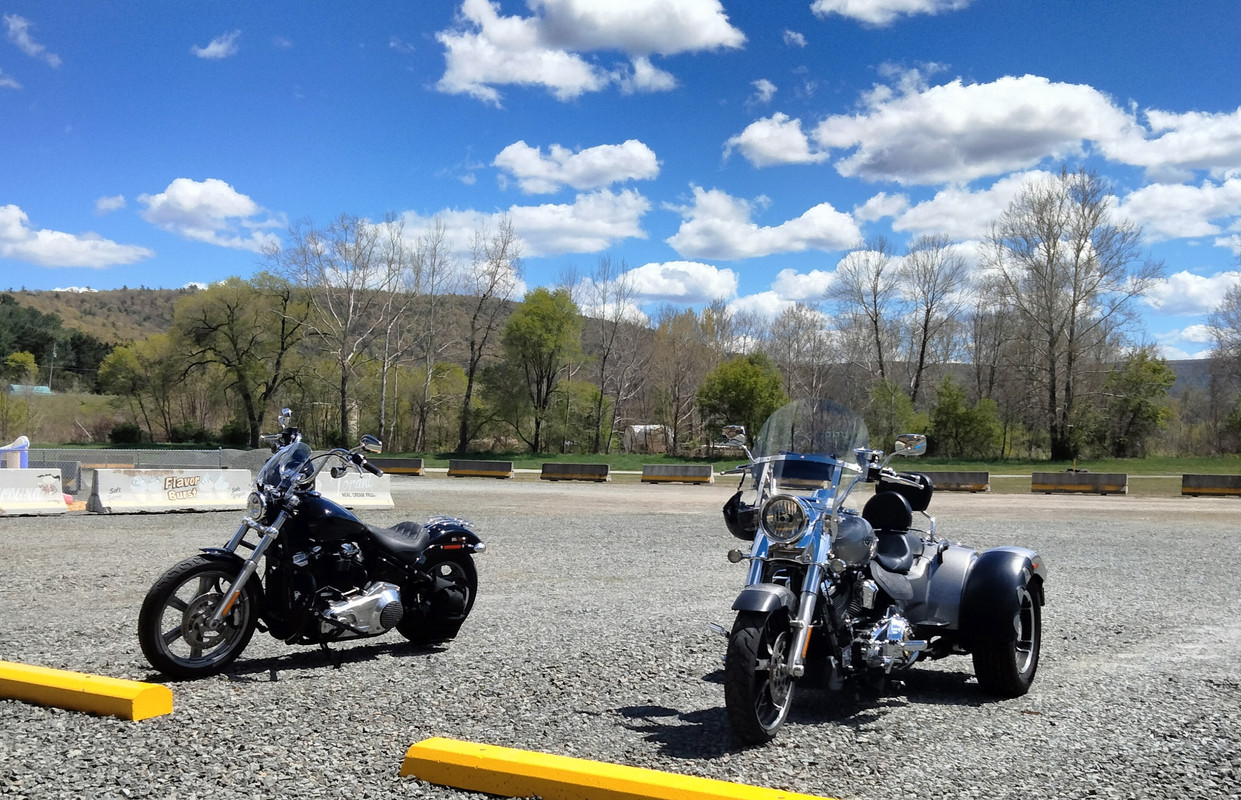
View attachment 112712View attachment 112711View attachment 112710

I put them on my 2017 triglide I put them on by myself, but another set of hands would’ve been helpful, but not necessary. The one thing you find is that the stock bolts have a dry type Loctite that uses a chemical reaction when screwed to tighten so they’re going to be quite tough to unscrew but like I said you can do it. No special tools are needed…
 
I put them on my 2017 triglide I put them on by myself, but another set of hands would’ve been helpful, but not necessary. The one thing you find is that the stock bolts have a dry type Loctite that uses a chemical reaction when screwed to tighten so they’re going to be quite tough to unscrew but like I said you can do it. No special tools are needed…

Thanks rhino … looking forward to it. I do have the extra set of hands so hopefully successful installed pics will follow
 
Washed Kim's Freewheeler today, first of the season and after riding in the rain Friday night.

Some people says Frank's rear fender chaps will damage the paint. I can tell you that is false. These have been on for a couple of years and today was only the second time I removed them. After all kinds of weather the paint and the coat of wax I applied were pristine. A quality product installed properly.

IMG-20230427-144548.jpg

Great pic Mike ... the bike looks great. You should share it on the new "Got Pics" thread. Trying to create a "photo album" I love seeing all the variety. Have been working my way through a "wish list" which does include a set of Franks Fender Chaps (size large like yours) Also thanks for your help with the light visors. A super easy addition that came out great.
 
Installed my Lindby Engine Guard and CD Luggage Run/Brake Light.

20230506_153108.jpg20230506_153050.jpg20230506_153143.jpg20230506_153157.jpgFinally was able to assemble and install my Lindby 1702 that I had oiriginally installed on my 2015 SGS. Also completed the task of adding the CD Luggage Rack Run/Brake light. I have some Avon grips to replace those that the previous owner had installed. I believe I will enjoy the Avon's much more so than the hard rubber H-D grips. Ordered some Heim joints for my FLRT and wife's FatBoy Lo. The manager at Lindby Customs asked me to send him some pics as he thought that if their website displayed a Freewheeler with their guard...it may stimulate some sales. Henry, the manager at Lindby Customs, was very helpful supplying a needed part. Lost the "cage nut" that is needed to secure the guard to the frame. I realize I am not the first Freewheeler owner to use the Lindby...hopefully not the last either. It is a 2019 M8 114. Trike had only 1107 miles on it when I purchased it from the previous owner. From Deland FL to now residing in Southport NC.
 
Captain Itch Crotch Cooler

I forgot that I also was able to install my Capt. Itch Crotch Cooler. After some minor modifications, in order to accommodate the Mustang seat, modifications that Isabel, the wife of Capt. Itch suggested, I was able to fully fit the Crotch Cooler. And yes, I had previously used the Crotch Cooler on my SGS. Similar to the crocodile insert that Noodles 107 has done to his FLRT, the Cooler definitely helps to deflect some of the heat from the 114. Next to be installed is the DEI heat shield insulation. But first...seeing the dentist in the morning to have a broken wisdom tooth extracted. Ahhh yes...the Golden Years. HAH!
 
View attachment 112884View attachment 112885View attachment 112886View attachment 112887Finally was able to assemble and install my Lindby 1702 that I had oiriginally installed on my 2015 SGS. Also completed the task of adding the CD Luggage Rack Run/Brake light. I have some Avon grips to replace those that the previous owner had installed. I believe I will enjoy the Avon's much more so than the hard rubber H-D grips. Ordered some Heim joints for my FLRT and wife's FatBoy Lo. The manager at Lindby Customs asked me to send him some pics as he thought that if their website displayed a Freewheeler with their guard...it may stimulate some sales. Henry, the manager at Lindby Customs, was very helpful supplying a needed part. Lost the "cage nut" that is needed to secure the guard to the frame. I realize I am not the first Freewheeler owner to use the Lindby...hopefully not the last either. It is a 2019 M8 114. Trike had only 1107 miles on it when I purchased it from the previous owner. From Deland FL to now residing in Southport NC.

Nice pics James ... you should throw a couple up on the "Got Pics" thread
 
Thanks so much to Josh and the guys at www.thefactorymatch.com ... Sent them the stock Oil Cooler Cover (in matte black) and they sent it back to me painted in HD Vivid Black Factory Matched to my 2017 RT. :):) Came out super cool. Painters comments ... Customer part previously painted (badly by me) removed old paint, prime, block, paint, clear, buff, seal. Spoiler painted in Vivid Black. Really Wicked!

IMG_7386.jpg IMG_7382 (1).jpg IMG_7395.jpg
 
Greased my shifter shaft bushing before a ride today

It makes for better shifting and less rattle in the linkage

HD used to @ the factory install these fittings, I think MY 2000 was the last factory installed fittings, I am sure the bean counters saved the MOCO about $1.00 on each bike

IMG_0061.jpg
 
Greased my shifter shaft bushing before a ride today It makes for better shifting and less rattle in the linkage HD used to @ the factory install these fittings, I think MY 2000 was the last factory installed fittings, I am sure the bean counters saved the MOCO about $1.00 on each bike

How did you go about greasing the bushing? I got the Kuryakyn shift linkage on mine.
 
How did you go about greasing the bushing? I got the Kuryakyn shift linkage on mine.

If you look at the picture in my last post you will see the grease zerk I installed, like the factory used to ( the fitting is drilled and tapped into the primary cover where the shift shaft passes thru)

Look @ #24 in this diagram

Medium


A couple pumps from a grease gun goes a long way
 

Welcome to the Trike Talk Community

Join our vibrant online community dedicated to all things Trikes! Whether you're a seasoned rider or just starting out, this is the place to share experiences, tips, and stories about your three-wheeled adventures. Explore modifications, maintenance advice, and rides, all while connecting with fellow trike enthusiasts from around the globe

Forum statistics

Threads
55,544
Messages
901,899
Members
22,600
Latest member
Burnout

Trike Talk Community

Welcome to a community dedicated to the most diverse and fastest growing powersports segment, Motorcycle Trikes. Come join the discussion about the best makes and models, popular modifications and proven performance hacks, trike touring and travel, maintenance, meetups and more!

Register Already a member? Login

Forum statistics

Threads
55,544
Messages
901,899
Members
22,600
Latest member
Burnout
 photo 260e2760-d89e-45b2-8675-2bc26fb3d465.jpg

 photo Trike-Talk-150-x-200.gif

 photo DK Trike Talk Right side banner 19.jpg

Merziere Reverser

 photo 9796095c-0d4b-4a9b-88ed-efe4c498d084.png
 photo f9866e4e-75c5-471a-86f5-5e72a446ecc3.png
Back
Top