Ongoing 2019 Tri Glide Build-Out w/ lots of photos, videos and observations

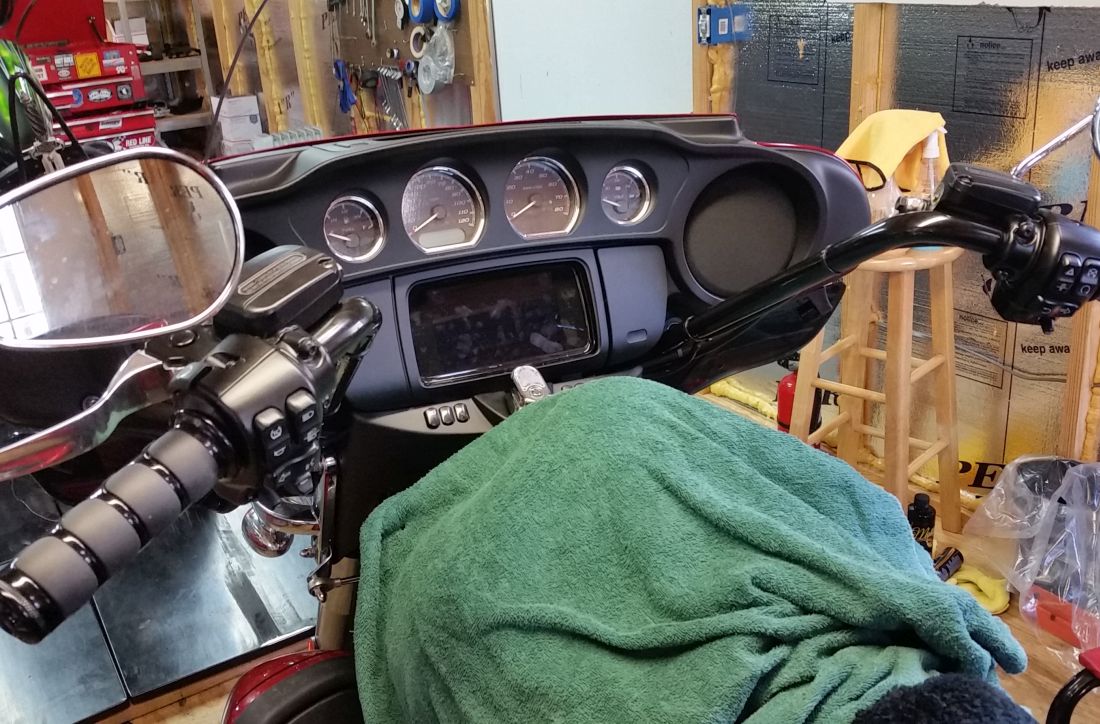
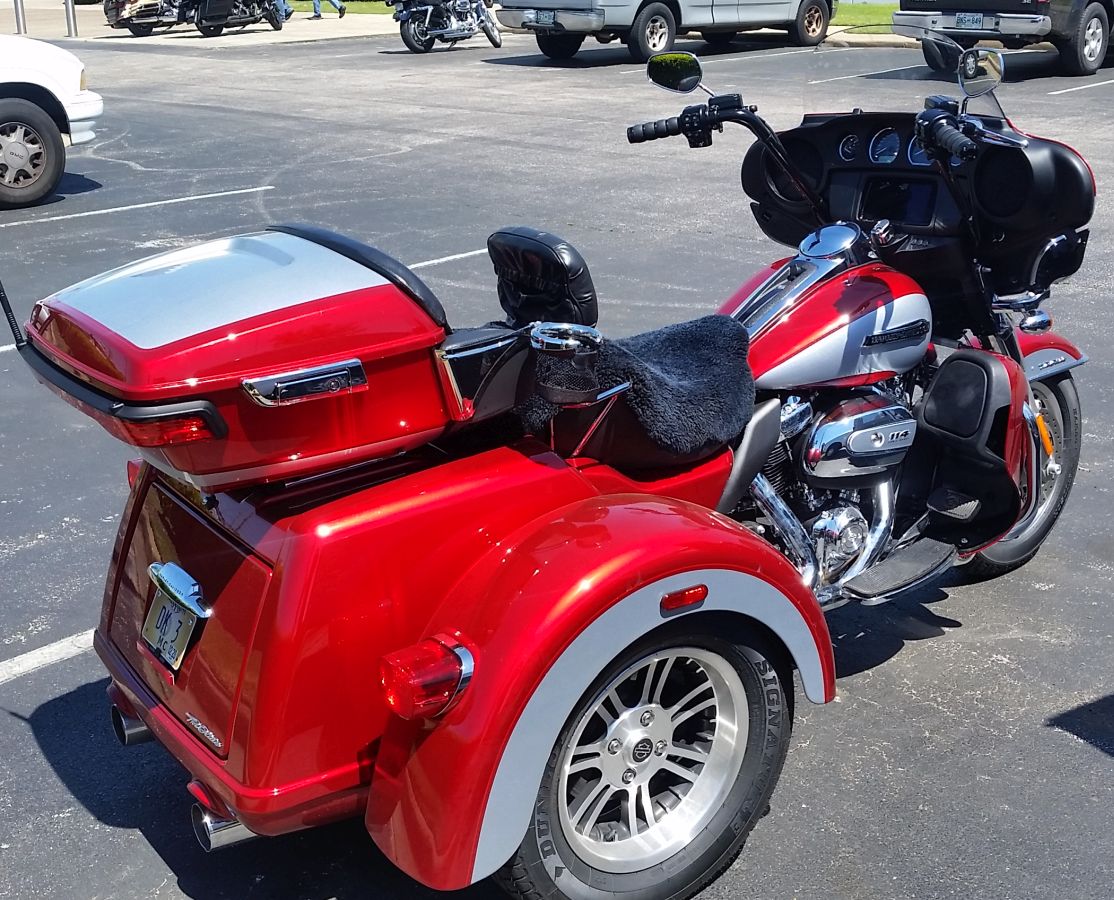
Finally picked up my TG yesterday....they had it way too long. But that's another story for another day.

It is super dirty. I rode it through 60+ miles of a heavy rain dropping it off weeks ago. I specifically asked them not to wash it or clean it in any way.

Rode it the shop. Worked. Rode it home. Went to bed early. I'm out of town today, but will be able to work on it later this week/weekend. :)

Bars%20done%201.jpg


One of the first things I'll be doing is adjusting the bars a bit...I will be rotating them back towards me a bit. Will not look as "cool", but it will be Far More Comfortable!

Bars%20done%202.jpg


Whew! Glad to have it back. Felt like a hostage negotiation just to get the work done and get it out of there.

Kevin
 
When I installed the tour pack extension and move it back 2 inches there’s a gap between the seat and the flap from the backrest. Wires are showing. Did you experience the same thing? Any advice?
 
Same thing with me

Called DK and the young lady advised me to go to kuryakin and get the tour pal spacer - believe it’s same one Kevin uses
 
When I installed the tour pack extension and move it back 2 inches there’s a gap between the seat and the flap from the backrest. Wires are showing. Did you experience the same thing? Any advice?

Copied & pasted from the Tour-Pak Relocator Description:

Fitment Note: Depending on how far back you move your Tour-Pak, you may want to fill the gap between it and the back of the seat. Part #8742 from Kuryakyn does a nice job of filling that gap.

We have ours relocated back 3" and do not use any kind of filler pad. We always have a sheepskin on the seat and it fills that little gap.

As far as the wire showing, I use zip ties tokeep them tucked up under the OEM backrest flap, just like they are stock, so only the line of wires going from under the seat to the connectors that are under the OEM backrest flap would be visible, but for the sheepskin.

Kevin
 
Kevin, I really appreciate all the write ups you do, I've read a lot of them. I'm an old geezer who has come to the realization that his 2 wheel days are nearing an end and I'm trying to gather as much info as I can for the purchase of a three wheeler. I'm trying to get a decent understanding of what its like to ride a Tri. I get the impression that its going to take more out of my upper body and that concerns me as I don't have as much energy in my personal gas tank as I used to. Maybe its no more energy than riding my bagger? But i'll keep reading and see where it goes. Thanks again for all the work you do and the info you provide.
 
Kevin, I really appreciate all the write ups you do, I've read a lot of them. I'm an old geezer who has come to the realization that his 2 wheel days are nearing an end and I'm trying to gather as much info as I can for the purchase of a three wheeler. I'm trying to get a decent understanding of what its like to ride a Tri. I get the impression that its going to take more out of my upper body and that concerns me as I don't have as much energy in my personal gas tank as I used to. Maybe its no more energy than riding my bagger? But i'll keep reading and see where it goes. Thanks again for all the work you do and the info you provide.

Jim, There are some smaller ladies riding these things, so it may not be that big a deal for you. You do push/pull on the handle bars in the curves but the strength required is in direct proportion to the speed your enter the curve and the tightness of the curve itself. Faster & tighter needs more strength. You are going to start your learning curve at slower speeds and grow into it. If you can get a test ride or two, will give you some idea. Renting for a day, if you can do that, is even better. A test ride or rental will most likely be a stock trike, so keep in mind there are things you can do to improve the handing. Kevin has a rear lift kit the helps and I think Papa Zook has a front end kit that will help also. Good luck to you!
 
Kevin, I really appreciate all the write ups you do, I've read a lot of them. I'm an old geezer who has come to the realization that his 2 wheel days are nearing an end and I'm trying to gather as much info as I can for the purchase of a three wheeler. I'm trying to get a decent understanding of what its like to ride a Tri. I get the impression that its going to take more out of my upper body and that concerns me as I don't have as much energy in my personal gas tank as I used to. Maybe its no more energy than riding my bagger? But i'll keep reading and see where it goes. Thanks again for all the work you do and the info you provide.

Cool, glad you're enjoying the posts. It will be later this year, but we are planning on doing a video on what is involved in transitioning from 2 wheels to 3 wheels. Also, a video on 3 wheel riding techniques.

But what graygoat said was some good info.

There are 3 things you can do to make the steering easier-

1. A Convertible Comfort Lift™ will reduce steering effort

2. A wider set of handlebars will give more leverage, resulting in less steering effort needed

3. A rake kit from Zook will reduce steering effort to about the same as a 2 wheeler.

So there are definitely ways to stay riding on 3 wheels, long after 2 wheels are pleasant memories.

Kevin
 
I had a 2017 tri-glide put the Kuryakyn filler pad on after I put the DK relocation kit on. Traded the 2017 for a 2019 Tri-Glide Put the relocator kit on. and bought another Kuryakyn filler pad on. The filler pad seemed to me thicker than the older one. Momma like's it.
 
Even though I got my TG back on Monday, it was a very hectic week with travel and work, so I was not able to touch it until today.

First thing I did was adjust my handlebars back a bit. I have a bad shoulder, so getting the grips closer to me is much more comfortable.

Had to get creative with some tools to loosen the top clamp enough to move them.

Adjusting%20Bars.jpg


Now they are in the "right" position for me. Not the coolest look, but super comfortable. (Read the Report on How to set your Ride up for YOU..."The Comfort Triangle" at this LINK).

Adjusted%20bars.jpg


Still need to hang some things off the bars...drink holder, video camera mount (maybe), and Power Vision. I also have the same bandanna's I've been running on my bars for over 15 years. They're pretty raggedy after somewhere between 300,000 & 400,000 miles in the wind. So it may just be time to get some new ones. :)

Next up was to install the new analog dipstick/temp gauge.

There are 3 pieces to it & it is a multi-step process to install.

Comes with good instructions, which I followed...

Temp%201.jpg


Temp%203.jpg


Had it done in 15 minutes.

Temp%204.jpg


Next up was installing a 1.5" Tank Lift with a Deluxe Option, some Cooling Deflector Wings, and removing the left side thigh protector.

(see why I remove the left side thigh protector in #1 in the Report at this LINK)

No pics of the Tank Lift, Deluxe Option or CDW's right now, they will be in the video of the temperature testing.

After that I rode about 200 miles while doing some temperature testing (video & results on that coming soon), and the gauge worked well, and no leaks!

We'll see how tomorrow goes, may get some more done on it.

Kevin
 
Kevin, was wondering if the risers on the new trikes still have the OEM rubber bushings? If so, did you consider having them replaced with polyurethane ones during your new handlebar installation? Hopefully, that kind of a replacement wouldn't be considered a warranty no-no.
 
Kevin, was wondering if the risers on the new trikes still have the OEM rubber bushings? If so, did you consider having them replaced with polyurethane ones during your new handlebar installation? Hopefully, that kind of a replacement wouldn't be considered a warranty no-no.

I'm pretty sure I remember Kevin saying he has the dealer do the bars because even though he makes the bars, they won't void the warrantee if they install them, especially the electrical stuff. I'm curious too about the bushings. The dealer I talked to about the bar swap (High Country Harley) said they change out to the polyurethane bushings when they do this.
 
I wish you would have did a video on moving bars back to you, curious how it is done in case I have to move mine back a little more, I'm sure you don't have to take everything apart but I can't find a video on you tube about the simple moving them back, it shows all kinds of video's putting on new bars and that is it.

I know when my bars were installed at the dealer I paid for the poly bushings anyway so I hope they installed them, I'm sure they did, I think it is standard practice to install poly bushings when installing higher bars and lets hope all harley dealers do this

All for now Trampas
 
Kevin, was wondering if the risers on the new trikes still have the OEM rubber bushings? If so, did you consider having them replaced with polyurethane ones during your new handlebar installation? Hopefully, that kind of a replacement wouldn't be considered a warranty no-no.

When I changed the bars on my '07 CVO Ultra I changed to the polyurethane bushings. When I explored changing the bars on my '18 TG I posed several questions on the CVO forum since I knew many folks there and had just found this forum and really didn't know anyone to ask. The advice I got from an indy technician who runs a very well respected shop in California was that no, I don't need to change from the oem bushings and I did not and everything is fine. Of course that is just my anecdotal experience and others may differ.
 
I wish you would have did a video on moving bars back to you, curious how it is done in case I have to move mine back a little more, I'm sure you don't have to take everything apart but I can't find a video on you tube about the simple moving them back, it shows all kinds of video's putting on new bars and that is it.

I know when my bars were installed at the dealer I paid for the poly bushings anyway so I hope they installed them, I'm sure they did, I think it is standard practice to install poly bushings when installing higher bars and lets hope all harley dealers do this

All for now Trampas

Hi Trampas,

The "right" way is to remove the inner fairing so you have full access to the 4 bolts of the top clamp.

#5 in this LINK

I did not want to do that. So I removed the two screws that hold the dash panel in place...this is where the button for the passing lights is...#14 in this LINK.

This gave me access to the two lower bolts of the handlebar top clamp. I was able to barely get in there and loosen both of those just enough to pull the bars back toward me.

Kevin
 
Kevin, was wondering if the risers on the new trikes still have the OEM rubber bushings? If so, did you consider having them replaced with polyurethane ones during your new handlebar installation? Hopefully, that kind of a replacement wouldn't be considered a warranty no-no.

I'm pretty sure I remember Kevin saying he has the dealer do the bars because even though he makes the bars, they won't void the warrantee if they install them, especially the electrical stuff. I'm curious too about the bushings. The dealer I talked to about the bar swap (High Country Harley) said they change out to the polyurethane bushings when they do this.

When I changed the bars on my '07 CVO Ultra I changed to the polyurethane bushings. When I explored changing the bars on my '18 TG I posed several questions on the CVO forum since I knew many folks there and had just found this forum and really didn't know anyone to ask. The advice I got from an indy technician who runs a very well respected shop in California was that no, I don't need to change from the oem bushings and I did not and everything is fine. Of course that is just my anecdotal experience and others may differ.

Yes, the oem bushings on the '19 are a cheap plastic/rubber. Yes, I replaced them with the polyurethane bushings. I have Not done this in the past, and never had a problem, I've also done this in the past and no problems there either. This HD Dealership highly recommended it, cost was around $40, so I went ahead and did it.

Kevin
 
Kevin, what's the part number of your oil temp gauge?

been looking for one.

EDIT: I found-it, Thanks for the pix.

Cool. Guess you noticed they don't use part #'s. :)

Because I read a few reviews of the oil filled ones leaking, I got the air filled one.

I've had quite a few of the HD Brand digital dipsticks. While they seem to last longer now than they used to, I still have not had one last even 3 years.

Hoping this one lasts longer!

While doing my test runs yesterday, I found it easy to read. Happy with it so far!

Kevin
 
Yes, the oem bushings on the '19 are a cheap plastic/rubber. Yes, I replaced them with the polyurethane bushings. I have Not done this in the past, and never had a problem, I've also done this in the past and no problems there either. This HD Dealership highly recommended it, cost was around $40, so I went ahead and did it.

Kevin

Thanks! That's the kind of info and experiences I was looking for....I changed mine when swapping the bars, but can't honestly say I feel any really noticeable change. Some other reading and comments say there are very noticeable improvements for those with the Tall Ape Style Bars.

That was a great price for polyurethanes in the dealer swap. I paid $ 29.95, plus shipping puts me in that neighborhood.....and I provided the labor.:laugh:
 

Trike Talk Community

Welcome to a community dedicated to the most diverse and fastest growing powersports segment, Motorcycle Trikes. Come join the discussion about the best makes and models, popular modifications and proven performance hacks, trike touring and travel, maintenance, meetups and more!

Register Already a member? Login

Forum statistics

Threads
55,579
Messages
902,121
Members
22,556
Latest member
J.Hammers
 photo 260e2760-d89e-45b2-8675-2bc26fb3d465.jpg

 photo Trike-Talk-150-x-200.gif

 photo DK Trike Talk Right side banner 19.jpg

Merziere Reverser

 photo 9796095c-0d4b-4a9b-88ed-efe4c498d084.png
 photo f9866e4e-75c5-471a-86f5-5e72a446ecc3.png
Back
Top