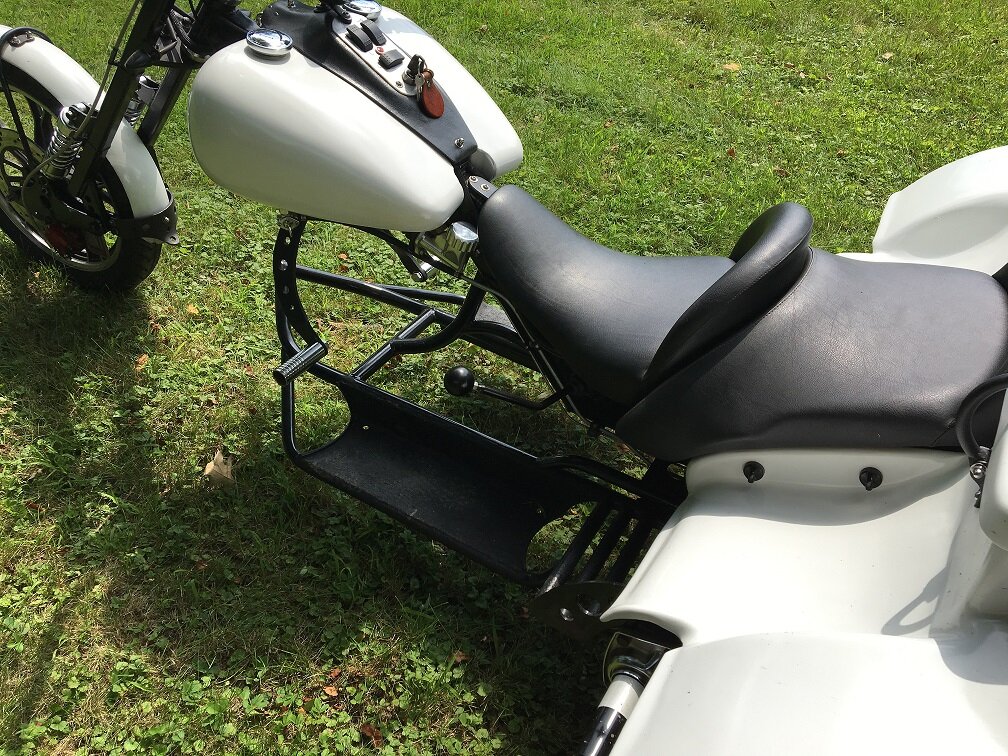
4th generation of my trike

It has

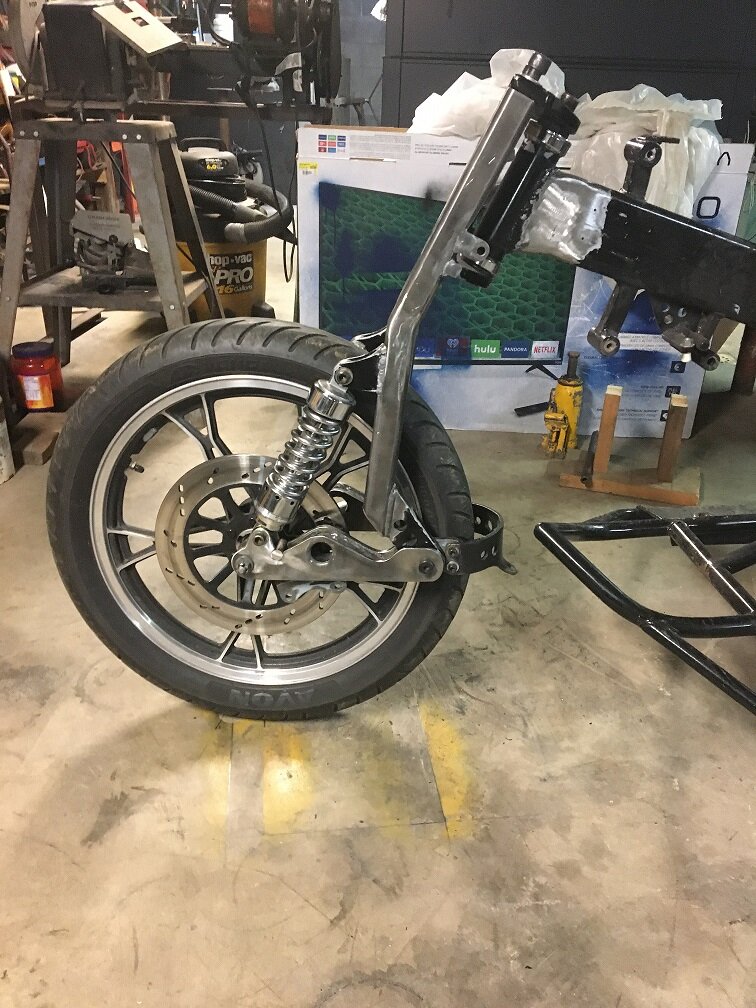
to be me looking at photo's, but when I try to see the front wheel on the front end and frame, is there enough room for the turning with out the back of the tire hitting frame ?
 
IMG_0163.jpg

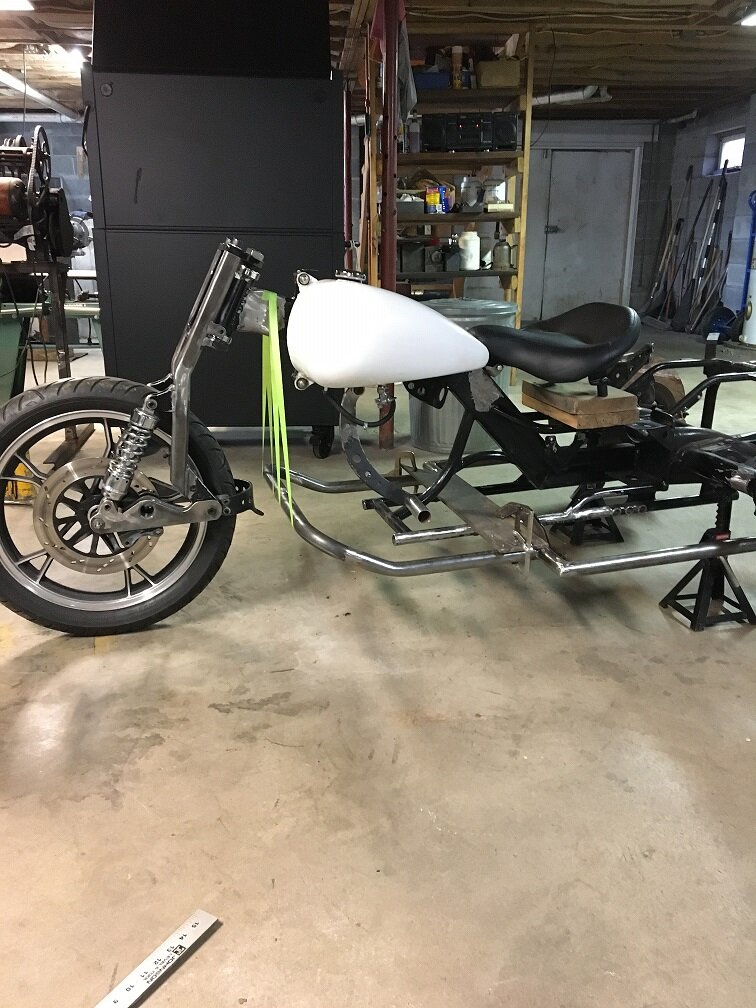
Yes there is room. I might be changing the frame anyway to get the look I want. I finished the lower links and have it setting on the wheel. It will settle a little once all the weight is put back on. The front is stiffer now because I moved the shock mount forward so have less leverage. I'll be putting a dual sport tire on to give a more off-road look. Next on the front is a high mount fender and brace. I'm thinking along the lines of a Ural.

IMG_0084.jpg

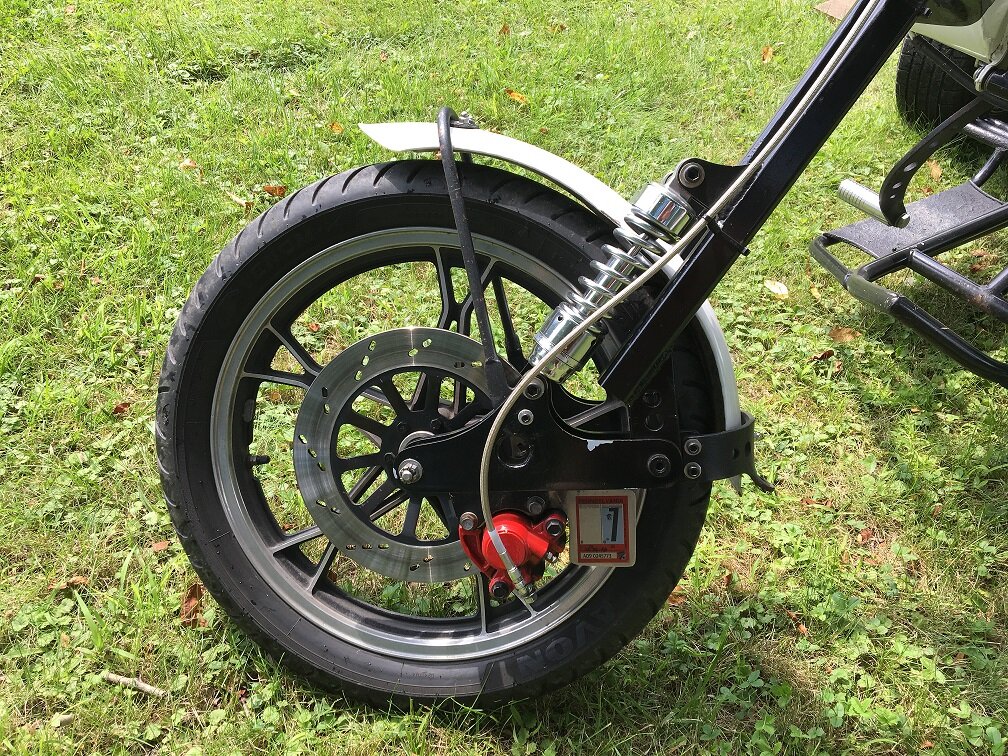
This is what it used to look like. You can see the difference in lower shock position. That fender I pounded out of 18ga. metal but it looks too skinny mounted high.

I think next is to sit and stare at the main frame to figure out what I need to do to add the body.
 
Lots of work in quick time!

Looks good Carl.

The front end probably isn't wide enough, but in my opinion only, a 16" Harley wheel with a car tire on it would give the car themed rear you're planning some depth?
 
ya...looking good and moving at warp speed...wondering about the function of the large holes on the rockers....concluded they were alignment holes with short tubes to keep rocker halves parallel?
 
Thanks,

You're right, the front end isn't wide enough and I agree a 16" spoked wheel would go better with the theme. For me to do that would mean a whole new front end. The cast wheel looks too modern but I like it being tube-less. The Germans had the half track Kettenkrad with a motorcycle front end. The tire on it is kind of thin so maybe I can pull it off.

Yes, the large holes have tubes welded in for alignment and added strength. It's sort of like an I-beam.
 
Well my eye appt is soon, maybe my glasses need upgraded.

It does seem to be coming together nicely for you. Thank you for taking the time to show me how all fits together.:D
 
You're welcome.

Today I worked on stuff that needs done but not worth taking pictures of. Stuff like cleaning brackets off the frame that won't be needed. I'll be using 1" square tube for the skeleton of the body so I'll have to be able to bend it with some consistency. I have one of the Harbor Freight hydraulic pipe benders and I saw how to make a die to bend square tube. I guess I'll be making one of those.

On projects like this you get into things you never did before so you learn. I think you can do most anything if you put your mind to it.
 
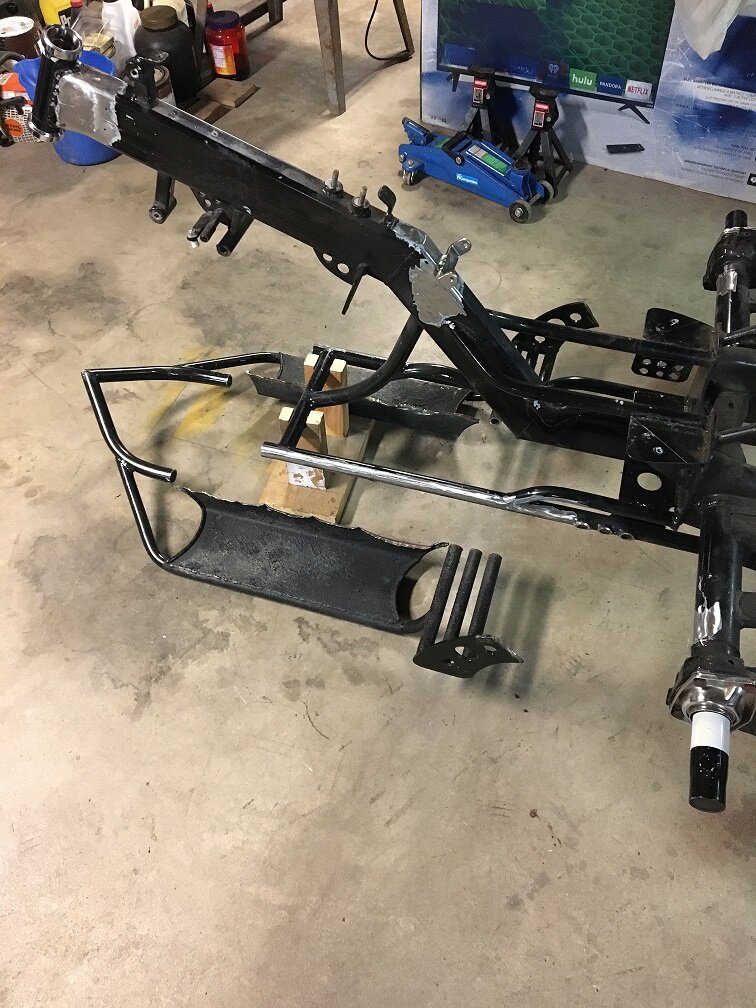
I did some trimming today.

IMG_0164.jpg

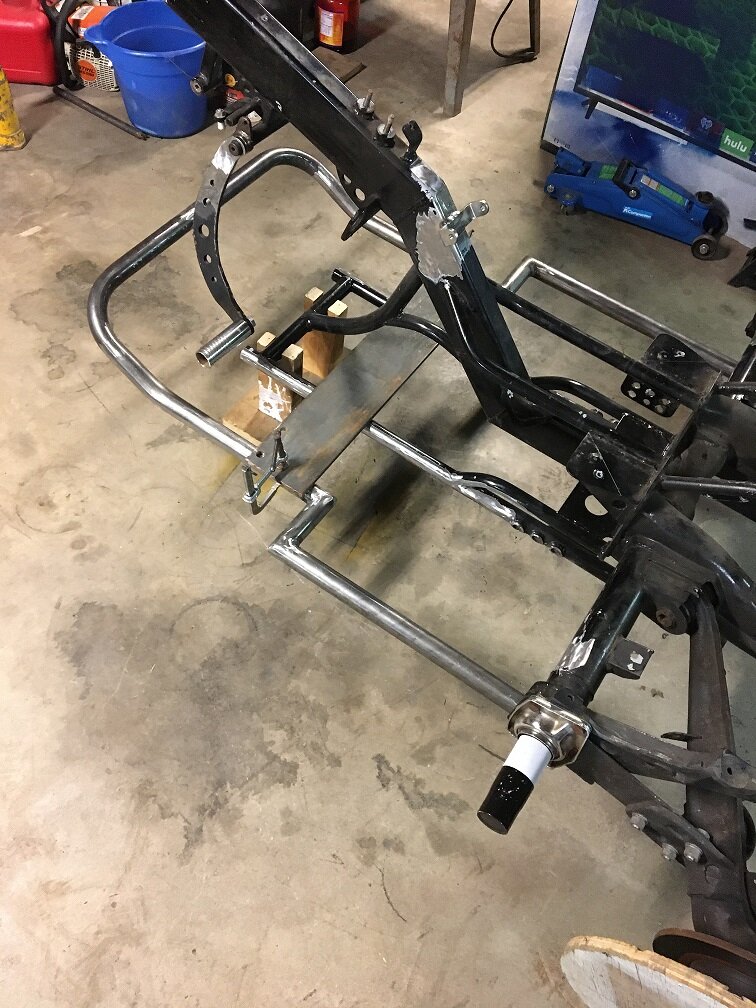
I ordered the tubing to redo the foot rest area. You can see I added the front seat mount. The seat will be about 3" higher than the old one so I didn't need the step down on the floor board. That will give me more ground clearance for adventure riding.:D
 
Thanks for the offer but I think I'll try my wheel with a little change in paint to see if it blends in. Later I can always change to something else. I'm going to have a high mount fender so I won't have to worry about the wheel matching the radius as much.

There always seems to be a million things to do on projects like this and each one depends on the others. The trick is thinking three steps ahead and you still miss something. I've learned that to keep things moving I try to do something every day, even if it is just rearranging the parts. It's easy to miss one day ,then that turns into two, then three, etc.
 
Let's build a front fender while we wait on the frame tubing.

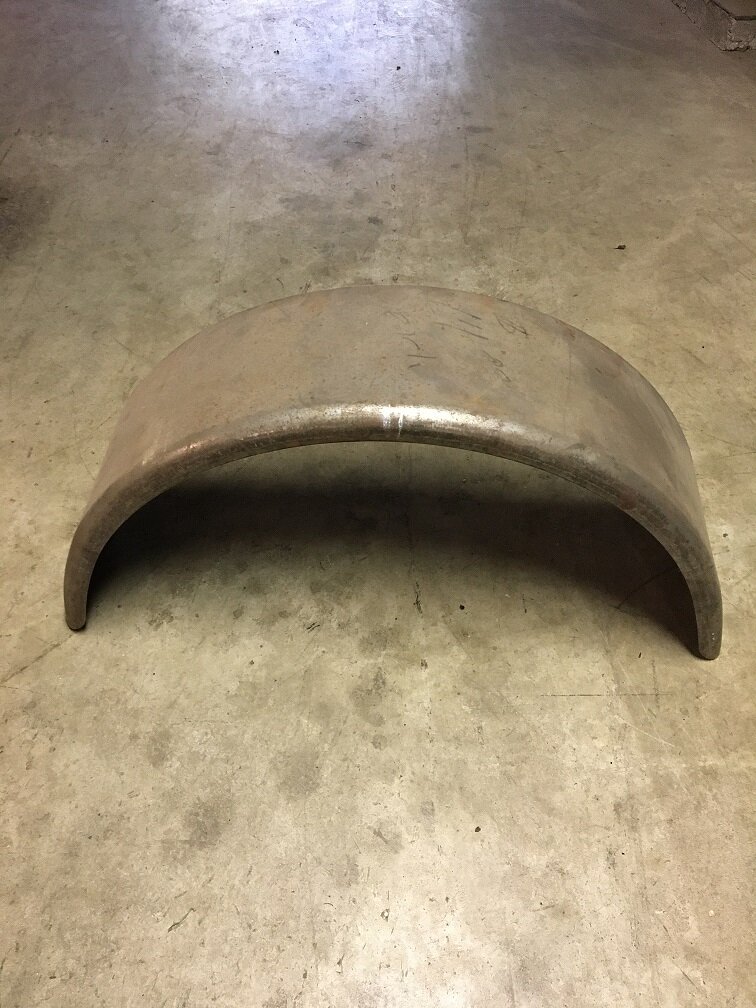
IMG_0165.jpg

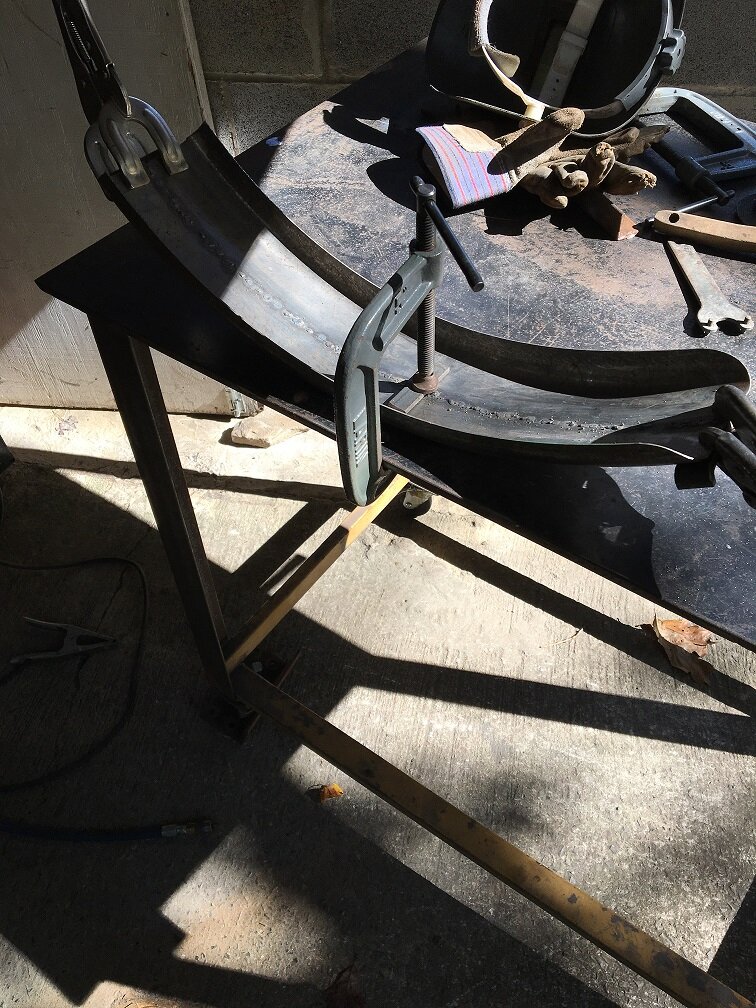
This fender has been hanging around from about 1997 when I built a T bucket street rod. It has a $14 price on it so you know it's old. It's 9" wide and 48" long. Time to modify. I cut it in half sideways then cut two 2 1/2" lengthwise pieces.

IMG_0166.jpg

A bunch of tack welds jumping around to keep it from warping too much.

IMG_0167.jpg

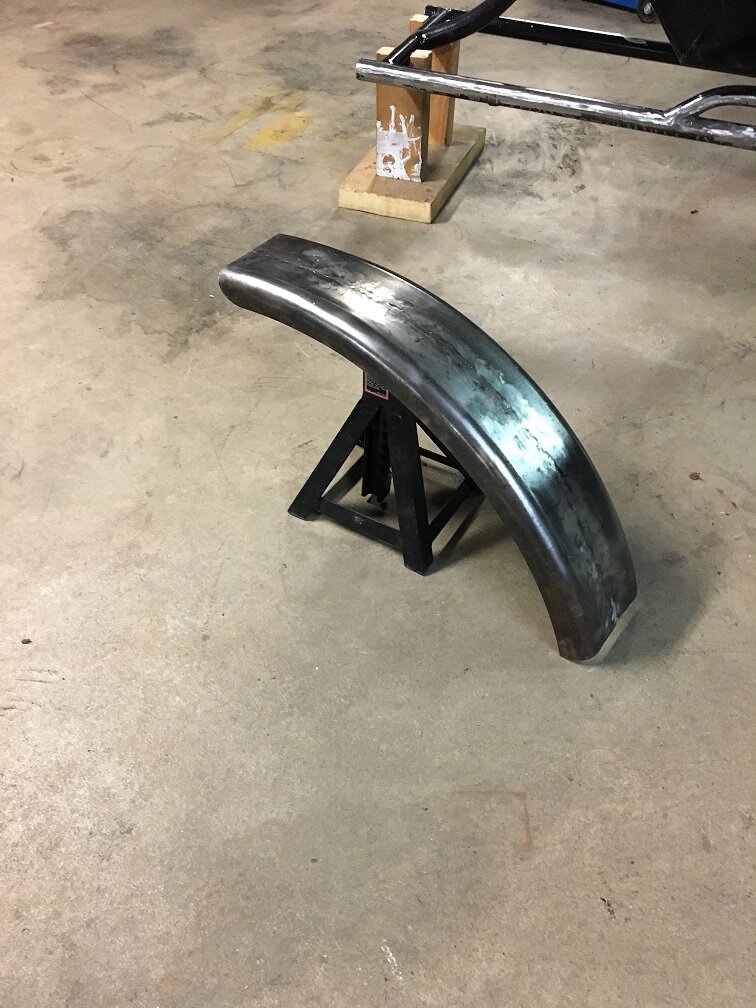
A little more finish work and we'll call it good. It's 5" wide. It fits between the forks with a little wiggle room. It's 24" long.
 
Looks good!

It also feels good to use up that new old stock hanging around the shop collecting dust, on a totally new and different project.:clapping:
 
A big brown truck brought me my tubing yesterday. I started cutting, bending , and welding today.

IMG_0168.jpg

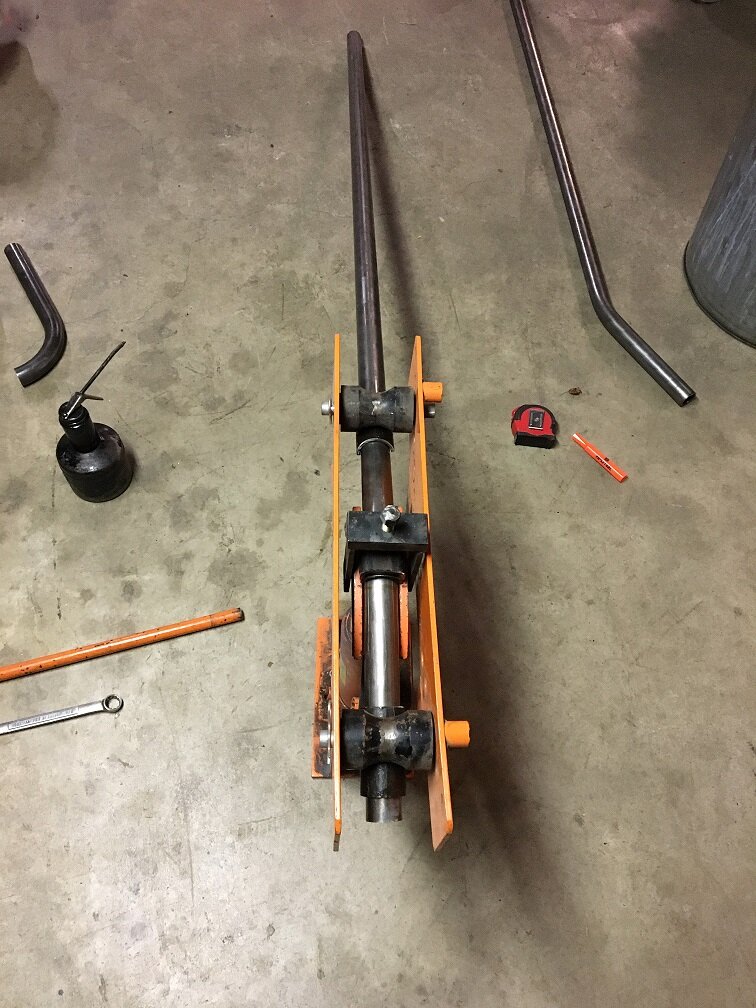
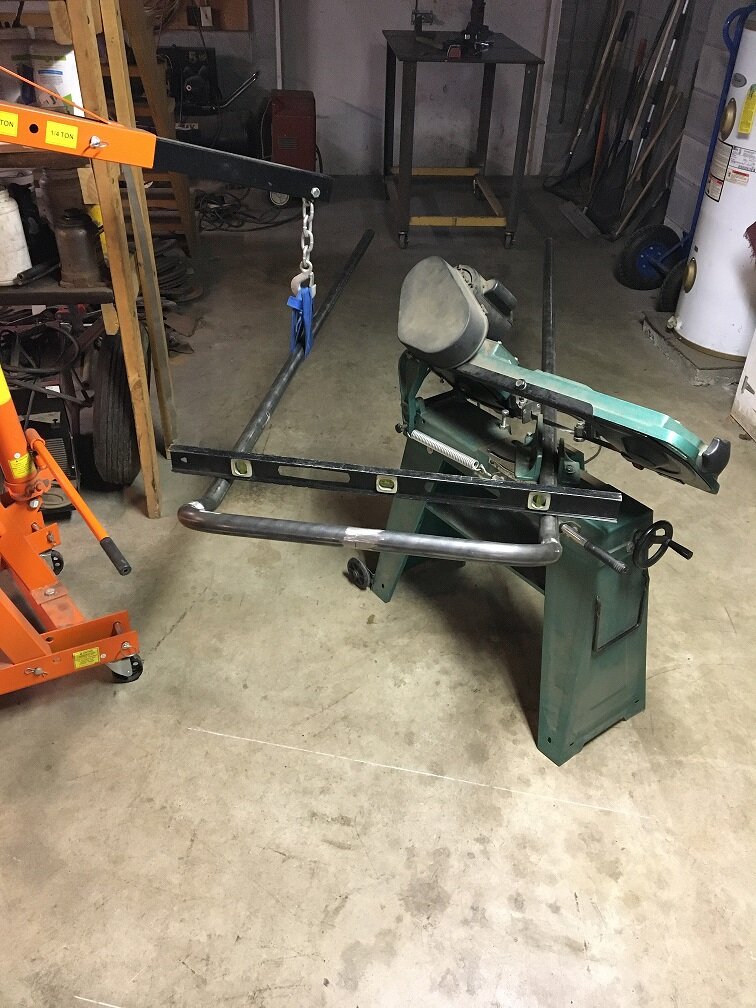
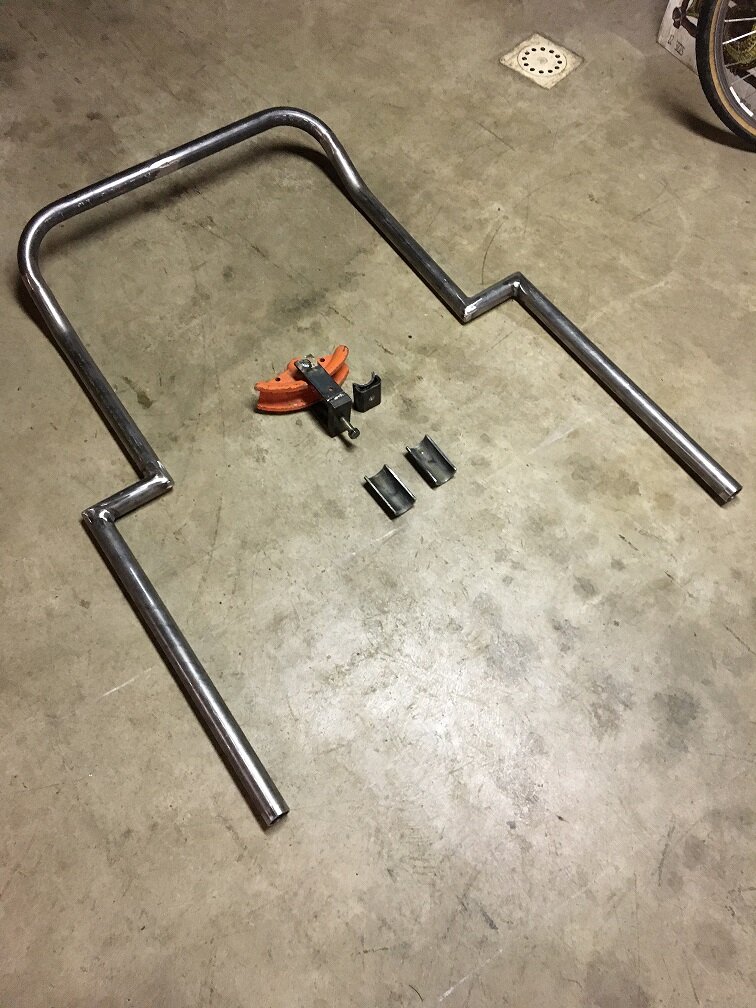
The tubing is 1 1/2" DOM .120 wall. I had to make just a slight bend in two pieces, much more and the Harbor Freight pipe bender would flatten it. I'm using the 180* bend that was in some of the earlier pictures, I cut it in half.

IMG_0169.jpg

Sometimes it gets complicated when you're trying to be accurate.

IMG_0171.jpg

This is what I have so far. I modified the bender a little to try to make things better. The clamp on the die holds the tube tight and the 2 pieces of half pipe help spread the load on the rollers. It helped some.

IMG_0170.jpg

This is the frame roughly in place. The top will be covered with a floor. I had to make sure the clutch pedal cleared and the front wheel clears.
 
nice work....like that clutch swing, long throw easy push. where will the clutch master be?

.

nice to have floorboards also...
 
Thanks everyone for the compliments and likes,

I used dune buggy master cylinders for the brake and clutch. About 8 to 1 ratio on the arms. You can see them between the tank and seat.

IMG_0088.jpg

I did a little mock up to make sure everything looked good before I welded things solid.

IMG_0174.jpg

You end up putting things together and apart lots of times in a build, but it's a lot easier than redoing stuff that doesn't fit. I have some fish mouth cuts to do in the tubing that goes between the old frame and the new part.
 
You haven't slept since your original post on the 2nd of the month!!!?:Shrug:

Post up the Kubelwagen rear if you have it ready?:clapping:
 
I'm retired so through the week, after my wife leaves for work, I can play in the basement. On the weekends we run around doing other stuff so I don't get much done on the trike. I worked for 45 years as a heavy equipment mechanic. Everything from complete engine and power train overhauls to hydraulics, electrical, air systems, and welding. I guess my brain is now wired to come up with a solution for a problem quickly.

I've been working my way from the front to the back doing the major stuff. I haven't done anything on the body yet, so you and I are both curious as to what it will look like.:Shrug:
 
ok....so now I notice the m/c mounts on the bare frame, clever setup and location! Just curious about belt driven line shaft? on far l/h side of picture...lathe /brake or?
 
Wow, do I wish I had some madd skills like other's here do.......

I do here you about free time and having to do things, rather than sitting around the TV.

I really do like that floor layout, damn you put it together fast. Just about what I need for my trike, and was thinking of the same location for mounting at the rear.

Doing a single straight down support for the front of the floor, or a two piece ( left and right) side down supports ?

All of this is very interesting to watch and see your work, but I do like the floor frame design a lot.

:)
 

Trike Talk Community

Welcome to a community dedicated to the most diverse and fastest growing powersports segment, Motorcycle Trikes. Come join the discussion about the best makes and models, popular modifications and proven performance hacks, trike touring and travel, maintenance, meetups and more!

Register Already a member? Login

Forum statistics

Threads
55,570
Messages
901,969
Members
22,550
Latest member
stag man
 photo 260e2760-d89e-45b2-8675-2bc26fb3d465.jpg

 photo Trike-Talk-150-x-200.gif

 photo DK Trike Talk Right side banner 19.jpg

Merziere Reverser

 photo 9796095c-0d4b-4a9b-88ed-efe4c498d084.png
 photo f9866e4e-75c5-471a-86f5-5e72a446ecc3.png
Back
Top