4th generation of my trike

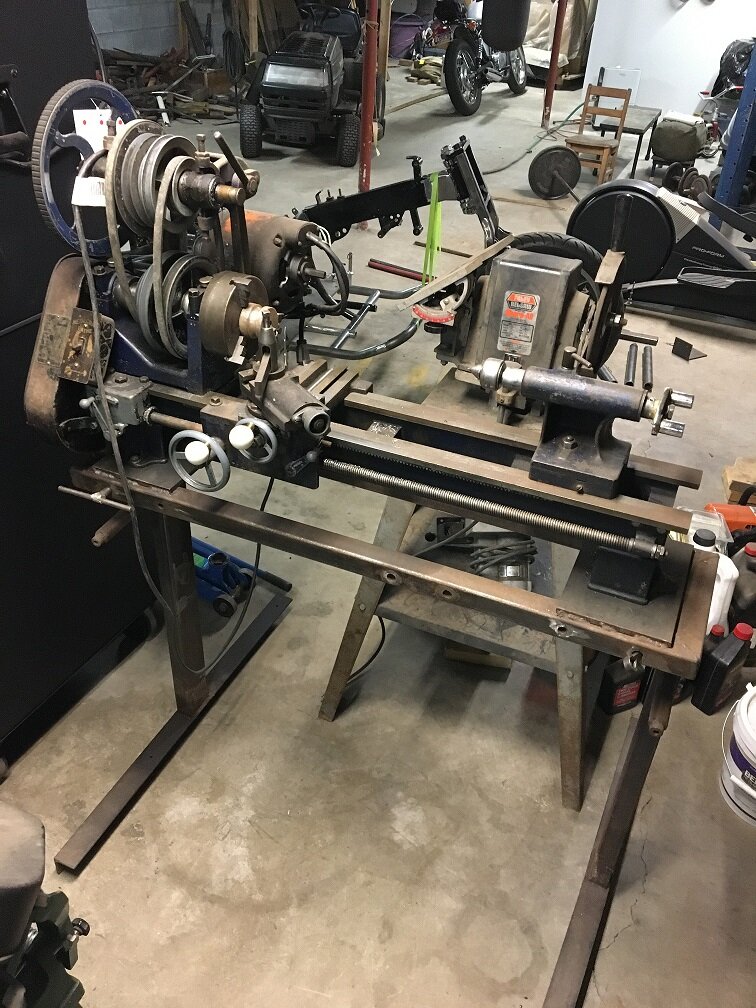
The belt driven contraption is an old lathe a friend gave me. It was all in pieces and I had to figure out how it went together. It works pretty good for what I need. The thing behind it is a saw blade sharpener that belonged to my Dad. I'd like to make a disc sander out of it.
IMG_0176.jpg

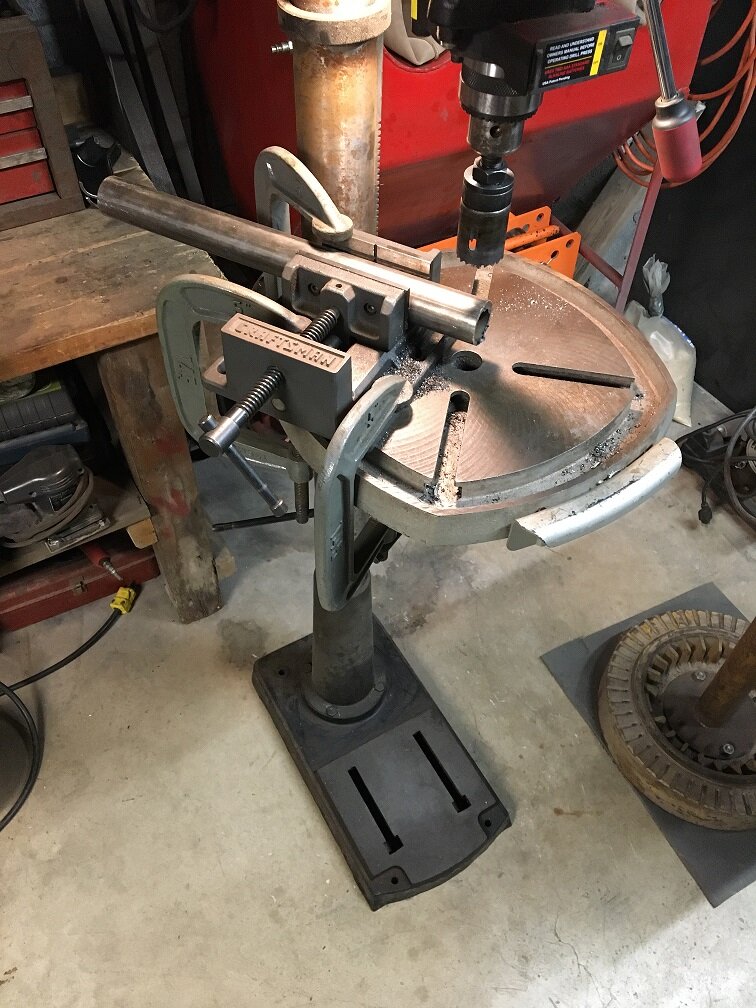
This is my setup for cutting fish mouths in the tube.
IMG_0177.jpg


I'm going to have 2 down tubes on the front. I'll try to get that done tomorrow.
 
Thanks for the shop tour...I have a small lathe, very similar..handy thing to have. A disc sander sure would help for edge finishing flame or saw cut parts. worked in a tooling shop for yrs ,then retiring to a home shop with very few machine tools was a big change for me, but I learned, improvisation by necessity!

nice work with the tube forming!
 
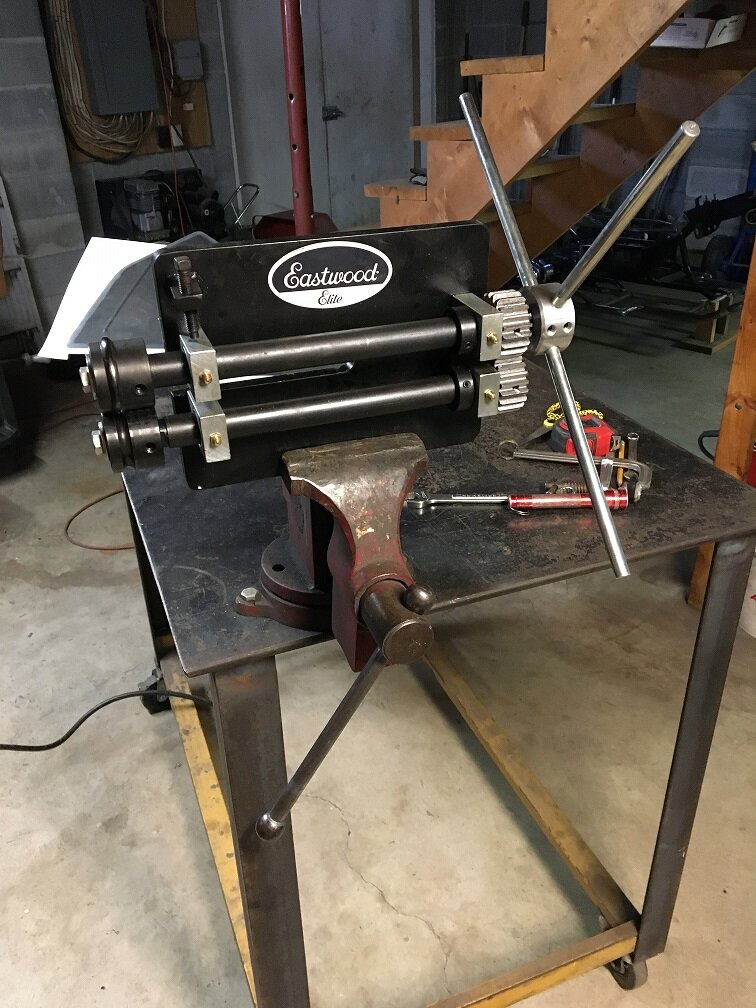
I had bought a bead roller from Eastwood for this build. I never used one before, now is a good time to learn.

IMG_0181.jpg

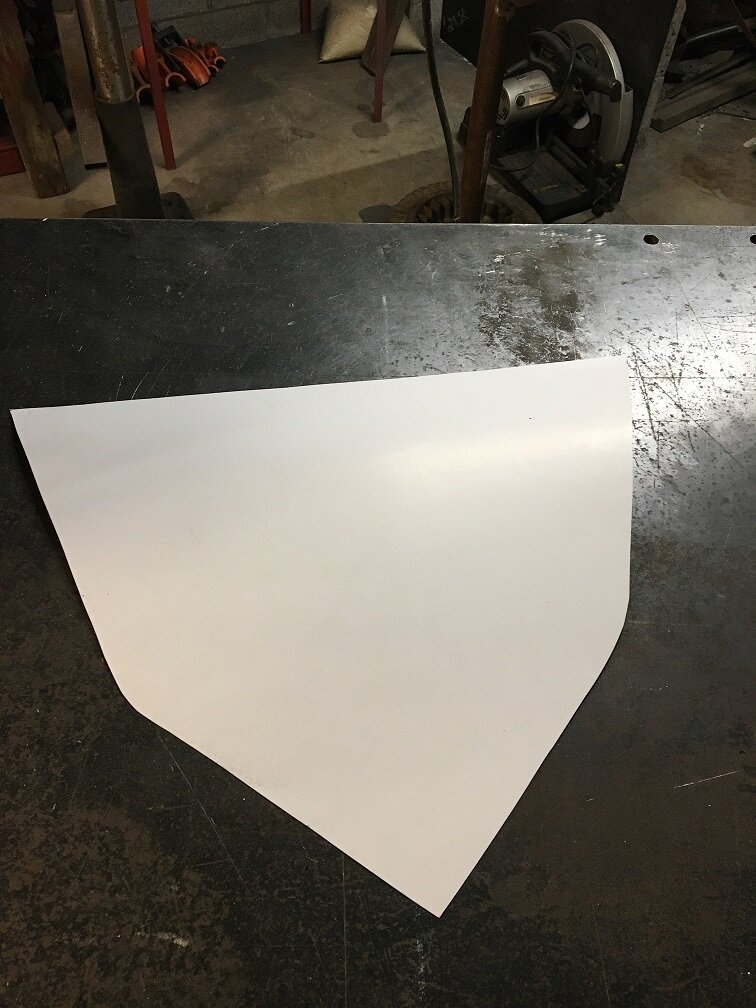
So I broke out the CAD (cardboard aided design) and made a pattern.

IMG_0180.jpg

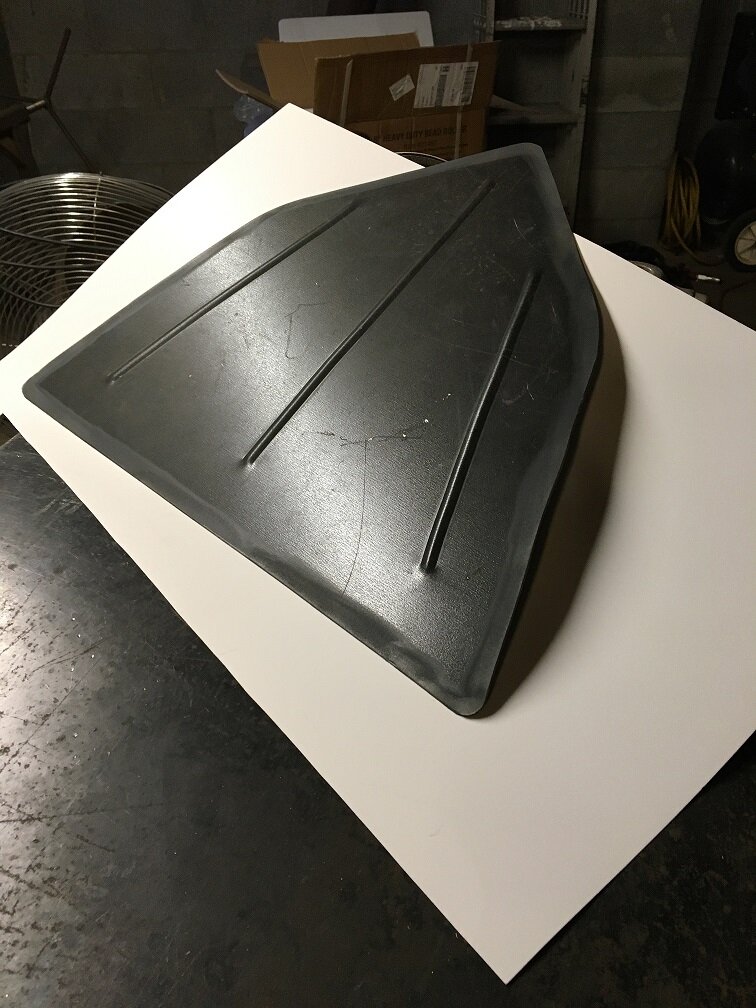
I cut it out of 18 ga. and marked off the beads. I used the 3/8" dies. It didn't go too bad but I wish the beads were bigger.

IMG_0179.jpg

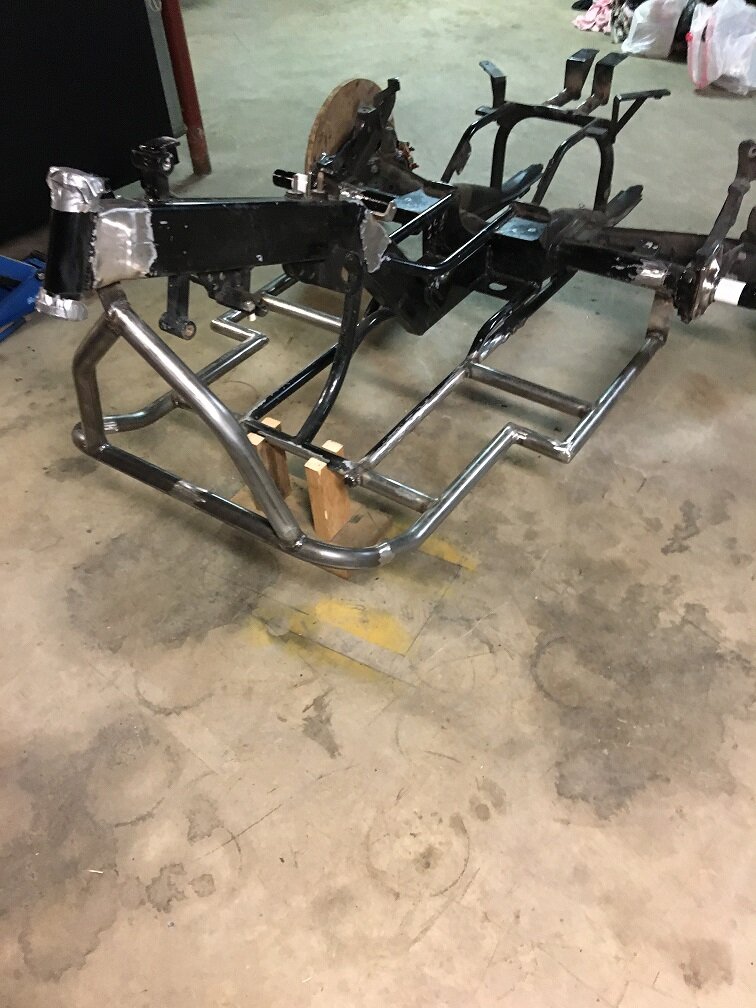
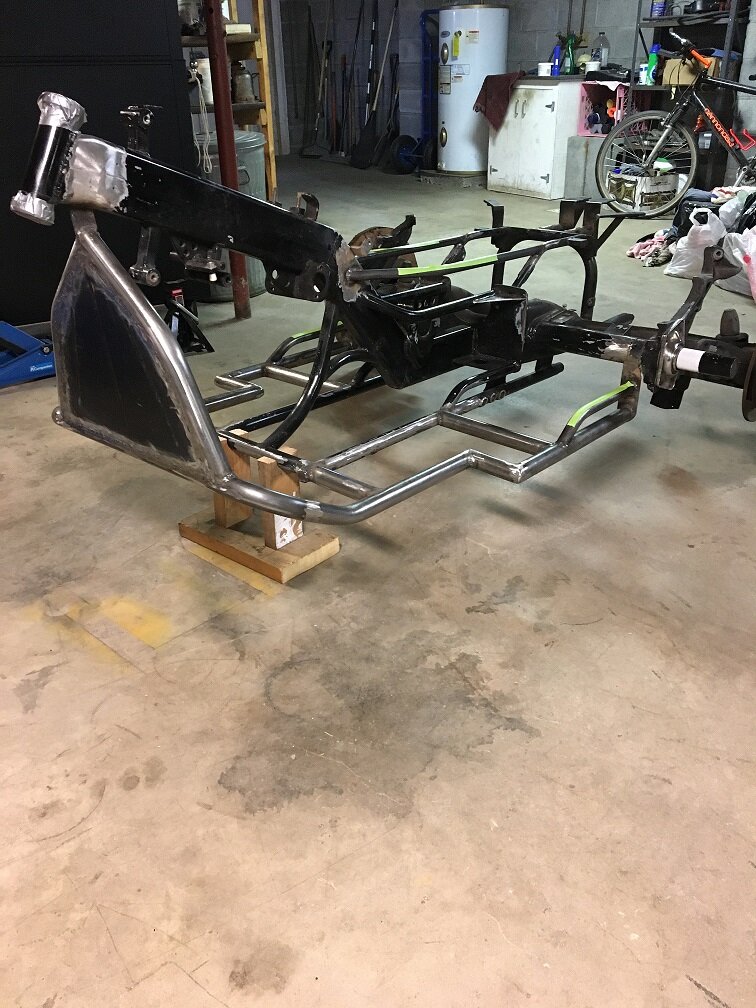
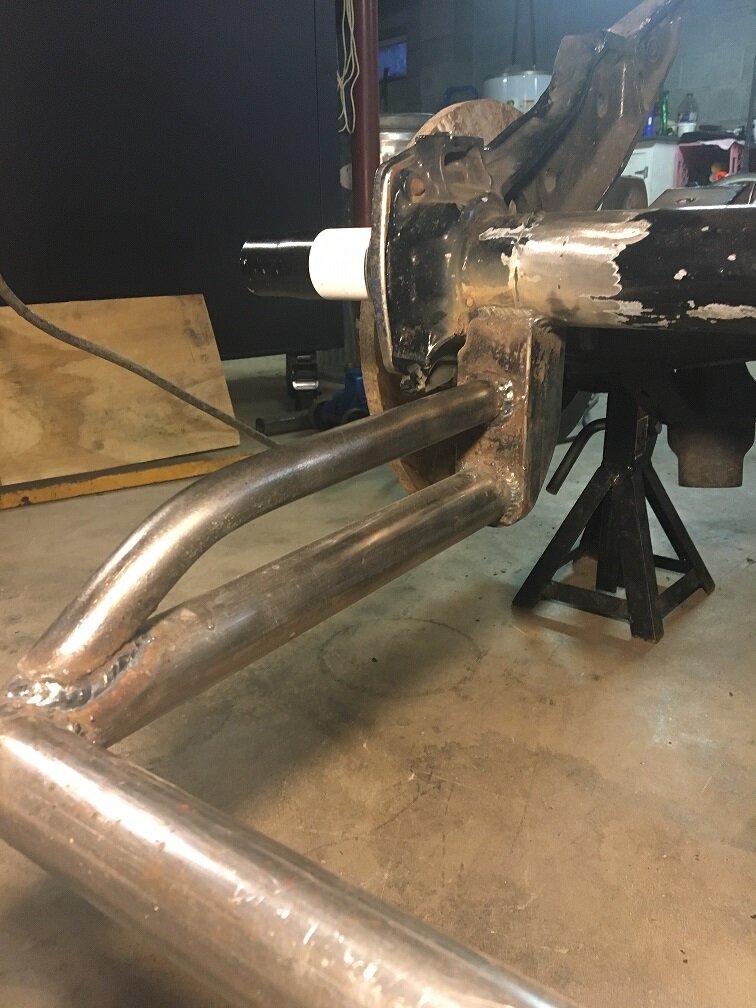
All welded in. I also put in the tubes that have green tape on them. It takes a lot of grinding when there are multi. angles. It's starting to look like a little kid's jungle gym. The top tubes are for the front seat support. The bottom tubes are to raise the passenger floor.

IMG_0182.jpg
 
Thanks, you would be more than welcome. I'm sure I could learn from you too. It's hard to find anyone, young or old, that wants to do this kind of stuff. Most ,I think, are afraid of failure but even when you fail you win because you learn.
 
A while back when I was toying with the idea of a WWII trike I got in my scrap pile and started welding tubing together.

IMG_0185.jpg

This was the result. It's totally fake. I thought about hanging it on the back but it might be more trouble than it's worth. If someone didn't steal it I'd probably get in trouble with the law. I know you have to paint the end bright orange.:cxtv:
 
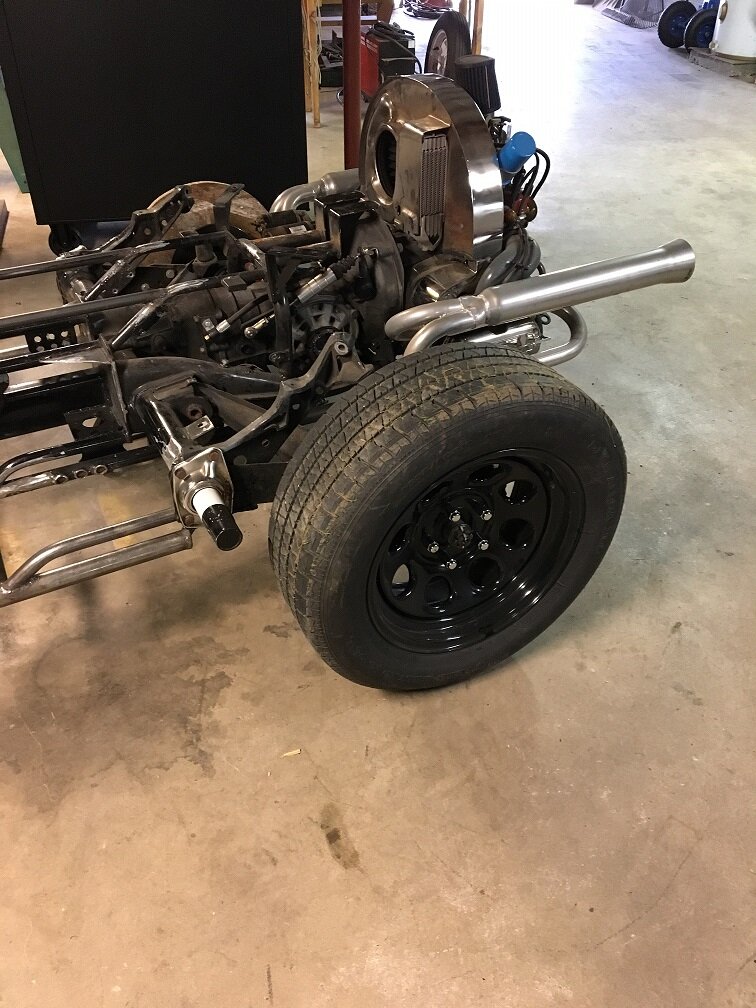
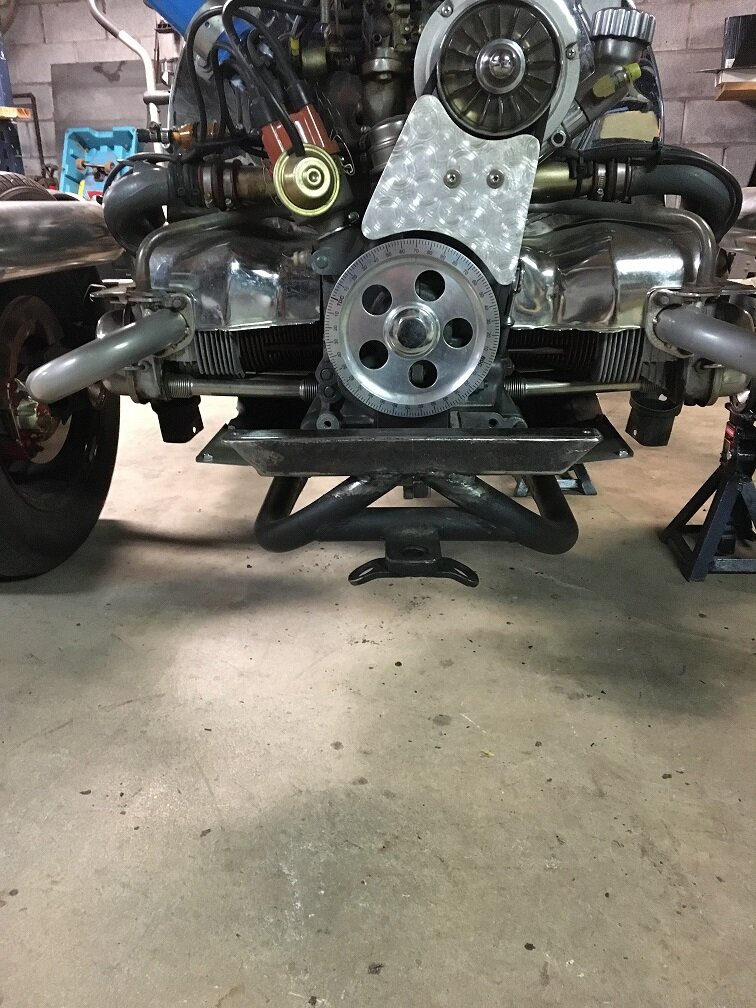
I've been working a little on the trike but this whole Getting Ready For Winter stinks. I put the engine and trans. back in so I could get an idea of what I have to build around. The tires will be replaced with a more aggressive tread. Same diameter.

IMG_0187.jpg

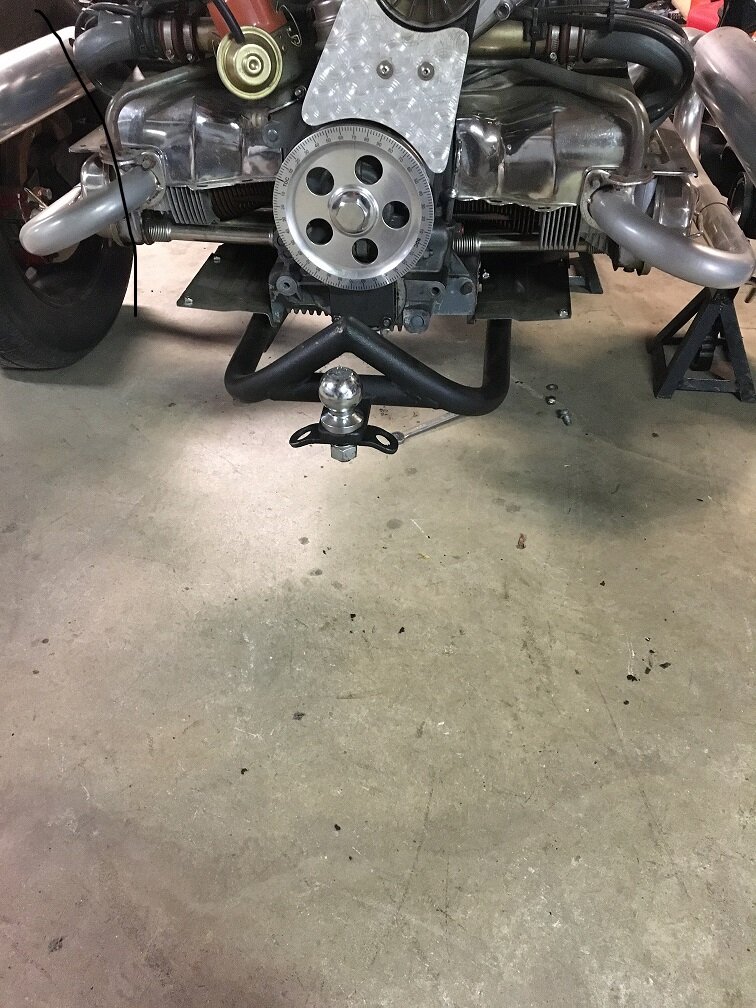
I'm going to need a rear body mounting spot and I had this hitch.

IMG_0186.jpg

I cut the tip off and added this square tube. I boxed the ends to keep water out. The body will kind of cover it.

IMG_0188.jpg

It's really hard to picture in my mind how I should do the body. I want to leave room so if in the future I want to add dual carbs. I can. The exhaust is something I have to build around. I want to be able to lift the body off without too much trouble. I never had heat problems before but closing things in needs some attention. I'll have to allow for venting. I guess I have to get out some big pieces of cardboard and cut out some profiles.
 
Looking good and enjoying the ride along with you.

You have the good fan and cooler set up. Just a couple missing tins that dont matter much on an open engine.

If you close it in there are a couple industrial engine tins that would help complete the fan cooling. But other than maybe that minor thing you should be fine with it closed up with ducted air intake.

Yep cardboard and duct tape is great. Gives you something to get the mind spinning.

I have cardboard all up.....and throw away and do something totally different. Just was not what was in the head.
 
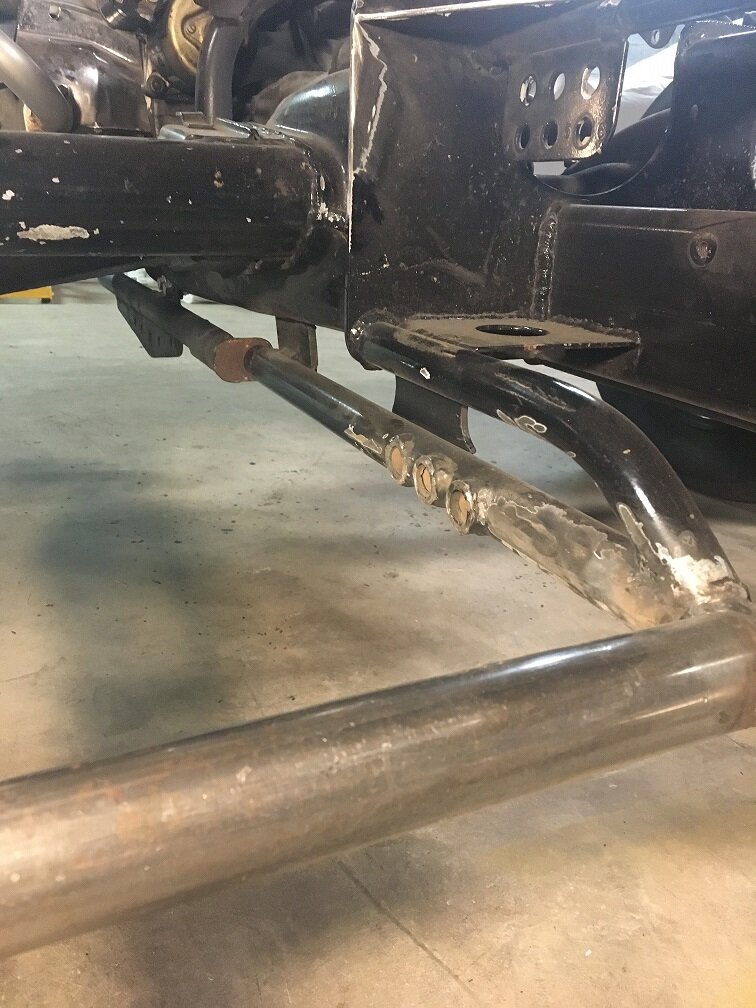
Johnny Mac, if you mean the new frame work I used a piece of 2x2x 3/16 angle I had in my scrap. Don't attach anything to the part that sticks out that I have white reflective tape on. It moves as the wheels go up and down.

IMG_0192.jpg

On the inside I just brought some tabs down and my hitch is bolted to the back.

IMG_0190.jpg

Good luck with your project.
 
Yep, when I got my trike someone had welded mounts for head lamps on the outside, and yes they moved with the rear tires, LOL.

Took them off that, but at the same time I thought to the inside would be a good location to attach the floor frame to, wow, so glad to see it being done, now I see how to do it........ this is just great, now I have to get my act together and just do things.
 
I had the old floor boards welded there for 12 years with no problems.

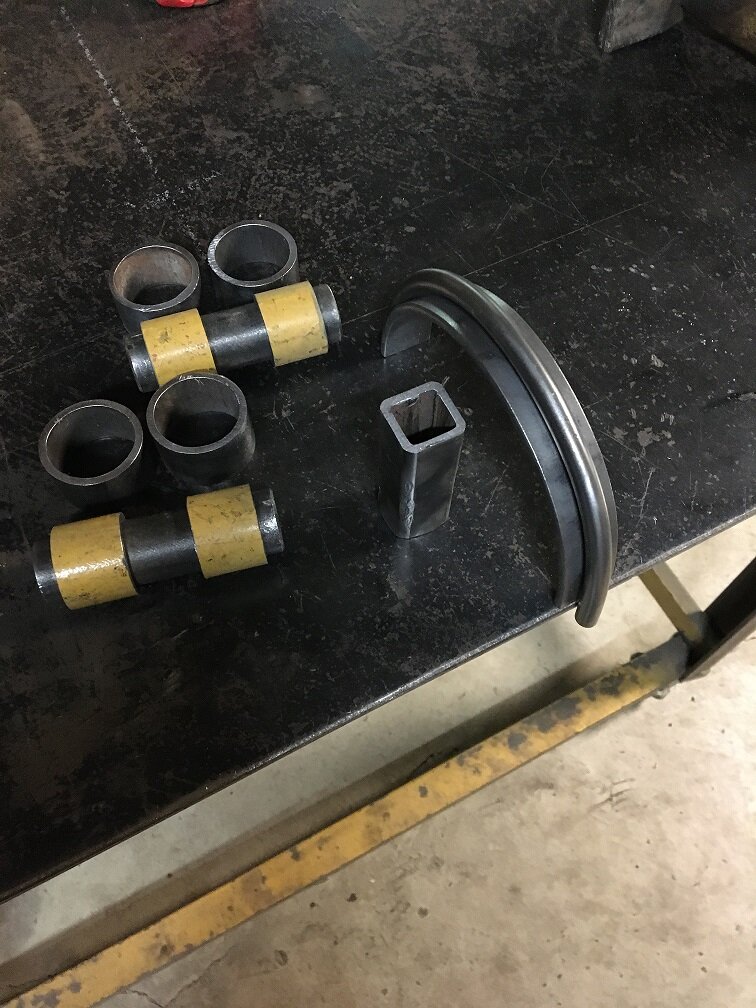
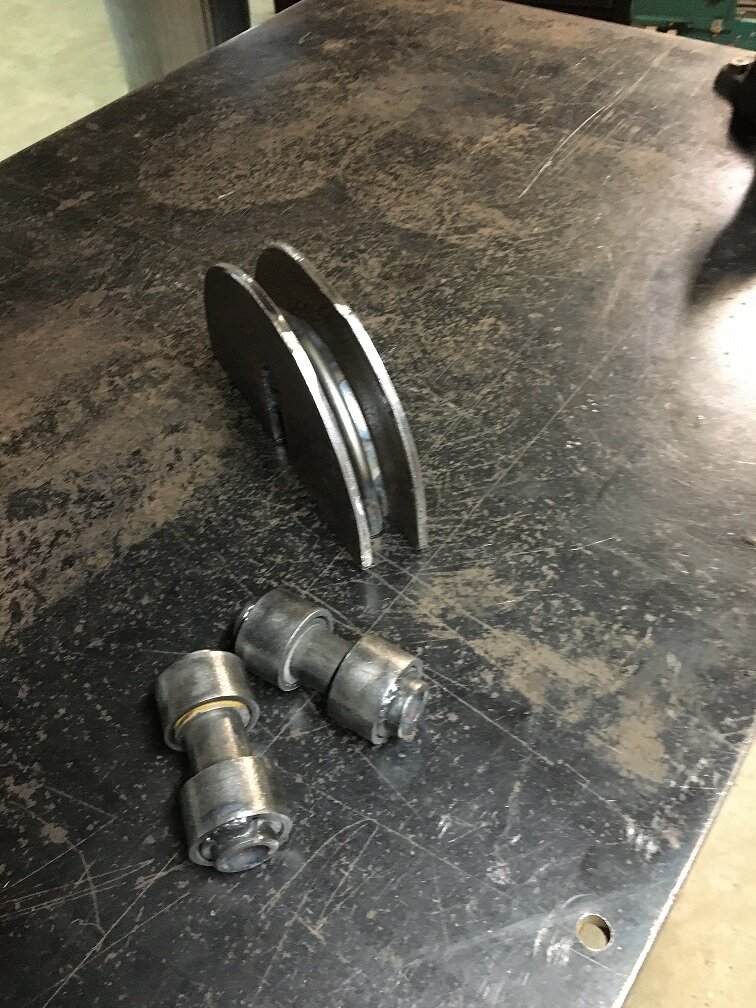
I got hold of my metal salesman to order the tubing and 18guage for the body. It will be the end of next week before it comes in. I started to build a die to bend the square tube. This is what I have so far.

IMG_0194.jpg

The tubes with the yellow tubes are the guides for the ends of the tube. It will be a pipe in a pipe in a pipe. The round bar on the half circle is to dimple the inside of the tube. The metal has to go somewhere so you shove it up. If you check most bends on anything made with square tube you will feel the indent. I have to cut out side supports yet then weld everything together. The bend will be on a 3" radius. Hopefully it will work.:Shrug:
 
It should work... I have bent some 1" square tube using a radius torched on a 3/8 plate...then beveled the edges with a grinder, bolted this to my steel table and spaced it up to the centerline of the tube " plus maybe an 1/16" to allow for the tubing growing in width as it bends. I have also duct taped a 1/4 in steel rod to the 1"tubing and bent it around a round form. you have to weld a temporary cross piece on the end of the tube being bent, to hold on to , to keep the tubing from twisting during the bend.

good luck!
 
Thanks, a lot of times you have to do what you have to do to get the job done.

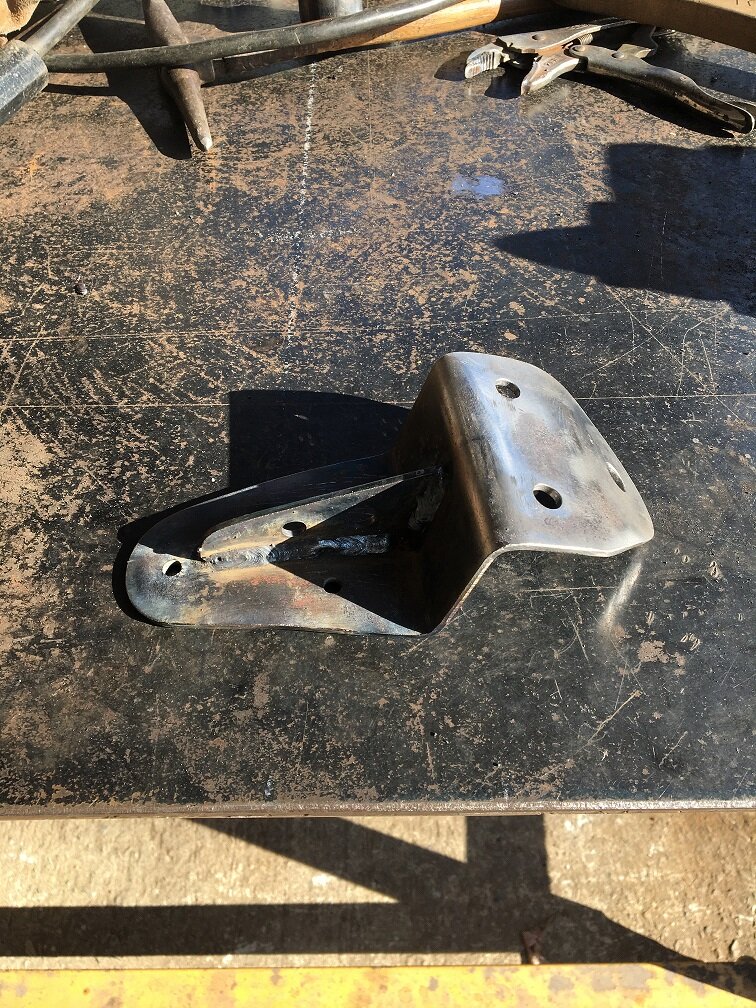
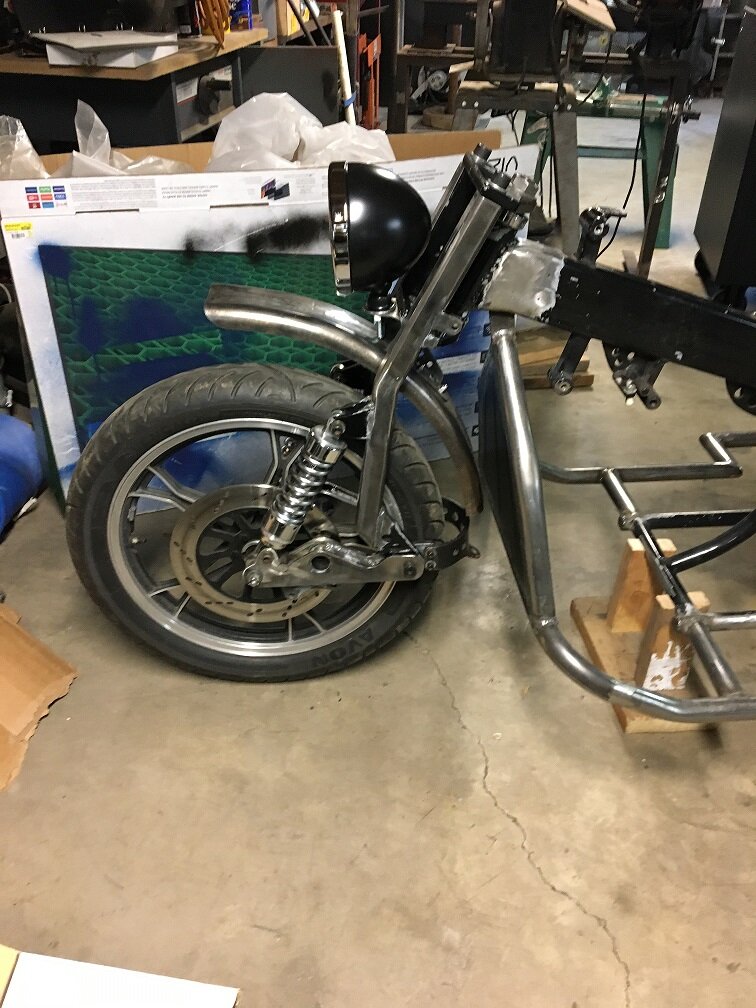
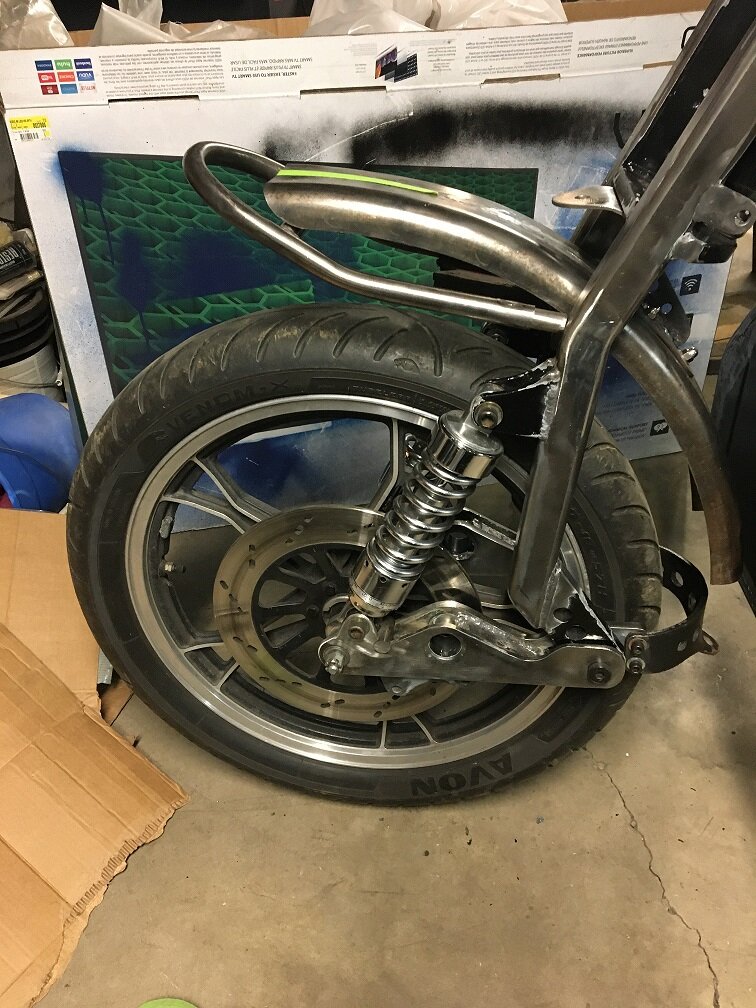
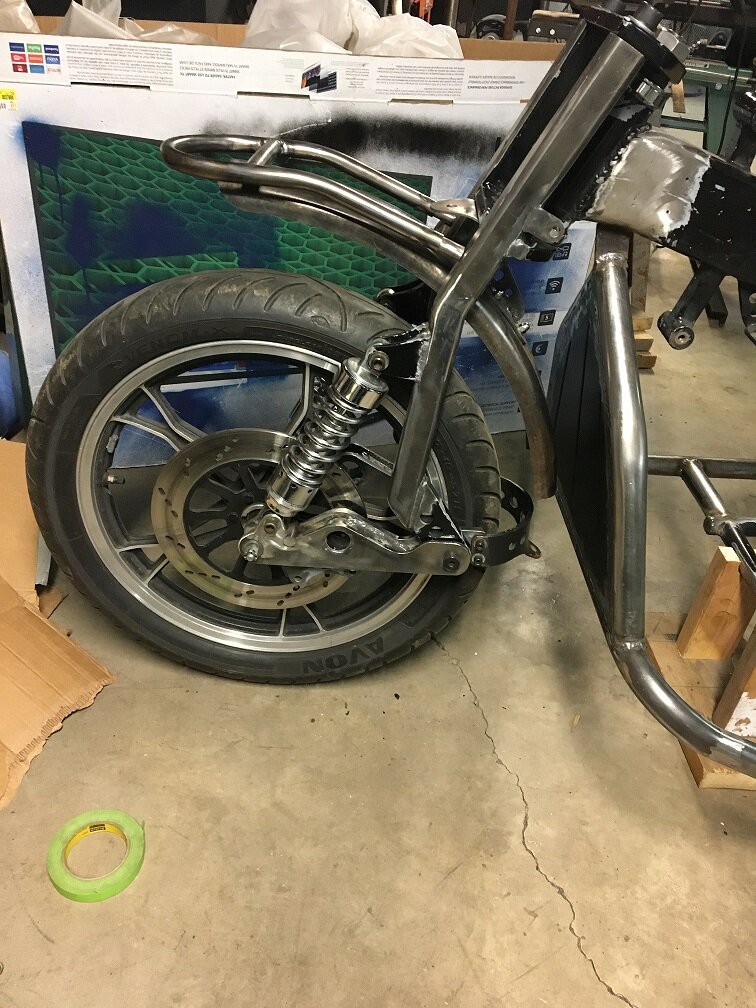
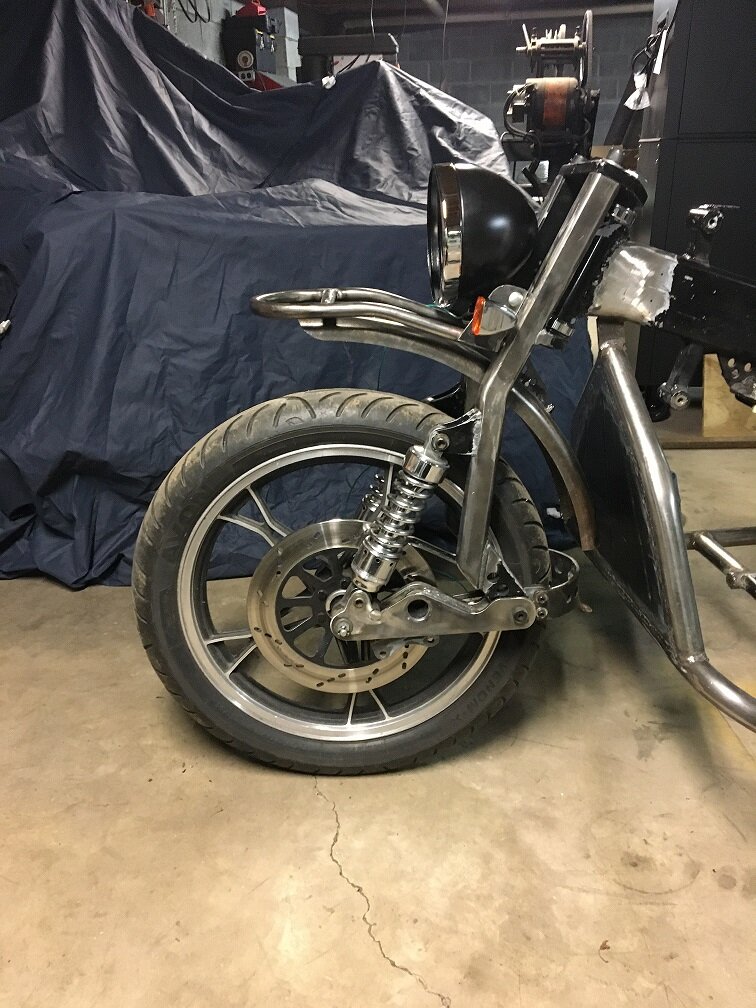
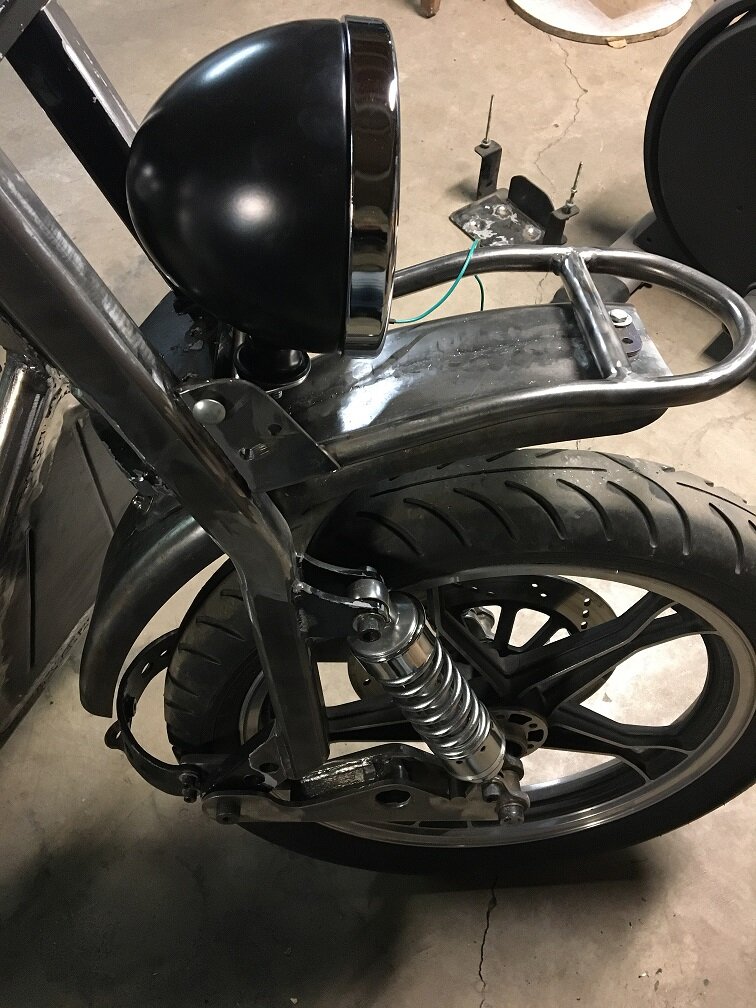
I worked on the front fender some since I don't have the body metal yet. This is a combo. fender mount/ headlight mount.

IMG_0195.jpg

I wanted a high mount fender and I got a 7" headlight because the older bikes seem to have bigger lights.

IMG_0196.jpg

I'm working on a tube fender brace for the front of the fender. When I get a little farther along with it I'll put up pictures. I have to decide which way I'm going to mount it. One way it would look like a Ural front mount and upside down it would look like a front rack. I think I'm leaning toward the front rack look.
 
I got the front brace done. This was the two choices I had. Right side up and upside down.

IMG_0197.jpg

IMG_0199.jpg

I decided to go upside down. Right side up would be the normal way and a regular bike would look best that way. I'm not really building a normal bike. It leans more toward utility. I thought the rack look would be better. I can't use it as a rack without blocking the light but it sure is different.

IMG_0200.jpg

IMG_0202.jpg

The fender will have a mudflap to extend it on both ends.
 
I'm still waiting on body metal. Hopefully Friday. I had some old rusty 1/4" plate so I cut out some sides for my square tube die. I guess tools don't have to be pretty just have to work

IMG_0205.jpg

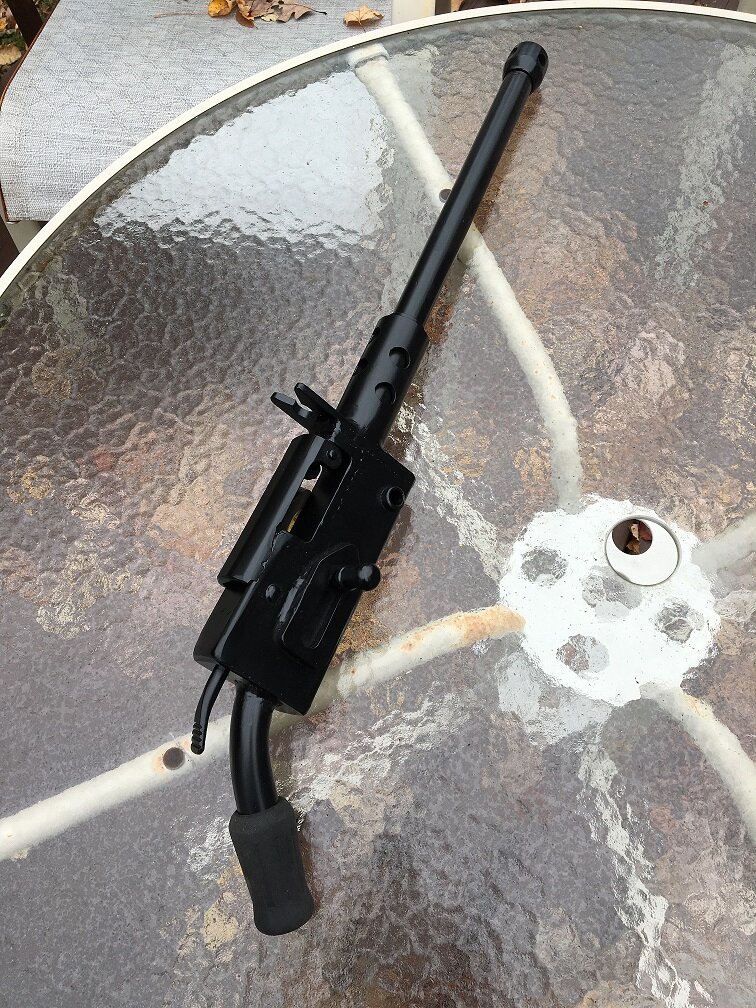
I also worked on the shifter. It stuck out the left side like a lot of VW trikes and worked fine. Raising the driver seat 4" made it too low to reach comfortably. I was thinking of moving it out farther to the left and sticking straight up like a normal shifter. I would get the inputs to the trans. with bell cranks and rods. The more I looked at it the more things I could see wrong with that idea. The slop in the linkage could add up to make shifting bad. It could be in the way of the passenger foot area. Anyone passing by it parked would be tempted to mess with the shifter sticking out in the open. I could imagine coming out to find the trike coasting down the hill in neutral.

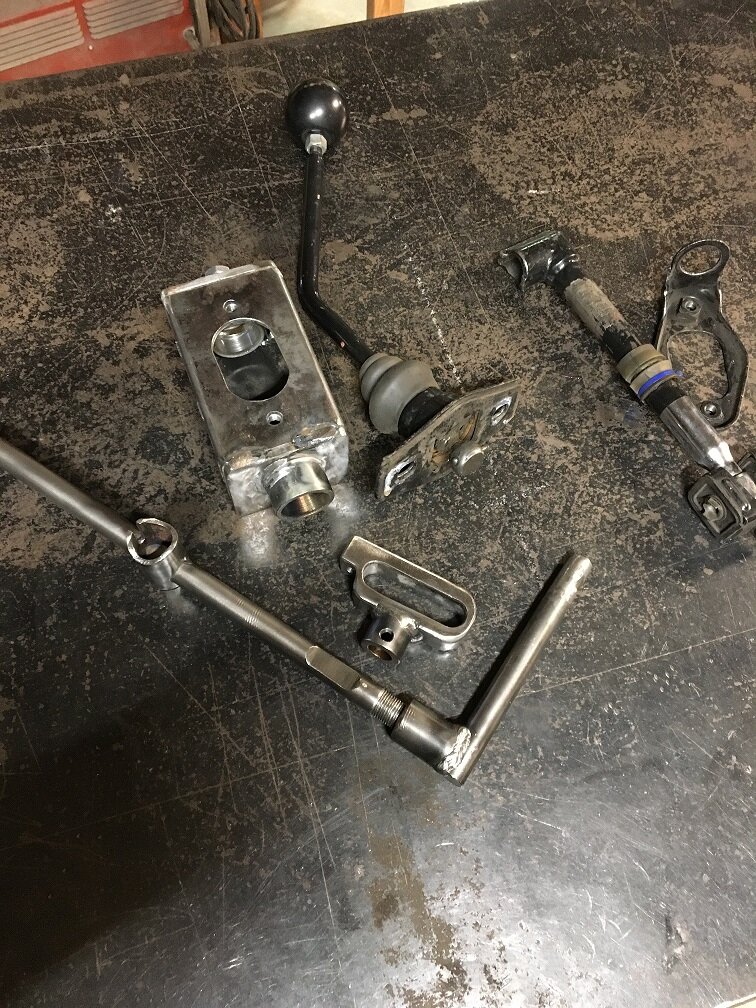
I started making my own shift box like you can buy but I made it with a heavier shaft. 5/8" vs 1/2". I'm going to raise the box 3"- 4" so I had to make something to get the inputs to the trans.

IMG_0206.jpg

The old parts are on the right. The slotted part will bolt to the front of the trans. I carved it out of 1 1/2"x 3/4" flat bar with drills, files, and grinders. The shaft will go into the box supported on both ends with bearings. The 90* rod will drop down into the slotted part. It will control in and out of the shaft. There will be ball joints from the box shaft to the slotted arm to control rotation. I'm waiting on the bearings and ball joints from McMaster Carr.
 

Welcome to the Trike Talk Community

Join our vibrant online community dedicated to all things Trikes! Whether you're a seasoned rider or just starting out, this is the place to share experiences, tips, and stories about your three-wheeled adventures. Explore modifications, maintenance advice, and rides, all while connecting with fellow trike enthusiasts from around the globe

Forum statistics

Threads
55,516
Messages
901,417
Members
22,566
Latest member
astrocreep

Trike Talk Community

Welcome to a community dedicated to the most diverse and fastest growing powersports segment, Motorcycle Trikes. Come join the discussion about the best makes and models, popular modifications and proven performance hacks, trike touring and travel, maintenance, meetups and more!

Register Already a member? Login

Forum statistics

Threads
55,516
Messages
901,417
Members
22,566
Latest member
astrocreep
 photo 260e2760-d89e-45b2-8675-2bc26fb3d465.jpg

 photo Trike-Talk-150-x-200.gif

 photo DK Trike Talk Right side banner 19.jpg

Merziere Reverser

 photo 9796095c-0d4b-4a9b-88ed-efe4c498d084.png
 photo f9866e4e-75c5-471a-86f5-5e72a446ecc3.png
Back
Top