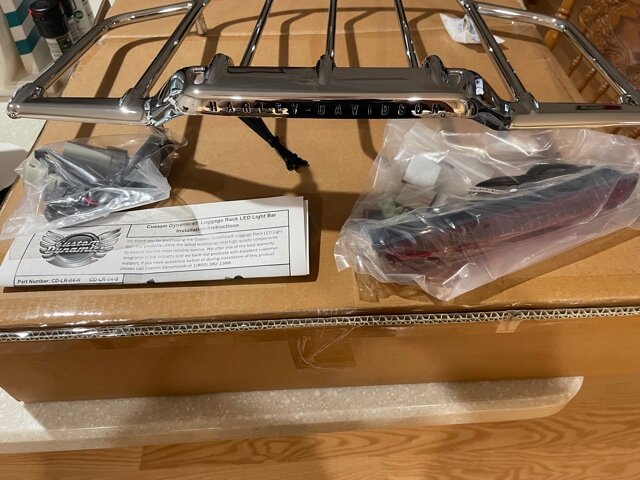
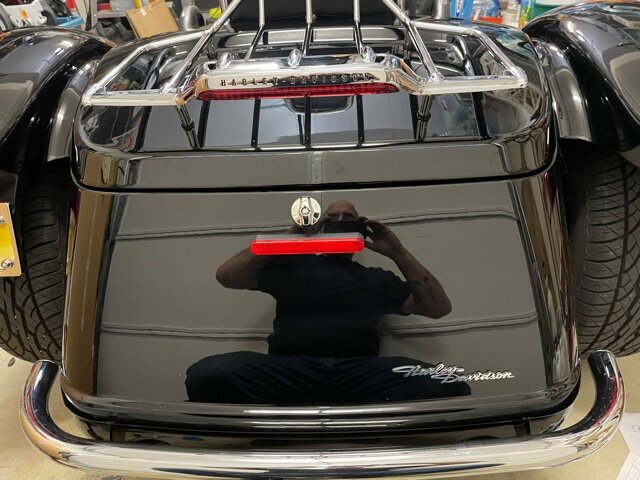
Installed a Harley Luggage Rack and Custom dynamics LED brake light

Oct 29, 2021
104
115
Manahawkin
Installed a Harley Luggage Rack and Custom dynamics LED brake light

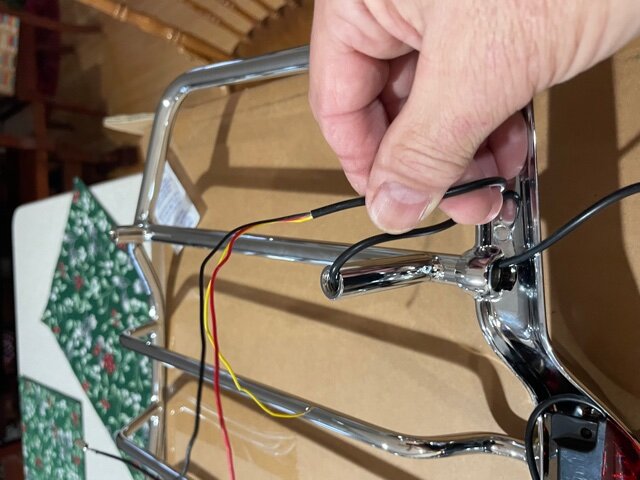
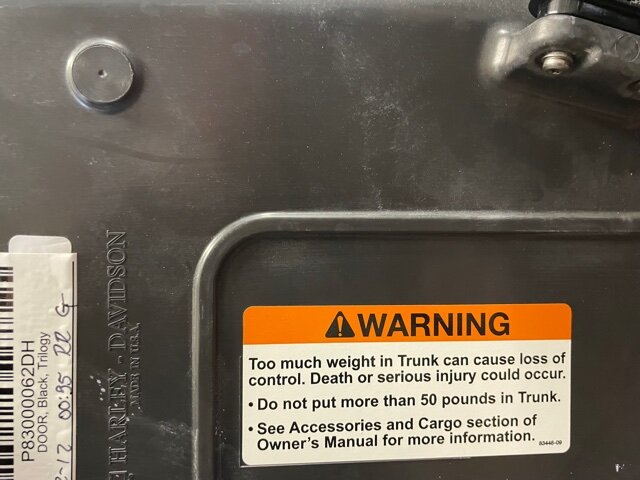
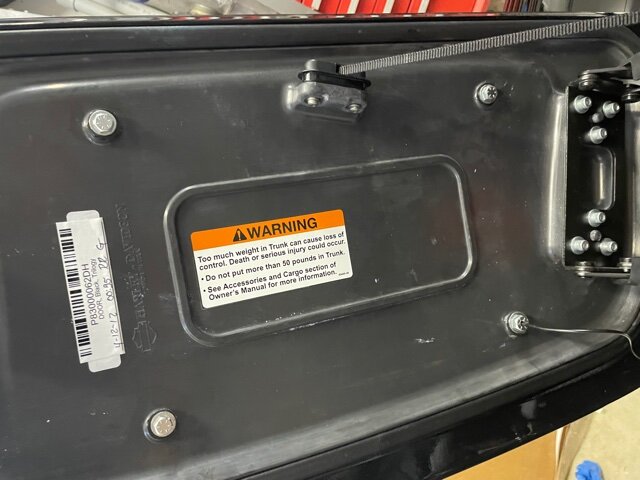
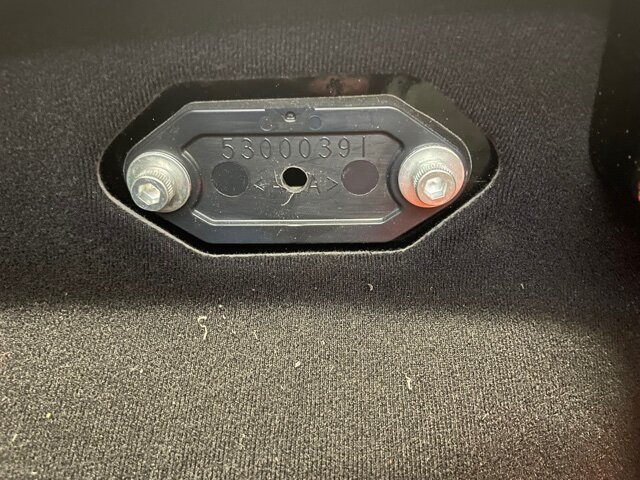
This is very simple. The Scary part is drilling in the trunk deck. Be sure to drill straight and use the correct size drill bits. And BE SURE YOU DRILL THE CORRECT SIZE HOLE FOR THE WIRE.

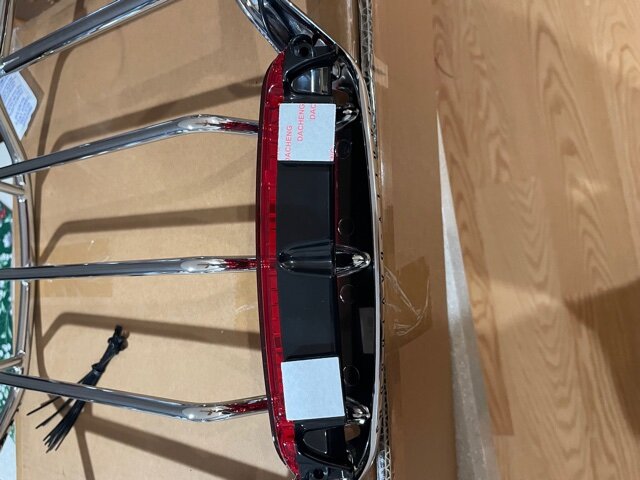
I used thread lock on the screws for the LED light . Use a little sealer on the pad for the rack (Helps from them falling off on the installation . I also used sealer on the interior holes before I installed the bolts.

Drill a 1/4 in hole in the trunk ( Check behind it to make sure there is nothing there)

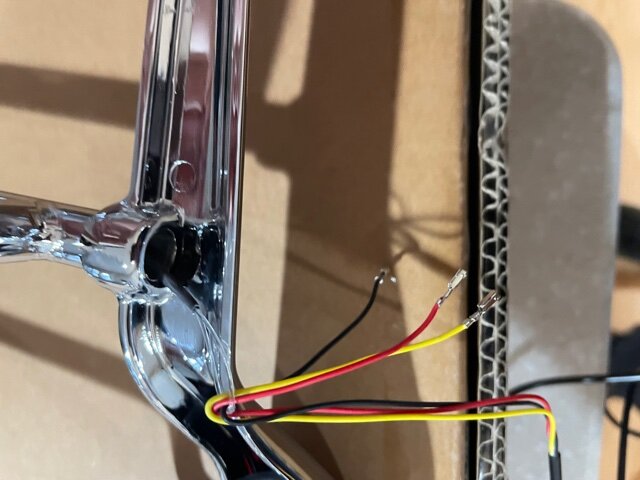
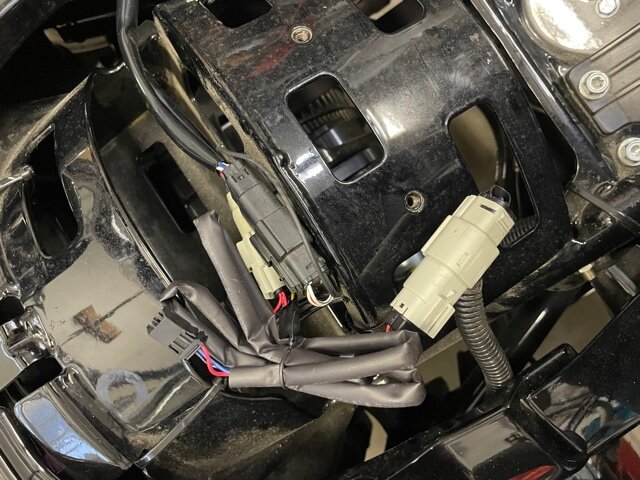
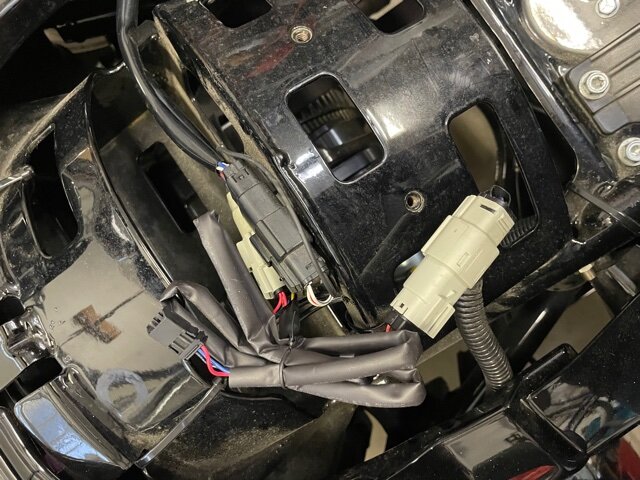
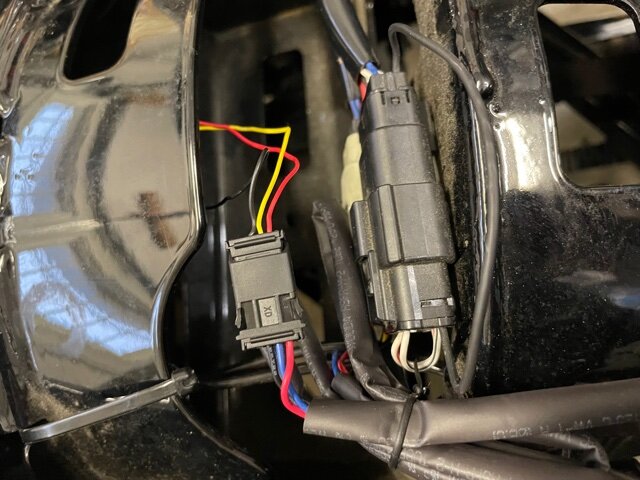
The rear light plugs are the Light color ones. Be sure to just set the plug in a little bit from the LED light so you see where to install the wires. (Make sure the wires are in the correct openings)

Clean the trunk (use an alcohol wipe) Place the wire keepers . TEST DONEIMG_0849.jpgIMG_0848.jpgIMG_0852.jpgIMG_0853.jpgIMG_0854.jpgIMG_0850.jpgIMG_0859.jpgIMG_0862.jpgIMG_0861.jpgIMG_0864.jpg
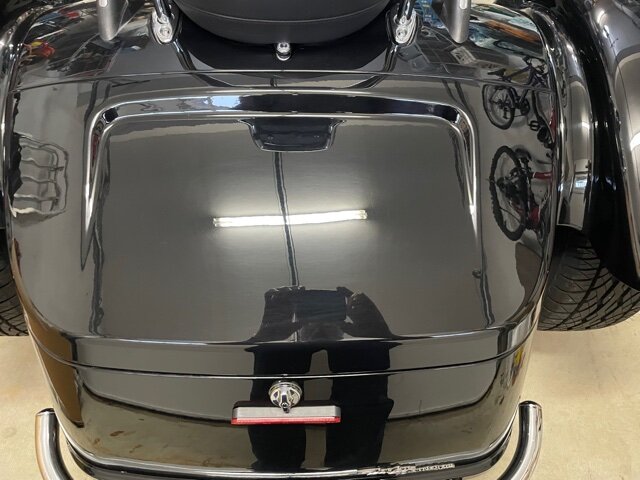
 
Is the connector for the light attached to an existing connector under the seat or do you have to add something to the wiring harness for it to attach to? Nice job, by the way.
 
I have wondered if the LED Custom Dynamics light is brighter than the oem LED Harley luggage rack light. Does anyone know or have compared the two?
 
I have wondered if the LED Custom Dynamics light is brighter than the oem LED Harley luggage rack light. Does anyone know or have compared the two?

The Custom Dynamics light is (no offense NTJersey) much better light. Brighter and angled slightly different than the HD version which certainly out performs the HD light for visibility. I had the HD version on the wife’s Freewheeler and after seeing the CD almost changed it out.
 
I forgot to mention put tape on the outside where you are drilling the holes .

Don't force the drill Let it do the work (you will damage the paint if you push too hard)

there is a jumper provided by Custom Dynamics . (Harley may not have your correct jumper) The second picture shows the connection of the jumper wire to the rear light. Sorry for triplicates , computer burped) The LED light is very bright.

IMG_0861.jpgIMG_0863.jpgIMG_0863.jpgIMG_0863.jpg
 
Thanks Joe! In pictures that I had seen, it ‘looked’ brighter, but I didn’t ‘know’ for sure. I will get one of them instead of the HD lights.

Tony,

It Good thing that you mention the tape on the paint. I have heard of a lot of ‘flub-ups’ of paint, when drilled.

Thanks again for the info on the brightness.

Jim
 
There is a lot of plugs under that rear seat!!

I have got to find out which one to plug my friend’s trailer light wiring into. Maybe he has instructions. (“Real men don’t read or need instructions!” [This guy does … every now and then! LOL])
 
RareSS

They will be the light colored plugs. Mine had Two sets of plugs , a black one on top and and the light colored one below it . If you go back to the pictures you will see the both sets of plugs. (Black and a White) If you separate the plugs and check inside you will see if they are the correct plug. And Custom Dynamics had the correct colored plugs in that jumper wire.

I want to thank all who liked and thanked me. You all are great people to confer with.

Like I said everything was easy. Drilling into a 24K bike trunk lid was the OH c$$p moment for me.

Just take your time , chances are the plugs are keyed specific for each thing.

PS I used a wide blue masking tape.
 
Last edited:
The CD brake light is on my wife's luggage rack. Easy install and adds visibility.

I was so excited when I bought my FW that I ordered the brake light right away only to be let down when I went to install it. I didn't notice it was the wrong type of luggage rack on the trunk so I had to return it.

I did put LEDs in the turn signal/brake lights so that is a help. I haven't decided if I'll change the luggage rack in the future to be able to add the third brake light.
 
Luggage Rack Done

I installed my luggage rack today with the CD LED light. Perfect! I did follow the postings of NJTony concerning the wiring and install no problems. Great job on the posting. Custom Dynamics does explain the install very well in their instructions.

ppyI even took pictures but when I looked at them I had no really good pictures. NJTony posted the pics anyway. So I went for a short ride of about 30 miles and is was 49 degrees. My last ride of this year :Santa: Happy New Year everyone!:clapping::cool:
 

Welcome to the Trike Talk Community

Join our vibrant online community dedicated to all things Trikes! Whether you're a seasoned rider or just starting out, this is the place to share experiences, tips, and stories about your three-wheeled adventures. Explore modifications, maintenance advice, and rides, all while connecting with fellow trike enthusiasts from around the globe

Forum statistics

Threads
55,515
Messages
901,404
Members
22,562
Latest member
gdow5150

Trike Talk Community

Welcome to a community dedicated to the most diverse and fastest growing powersports segment, Motorcycle Trikes. Come join the discussion about the best makes and models, popular modifications and proven performance hacks, trike touring and travel, maintenance, meetups and more!

Register Already a member? Login

Forum statistics

Threads
55,515
Messages
901,404
Members
22,562
Latest member
gdow5150
 photo 260e2760-d89e-45b2-8675-2bc26fb3d465.jpg

 photo Trike-Talk-150-x-200.gif

 photo DK Trike Talk Right side banner 19.jpg

Merziere Reverser

 photo 9796095c-0d4b-4a9b-88ed-efe4c498d084.png
 photo f9866e4e-75c5-471a-86f5-5e72a446ecc3.png
Back
Top