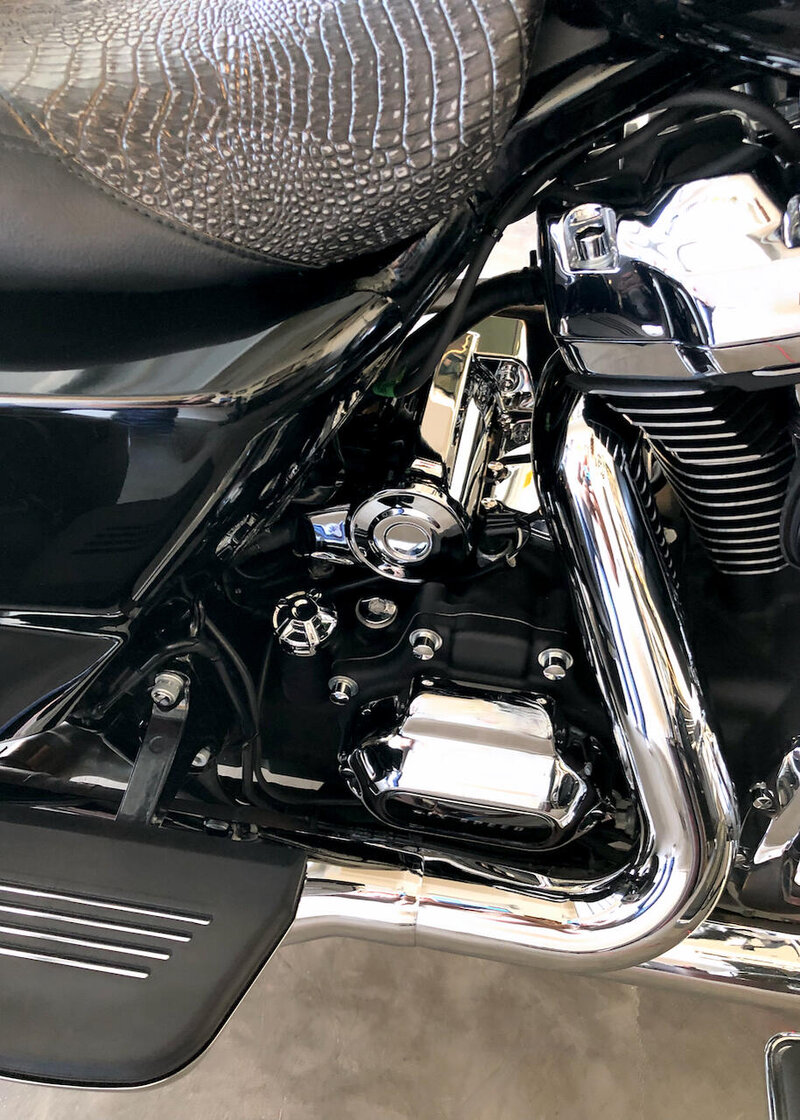
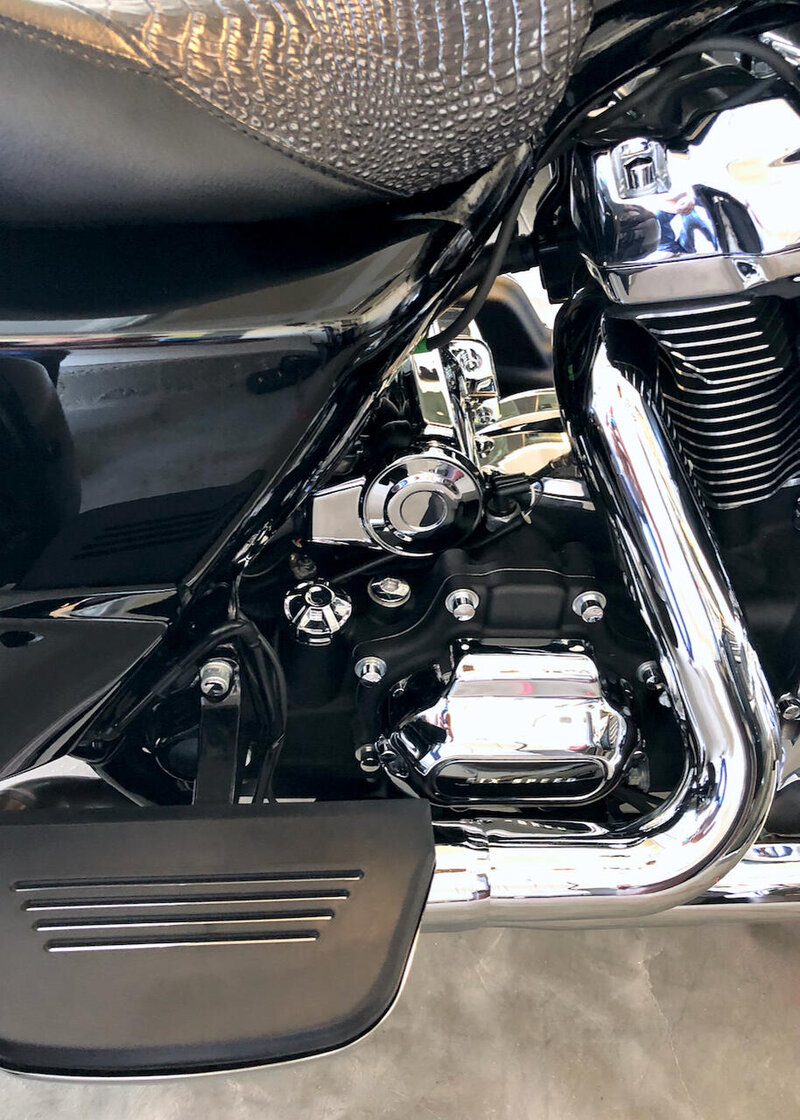
Chrome Starter Motor Cover

Went ahead and ordered the chrome starter motor cover from Parts Giant. (I swear this forum is going to bankrupt me.) I figured if I had to pull the main fuse to replace my spark plugs anyway why not add a shinny thing and save the effort of pulling the fuse again later? See? It makes perfect sense to order it now. :)

Chrome Starter Motor Cover ... Install requires a minor amount of cursing and just a touch of loosing my mind, but in the end, WalLah. Nice right? imho
IMG_8309.jpg IMG_7250.jpeg IMG_8311.jpg
 
Went ahead and ordered the chrome starter motor cover from Parts Giant. (I swear this forum is going to bankrupt me.) I figured if I had to pull the main fuse to replace my spark plugs anyway why not add a shinny thing and save the effort of pulling the fuse again later? See? It makes perfect sense to order it now. :)

My Kuryakyn Starter Motor Cover showed up today. Two hours later I gave up. The holes didn't line up. I could catch a couple of threads on that inside bolt then it would stop turning. Even pushing down while trying to thread it in didn't help. It got to the point where I was afraid of stripping out the threads on that inner primary cover and that would be a really bad day. I'm a stubborn man, but it was time to quit. Maybe I'll try it again another day.
 
My Kuryakyn Starter Motor Cover showed up today. Two hours later I gave up. The holes didn't line up. I could catch a couple of threads on that inside bolt then it would stop turning. Even pushing down while trying to thread it in didn't help. It got to the point where I was afraid of stripping out the threads on that inner primary cover and that would be a really bad day. I'm a stubborn man, but it was time to quit. Maybe I'll try it again another day.

JT, would it help to ream the holes a bit for some wiggle room

That is why I do not like stamped parts ,some times 1 run gets screwed up, nothing but bad JUJU
 
My Kuryakyn Starter Motor Cover showed up today. Two hours later I gave up. The holes didn't line up. I could catch a couple of threads on that inside bolt then it would stop turning. Even pushing down while trying to thread it in didn't help. It got to the point where I was afraid of stripping out the threads on that inner primary cover and that would be a really bad day. I'm a stubborn man, but it was time to quit. Maybe I'll try it again another day.

Hey JT ... I'm gonna assume that you used a ball end allen socket to get to the rear bolt. After several expressions of profanity myself, and a couple of socket head slips while removing the original bolts where I was sure I had snapped the bolt, I regrouped, called in the level headed wife and anxiety meds, we went at it together. This made a big difference. Debs got on the wrench end and I went around to the other side of the bike. When the socket was properly in the bolt head I held it in place while Debs backed it out. The extra set of hands (and eyes) made all the difference. The directions also call for a 5/16 allen head and I'm sure that you quickly discovered that it's actually 1/4 that you need. I didn't think it was going on but after the regroup it all fell right into place
 
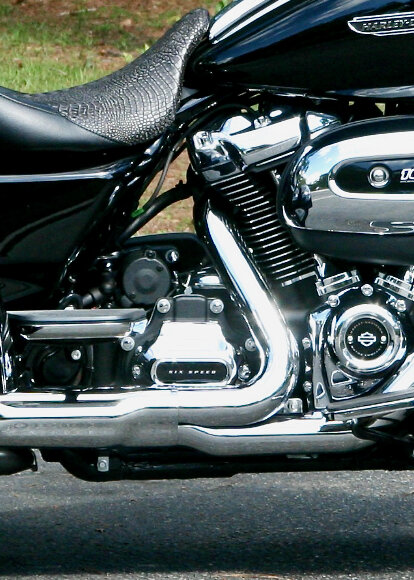
It's on! Had to ream out both holes to get the holes in the cover lined up with the holes in the inner primary housing, but that rear mounting bolt still wouldn't tighten down. Put the original factory bolt back in and it tightened right up. Something about the chrome plating on the Kuryakyn bolts weren't mating right with the threads on that back primary hole. If not for those two issues that entire install should have taken no more than 20 minutes, start to finish. It does look nice.
 
It's on! Had to ream out both holes to get the holes in the cover lined up with the holes in the inner primary housing, but that rear mounting bolt still wouldn't tighten down. Put the original factory bolt back in and it tightened right up. Something about the chrome plating on the Kuryakyn bolts weren't mating right with the threads on that back primary hole. If not for those two issues that entire install should have taken no more than 20 minutes, start to finish. It does look nice.

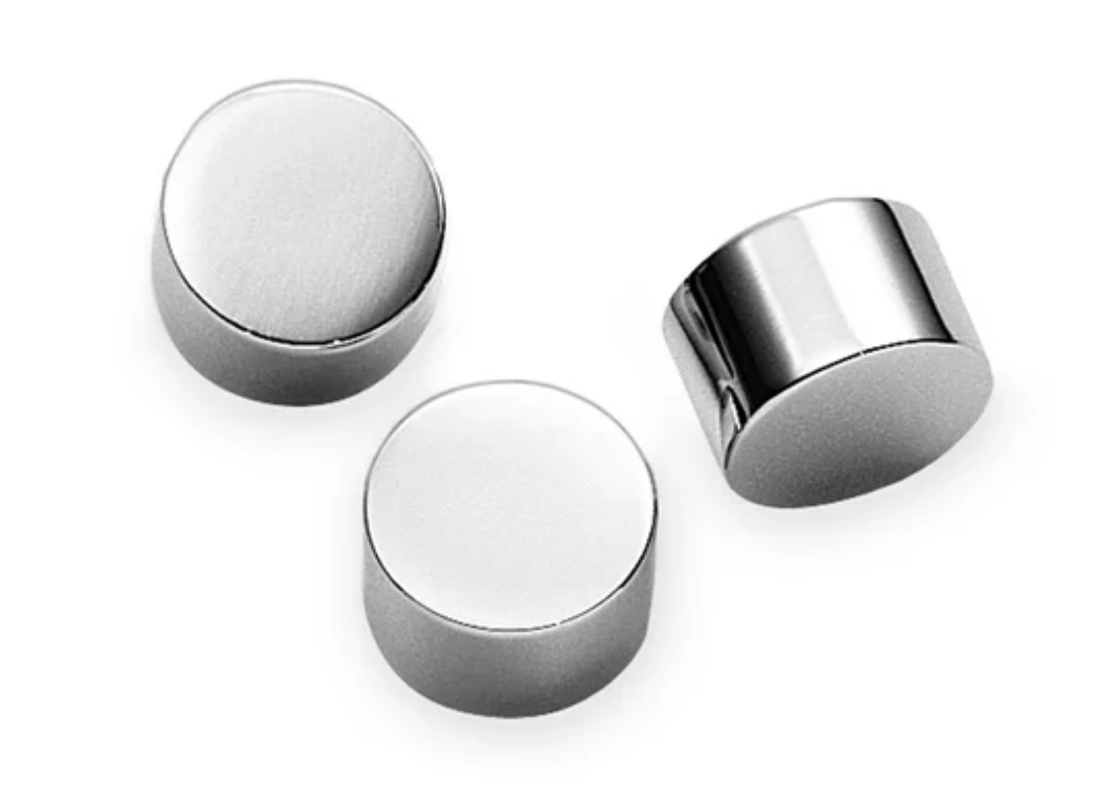
Glad you got that worked out JT. You should check out the YouTube video of the guy from JP Cycles installing this. Takes him like 1 minute and 34. I found that humorous during my install event :) Also if you like, you can put 2 "snap caps" over the bolt heads so everything is chrome again

Screen Shot 2023-09-18 at 10.29.45 AM.png
 
Glad you got that worked out JT. You should check out the YouTube video of the guy from JP Cycles installing this. Takes him like 1 minute and 34. I found that humorous during my install event :)

He’s probably filming the second or third one he’s installed…The first one always takes much longer…Like anything else after the first one…The rest are a snap……👍
 

Welcome to the Trike Talk Community

Join our vibrant online community dedicated to all things Trikes! Whether you're a seasoned rider or just starting out, this is the place to share experiences, tips, and stories about your three-wheeled adventures. Explore modifications, maintenance advice, and rides, all while connecting with fellow trike enthusiasts from around the globe

Forum statistics

Threads
55,580
Messages
902,142
Members
22,558
Latest member
NILLA

Trike Talk Community

Welcome to a community dedicated to the most diverse and fastest growing powersports segment, Motorcycle Trikes. Come join the discussion about the best makes and models, popular modifications and proven performance hacks, trike touring and travel, maintenance, meetups and more!

Register Already a member? Login

Forum statistics

Threads
55,580
Messages
902,142
Members
22,558
Latest member
NILLA
 photo 260e2760-d89e-45b2-8675-2bc26fb3d465.jpg

 photo Trike-Talk-150-x-200.gif

 photo DK Trike Talk Right side banner 19.jpg

Merziere Reverser

 photo 9796095c-0d4b-4a9b-88ed-efe4c498d084.png
 photo f9866e4e-75c5-471a-86f5-5e72a446ecc3.png
Back
Top