4th generation of my trike

Thanks everyone for the likes , comments , and following along.

Today I took my wheels and got new tires on them.
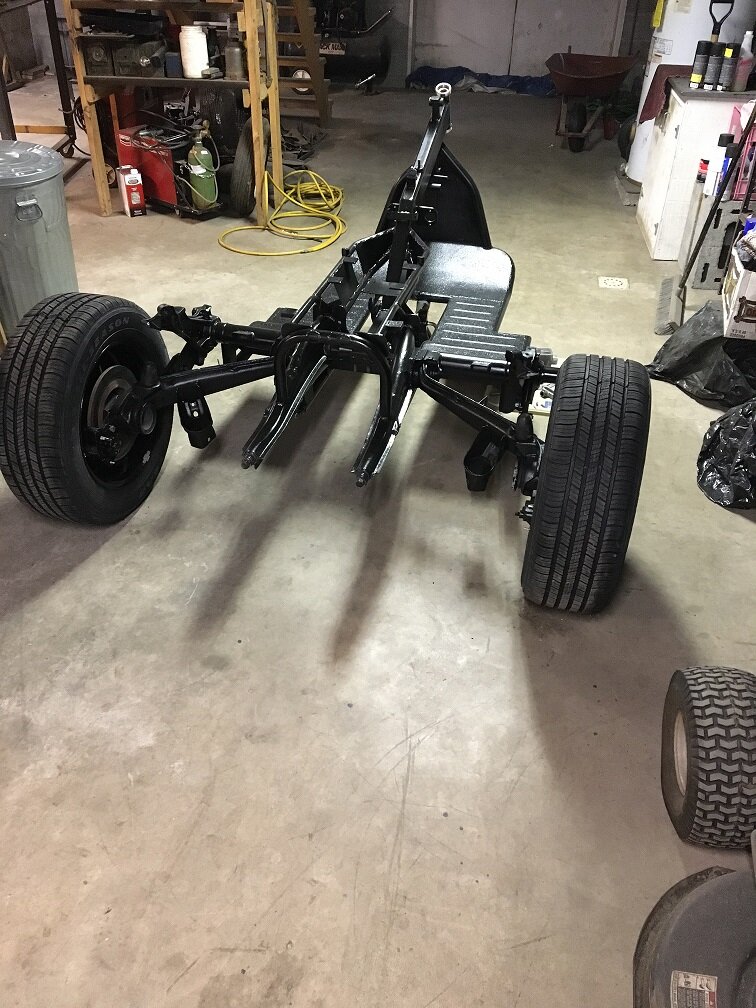
IMG_0315.jpg

I really wanted a more aggressive pattern but to get that in the size I need I would have had to go to a winter tire. The compound would have been a lot softer and I think the summer heated roads would have torn them up. These are all- season ones.

I'll probably start to put the front end together next. That will put some weight up front so I can begin to hang stuff on the back like the transmission and shocks. I really need to get a front tire so it's all stable.
 
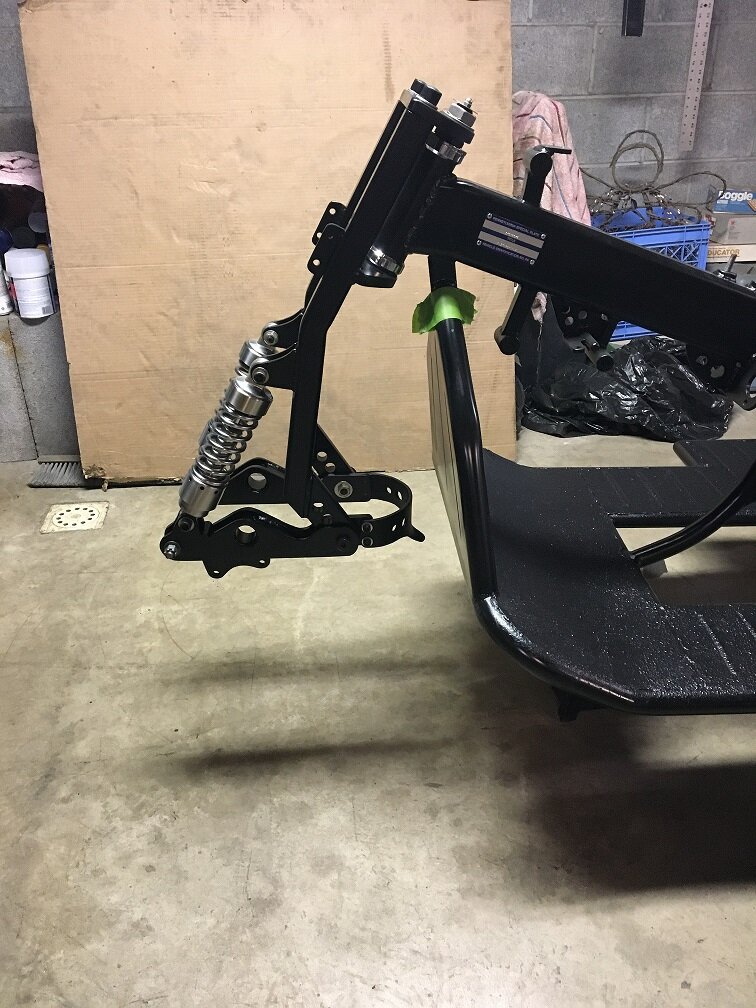
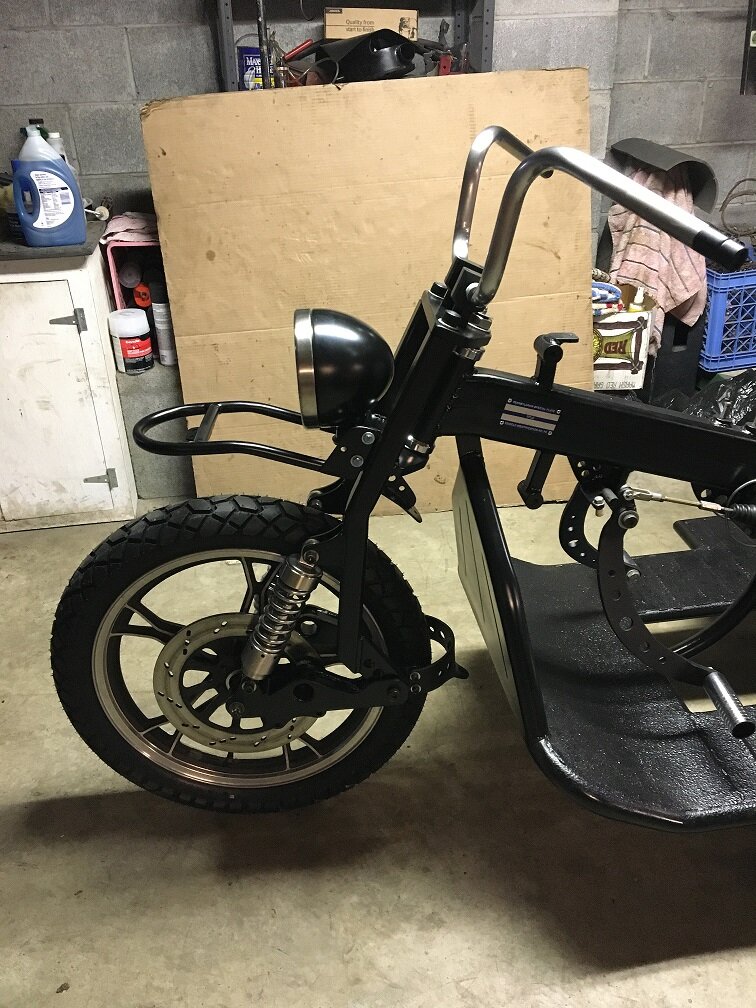
I put the front end together as far as I can without a tire.

IMG_0316.jpg

I brushed the chrome on the shocks with a Scotch Brite to take the shine off.

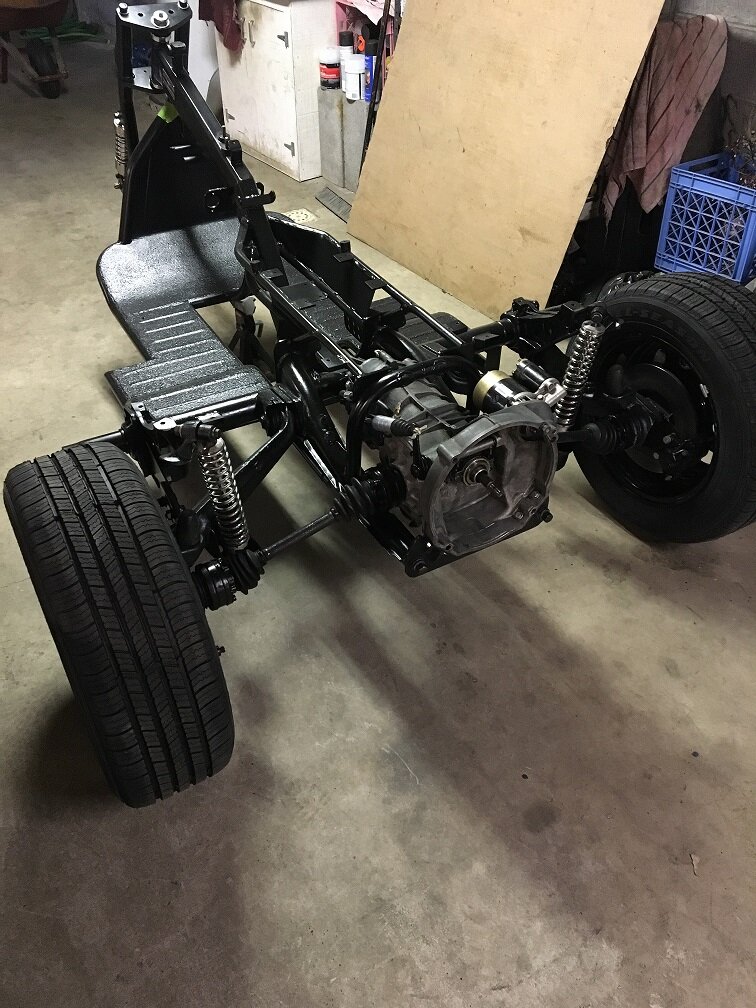
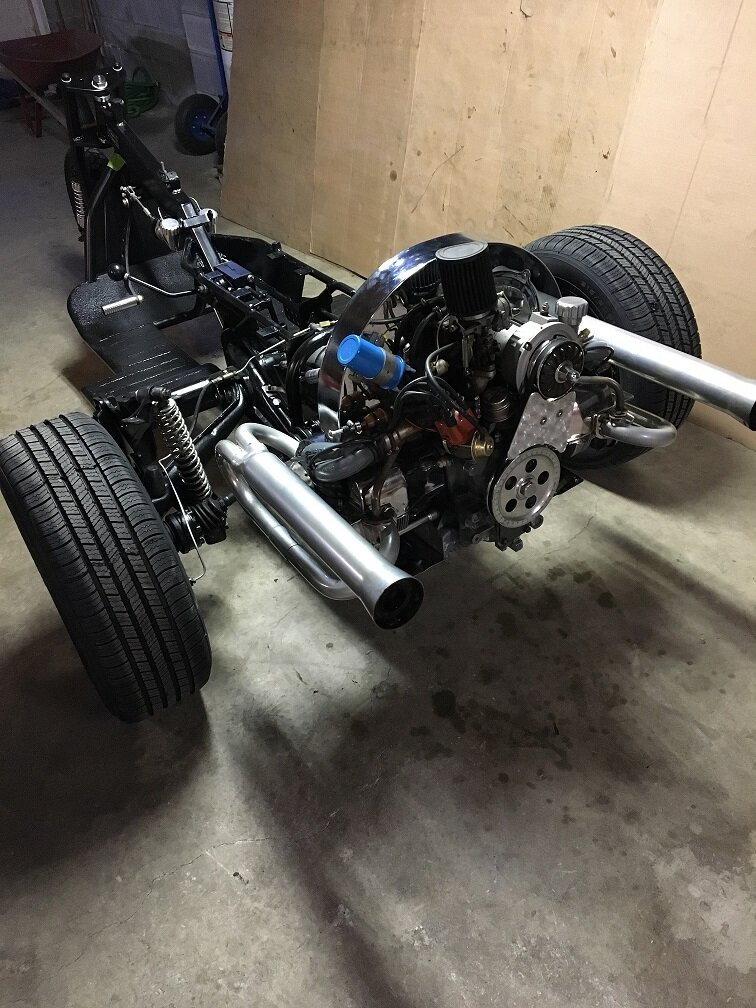
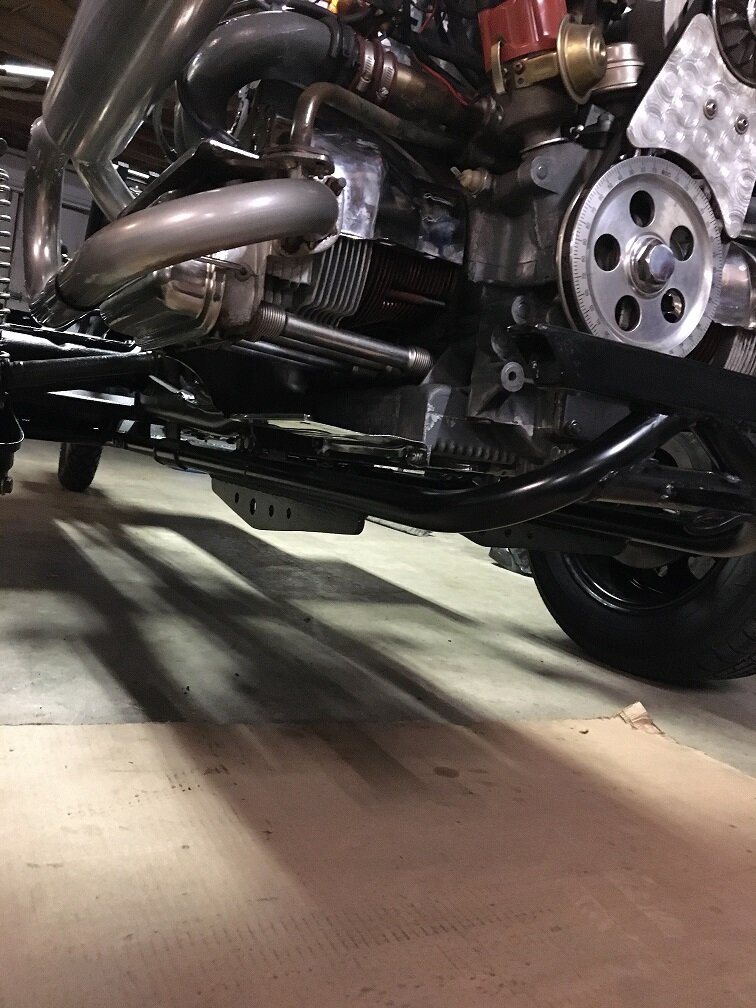
I mounted the shocks, transmission, and axles in the rear.

IMG_0317.jpg

I can now start to put the plumbing for the clutch and brakes on. You have to think a couple steps ahead so the stuff you need is painted and dry when you need it.
 
Progress

I keep peeking in on your progress. It's really, really nice. I especially love the front forks. I'm currently trying to get my and my wife's Yamaha's converted to trikes and in fact removed the second fender from the mold today. Once they are done I'm pulling my friends VW trike out of the corner and start on it. Your build is giving me ideas I can do for little to nothing using what we have lying around. Of course, I need to first see if the engine case can be saved. Thanks for the inspiration.
 
Thank you. I've been following your builds too. Very impressive work. On mine I've found that you can do complicated stuff if you break it down to the basics and do one thing at a time. The main thing is get out there and do something.

Keep up the good work.
 
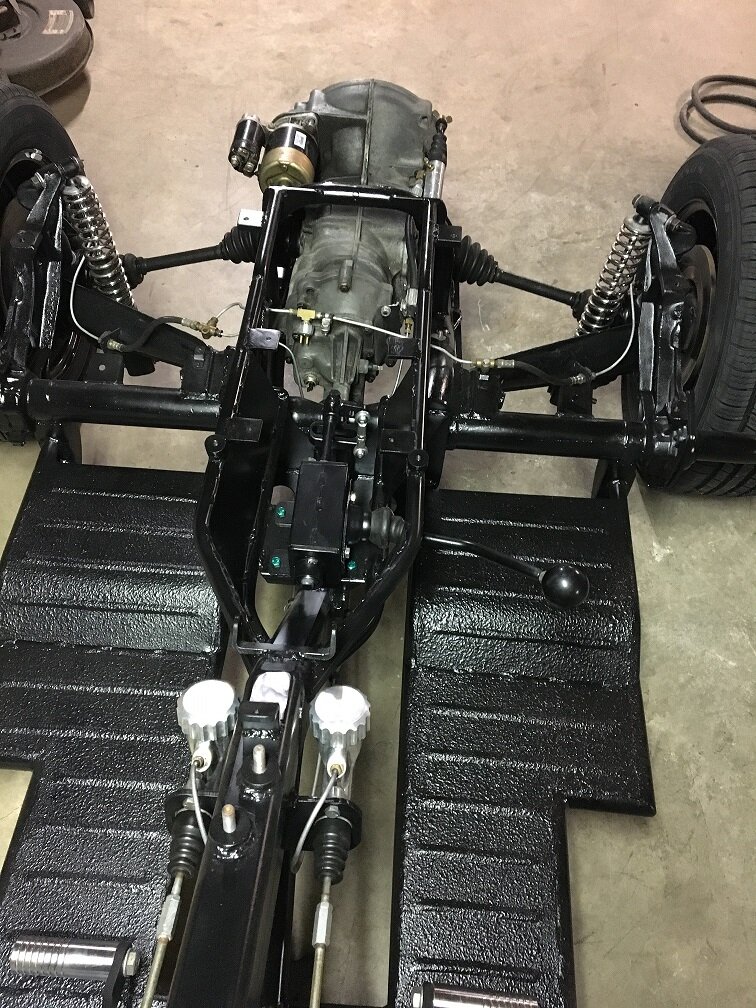
Brakes and clutch all plumbed and bled.

IMG_0318.jpg

I got the shifter assembled and put on and adjusted too.

IMG_0319.jpg

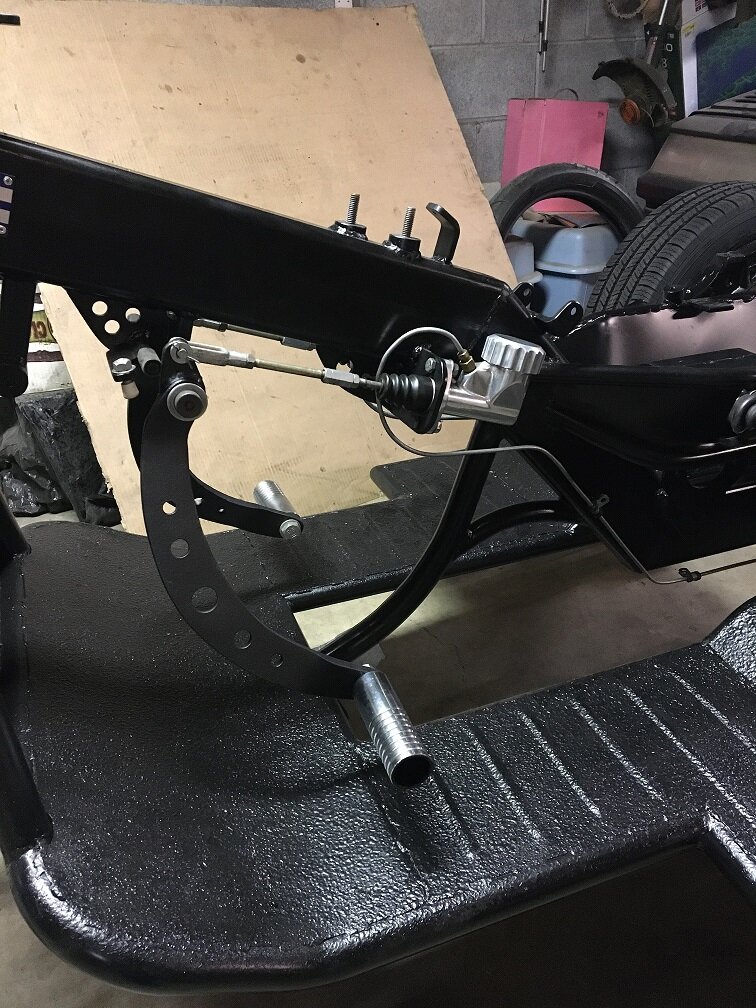
This is my clutch and brake setup. Dune buggy master cylinders, about 8 to 1 ratio on the arm, and the pedals came from Walmart. They were the pegs the kids put on their BMX bikes on the axles to do stunts with.

When I went out to get the paper my new front tire was out side my door. I guess that will be next.

I can't believe it just passed 50,000 views on this build. Thanks everyone.
 
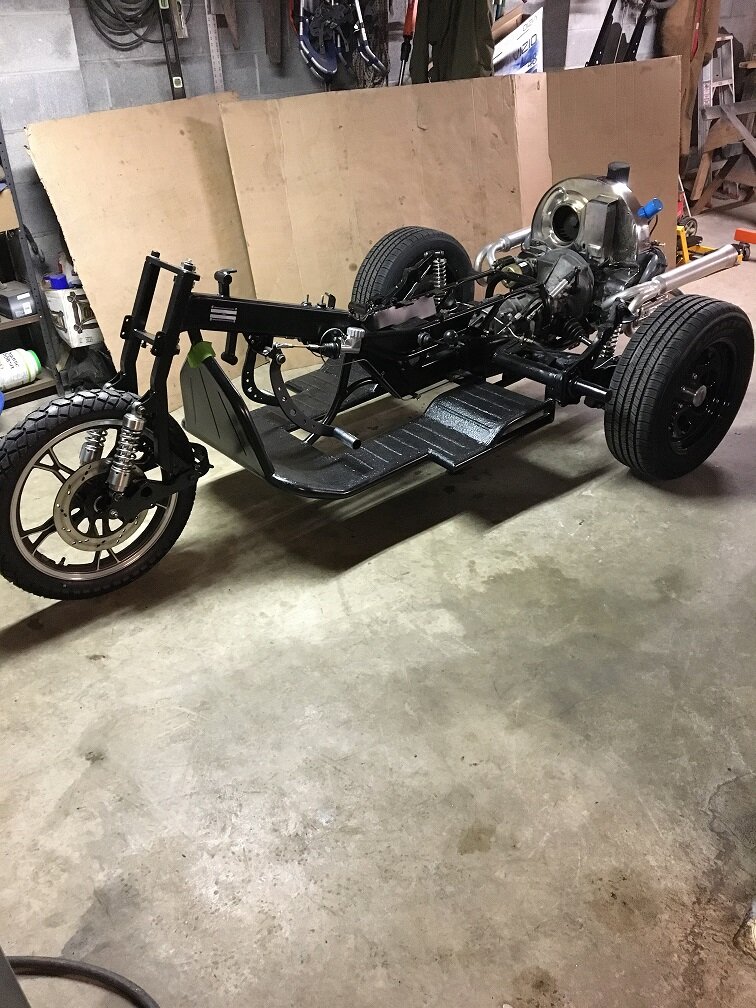
She's a roller.

IMG_0325.jpg

I got the front tire mounted and on. It's a Continental TKC70. I also cleaned the engine some and put it on. Now that it's hanging on the back I will change the oil and set the valves and a few other things.

IMG_0326.jpg

I did a little painting on some front end stuff so it can cure while I work on the engine. I'll soon have to get my paint for the body ,tanks ,and fenders.
 
Over the months I have watched this project go thru the stages, wow, it is going back together and looking so good each day. We do a lot with what we have or know we can get, it has been a real pleasure watching you work and share with others.
 
Thanks, posting it here helps to keep me motivated. I've learned so much from others that I'm glad I can pass a little on.

I bolted a few more things on.

IMG_0329.jpg

Handle bars, light, and fender brace. I can't put the light bulb in until I get the wiring in there.

IMG_0330.jpg

This might be hard to see but this is the trailer hitch/ body mount frame.

IMG_0328.jpg

Then I spent a bunch of time with a scraper getting rid of old white paint. I was impressed with how well it was stuck on. It was Valspar paint that I had bought at Tractor Supply years ago.
 
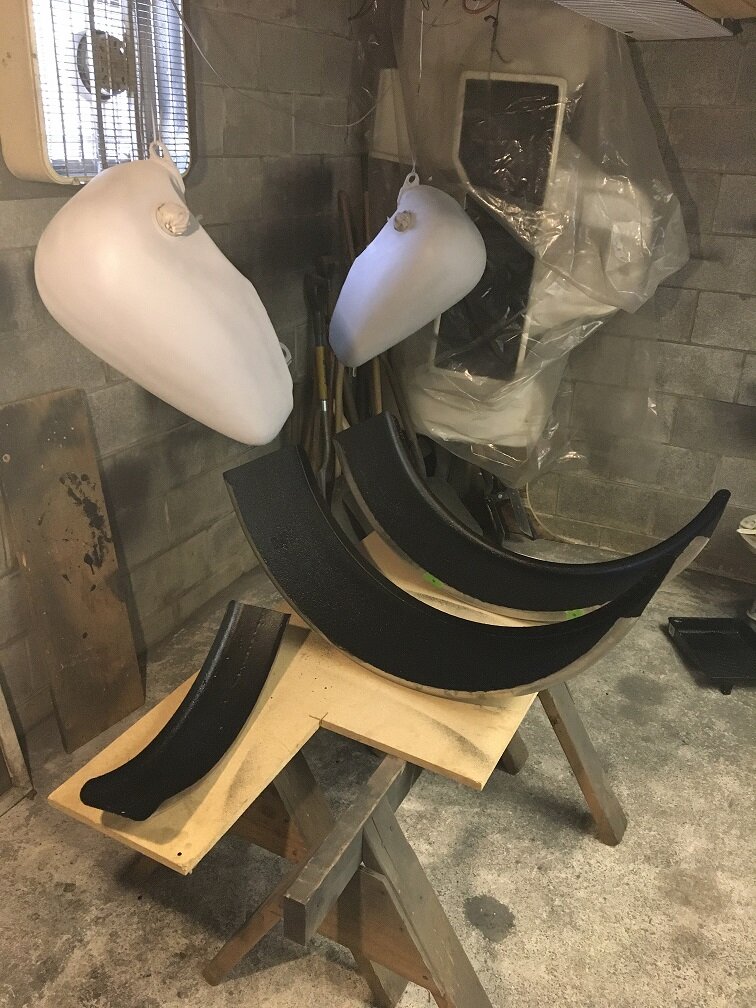
I spent some time with my paint room. The tanks are in primer and I coated the underside of the fenders with bed liner.

IMG_0332.jpg

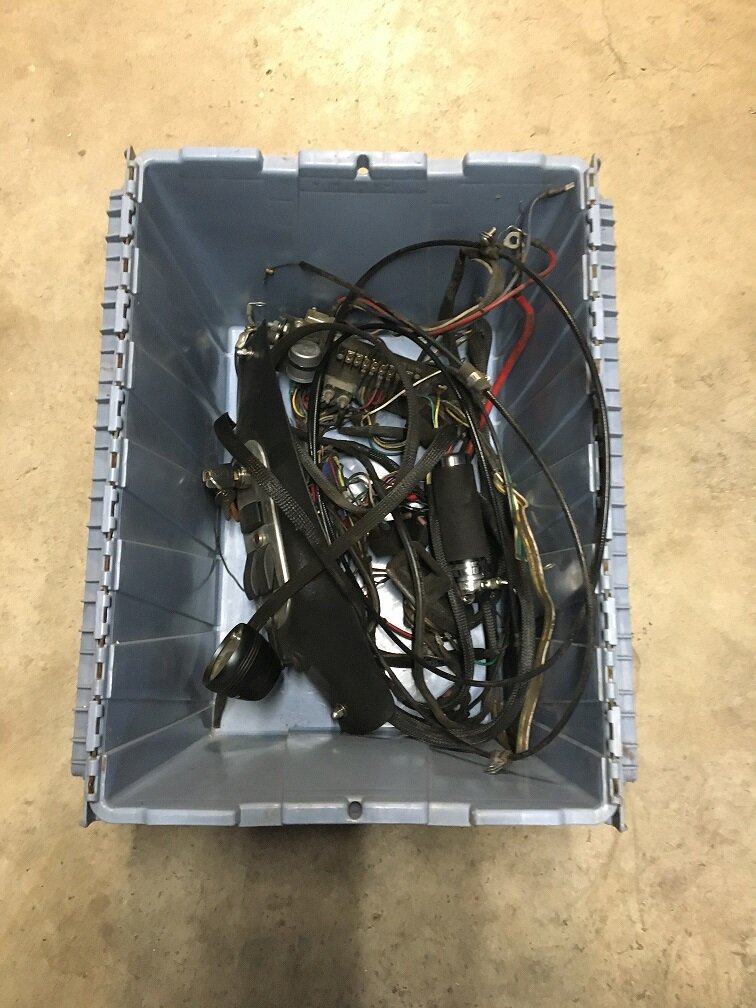
Next I dug out my do it yourself wiring kit in a tote.

IMG_0333.jpg

There really isn't much to it. Not many wires on an old VW. I feel like I'm cheating compared to some of you guys building a more modern trike with fuel injection and all that other stuff.

I have to make a different mount for the speedometer. The angle was wrong and I could just see it before. Now I raised the seat so it will be worse.
 
My body and fender paint was due in today at Home Depot and when we checked on it they said it was damaged in shipping. It had to be reordered so it will be towards the end of next week when it comes in. I still have things to do like put body filler on the joints of the body and primer so it won't slow me down much.

I'm thinking if my order was damaged that probably means there was paint all over some other stuff too. Hopefully it wasn't something someone was waiting on.
 
I worked on putting bed liner in the storage compartment and body filler on the body joints today. Nothing worth a picture.

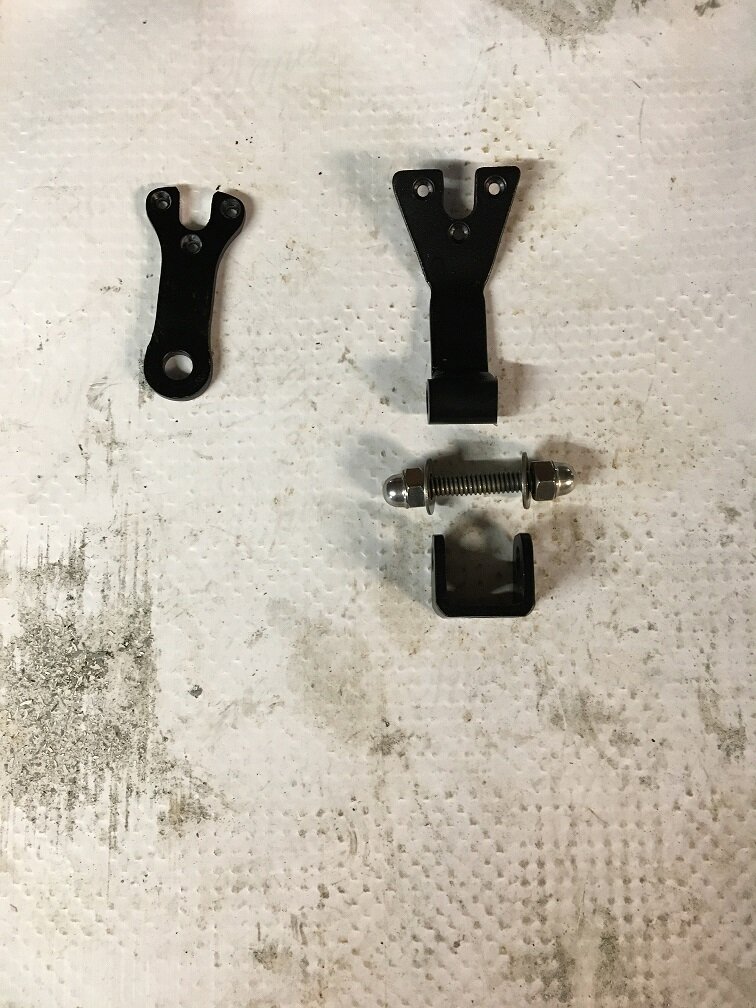
Friday I made a new mount for the speedometer. It's now adjustable.

IMG_0335.jpg

The old one is on the left. It was aluminum and held the speedo. in one position. It wasn't the right angle to see at night. I'll be able to set the new one, on the right, where I need it.

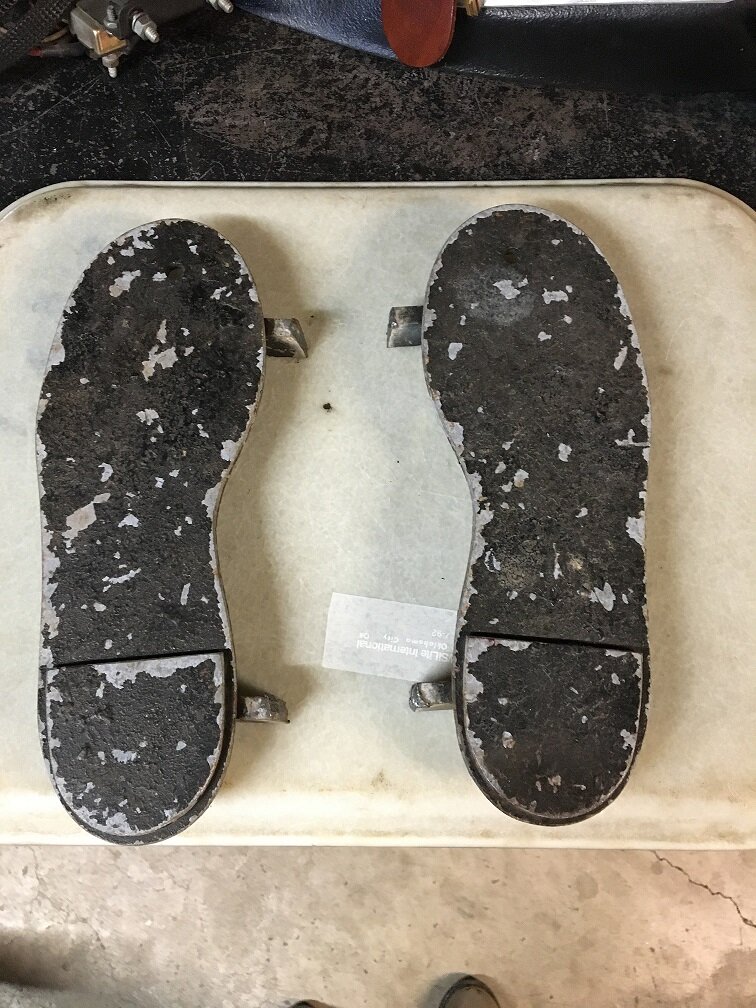
Looking through my scrap pile I found some old floor boards I had made and had on the trike for a while.

IMG_0336.jpg

They fit my feet just right. Maybe because I used my boots for a pattern?
 
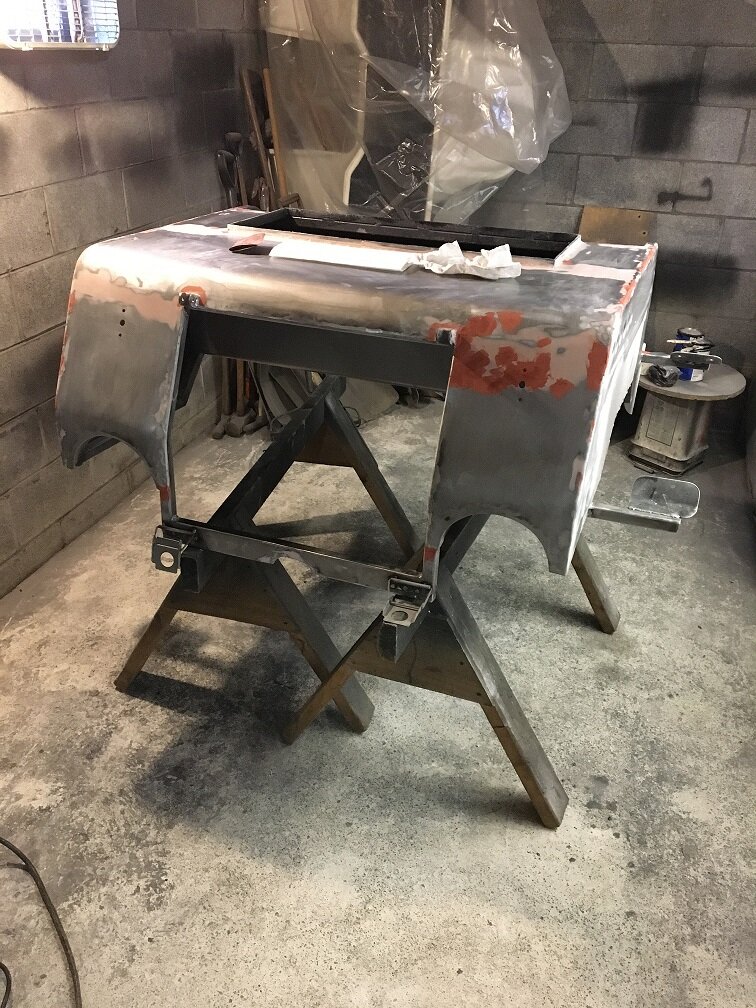
There sure is a lot of sanding involved with getting a body ready for paint. And I'm not even going for a show type finish, just something good enough for WWII.

IMG_0337.jpg

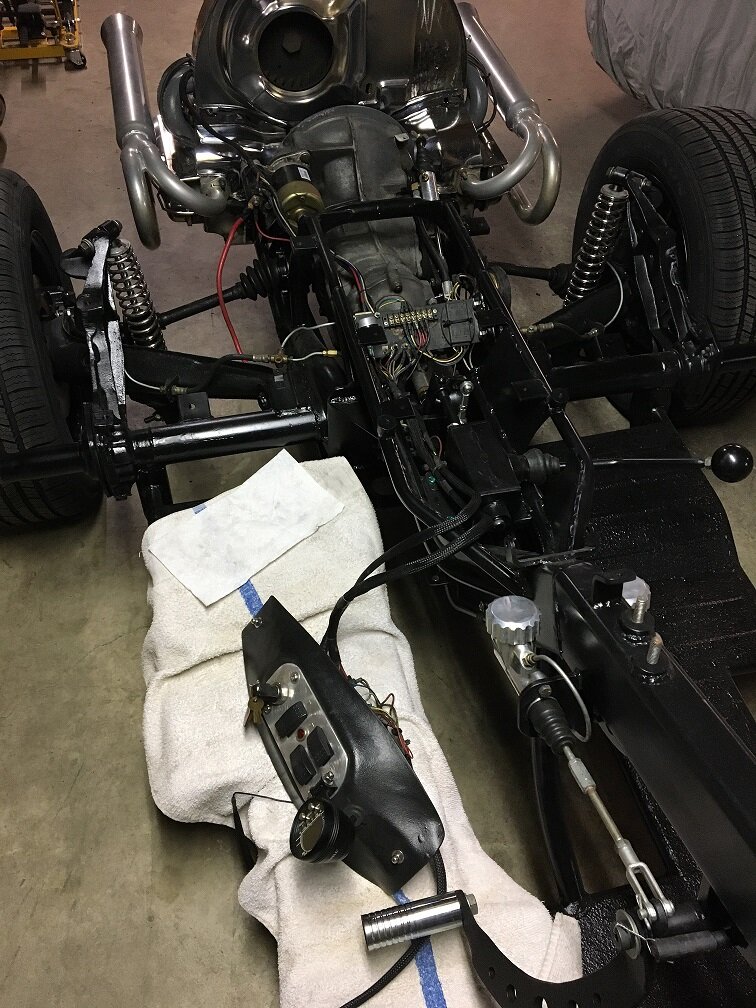
I also started to put the wiring back on.

IMG_0344.jpg

I have to wait on the dash until the tanks are bolted on.

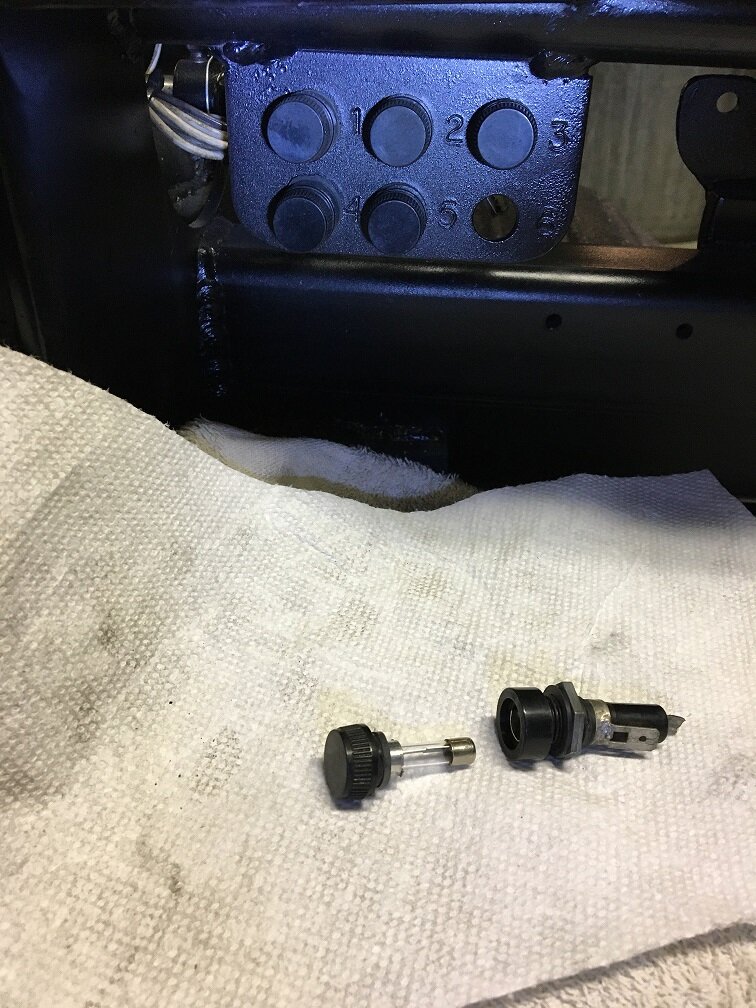
This is my fuse setup.

IMG_0343.jpg

These are Caterpillar type fuse holders. The one on the rag is broken so I have to replace it. The panel is just below the front seat, easy to get to. I ordered a new holder and a battery disconnect switch.
 
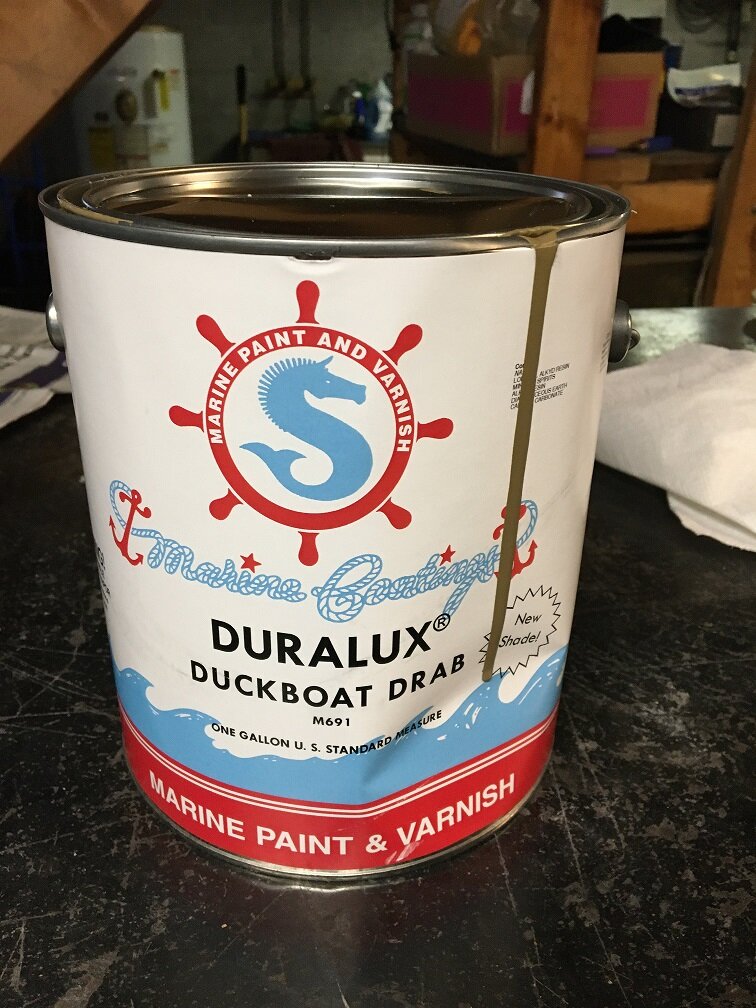
My paint came in at Home Depot and this can was dented but still sealed.

IMG_0345.jpg

The color is a little more tan than I wanted but it still looks military and I don't have anything I have to match exactly.

Paint cans drive me nuts. You would think over the years they could come up with a better design for pouring. The paint always ends up in the lip at the top of the can.

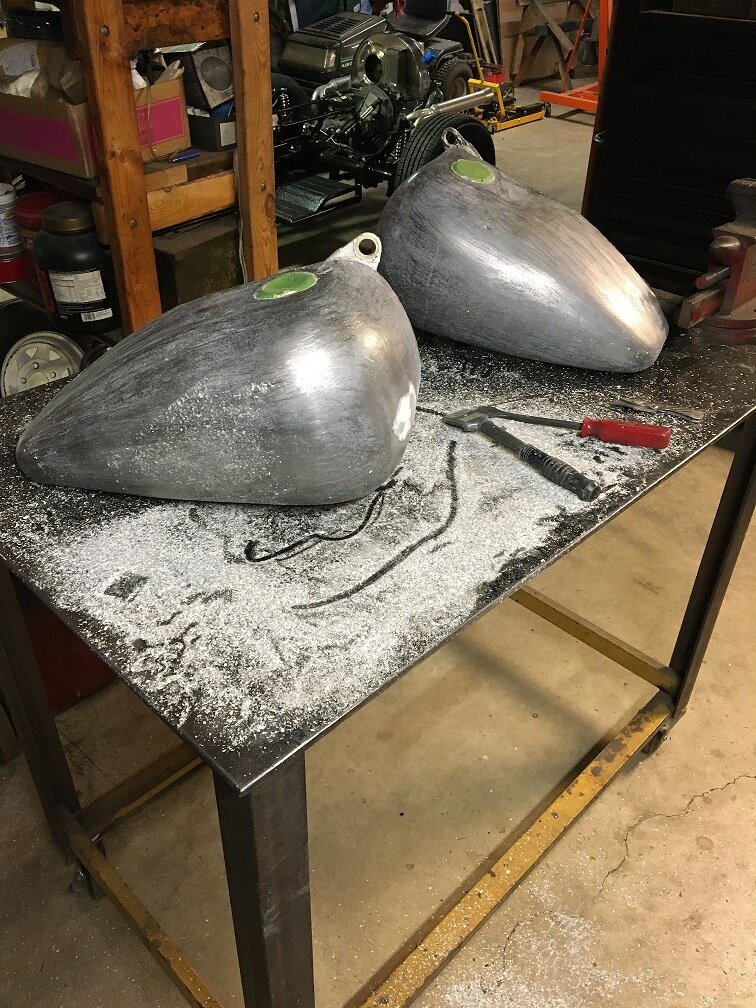
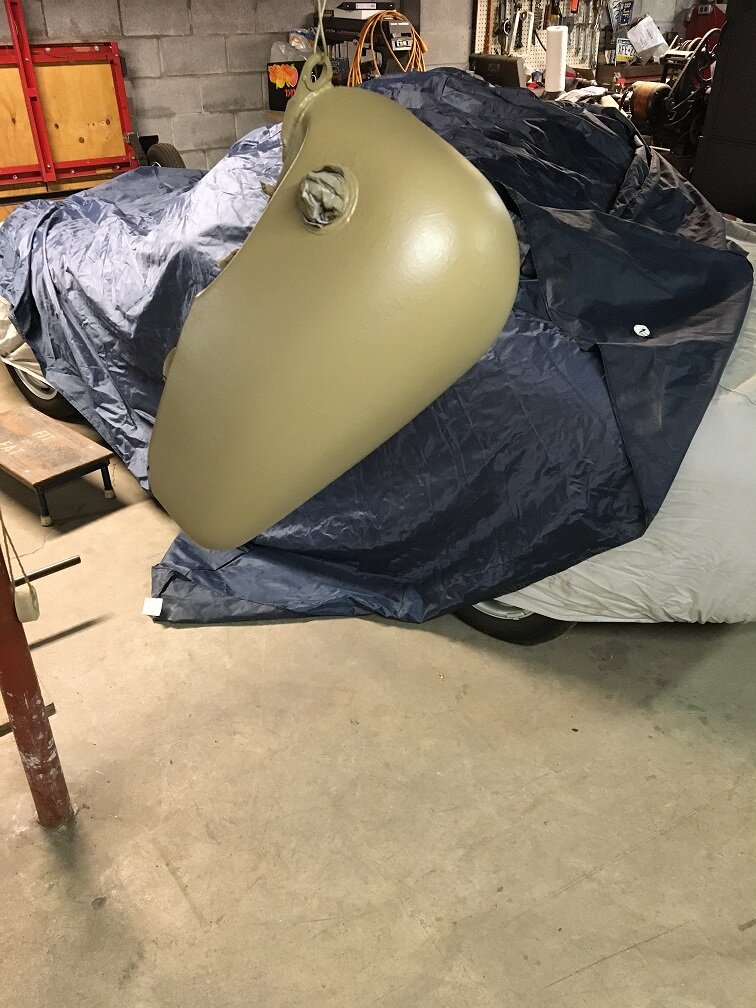
Sometimes when you are so bad at something it turns out kinda cool. Like I said before, I'm no painter so I approached the tanks with a lot of stress. I have an air gun but the tip is too small for this paint. They recommend you don't thin it. I bought a Harbor Freight electric sprayer that you use to paint fences and stuff. When I started spraying it went splat and put gobs all over. I thought :gah:. The more I looked at it the more I liked it. It looks industrial. Now if I can replicate it on everything else.

IMG_0346.jpg

I'll let it dry over the weekend before I bolt them on. I also got the front fender painted.
 

Welcome to the Trike Talk Community

Join our vibrant online community dedicated to all things Trikes! Whether you're a seasoned rider or just starting out, this is the place to share experiences, tips, and stories about your three-wheeled adventures. Explore modifications, maintenance advice, and rides, all while connecting with fellow trike enthusiasts from around the globe

Forum statistics

Threads
55,527
Messages
838,791
Members
22,631
Latest member
Sylvester

Trike Talk Community

Welcome to a community dedicated to the most diverse and fastest growing powersports segment, Motorcycle Trikes. Come join the discussion about the best makes and models, popular modifications and proven performance hacks, trike touring and travel, maintenance, meetups and more!

Register Already a member? Login

Forum statistics

Threads
55,527
Messages
838,791
Members
22,631
Latest member
Sylvester
 photo 260e2760-d89e-45b2-8675-2bc26fb3d465.jpg

 photo Trike-Talk-150-x-200.gif

 photo DK Trike Talk Right side banner 19.jpg

Merziere Reverser

 photo 9796095c-0d4b-4a9b-88ed-efe4c498d084.png
 photo f9866e4e-75c5-471a-86f5-5e72a446ecc3.png
Back
Top