DK Custom Ironhead build - Photo Heavy

DK Custom

Sponsor - DK Custom Products
Joined
Aug 20, 2016
Messages
333
Reaction score
99
Location
Red Banks MS
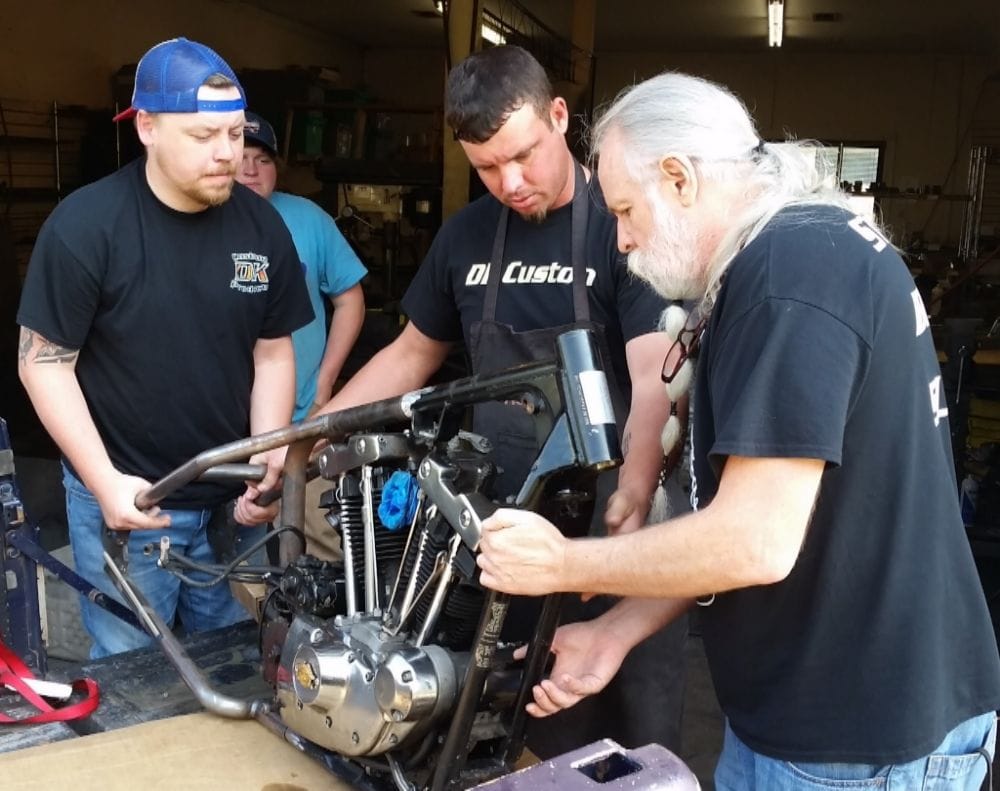
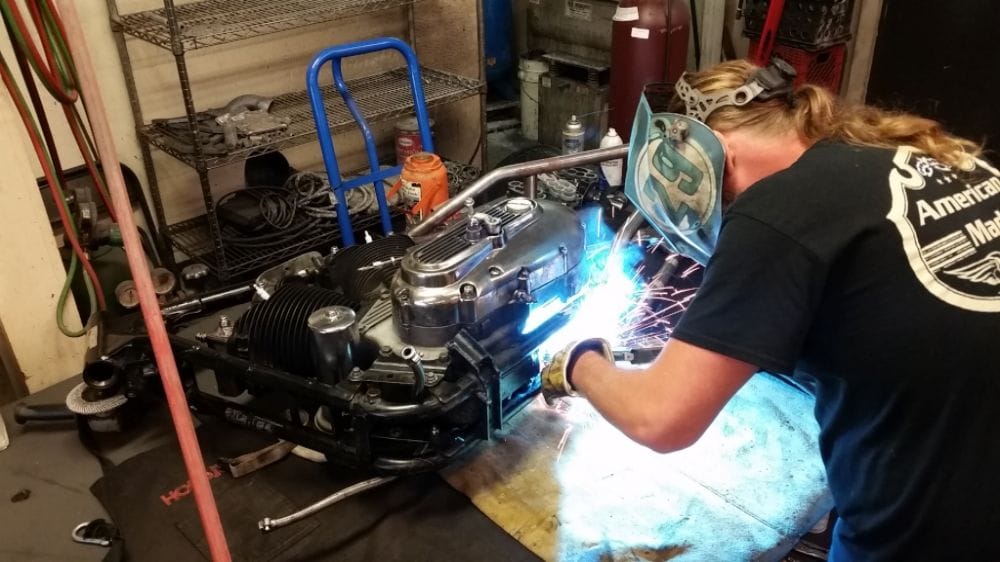
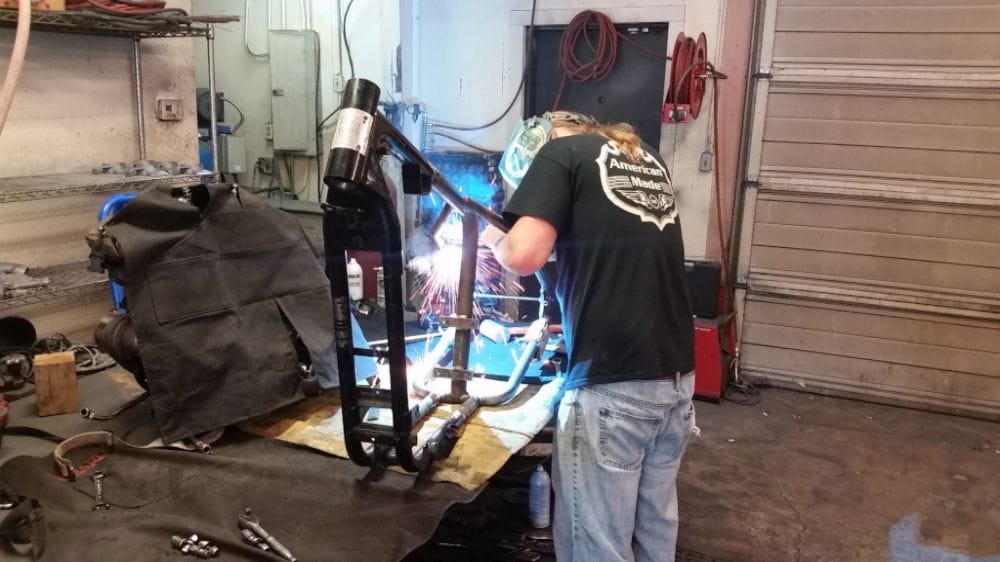
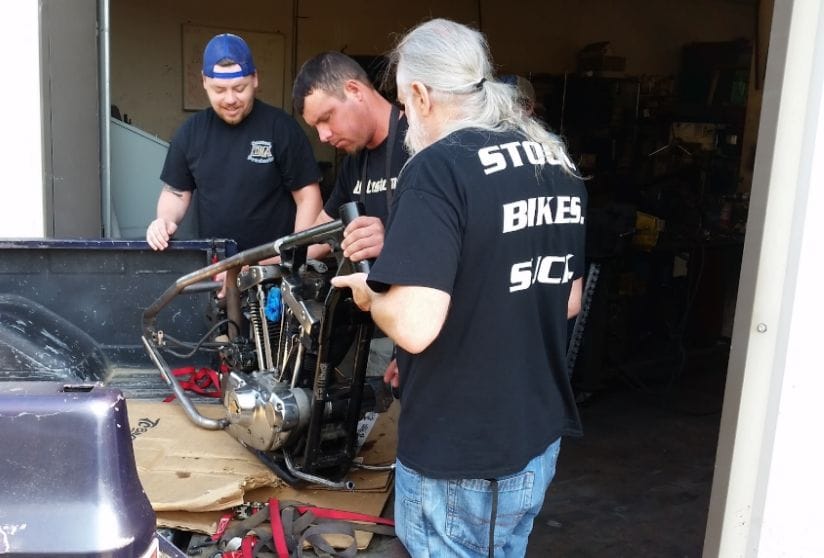
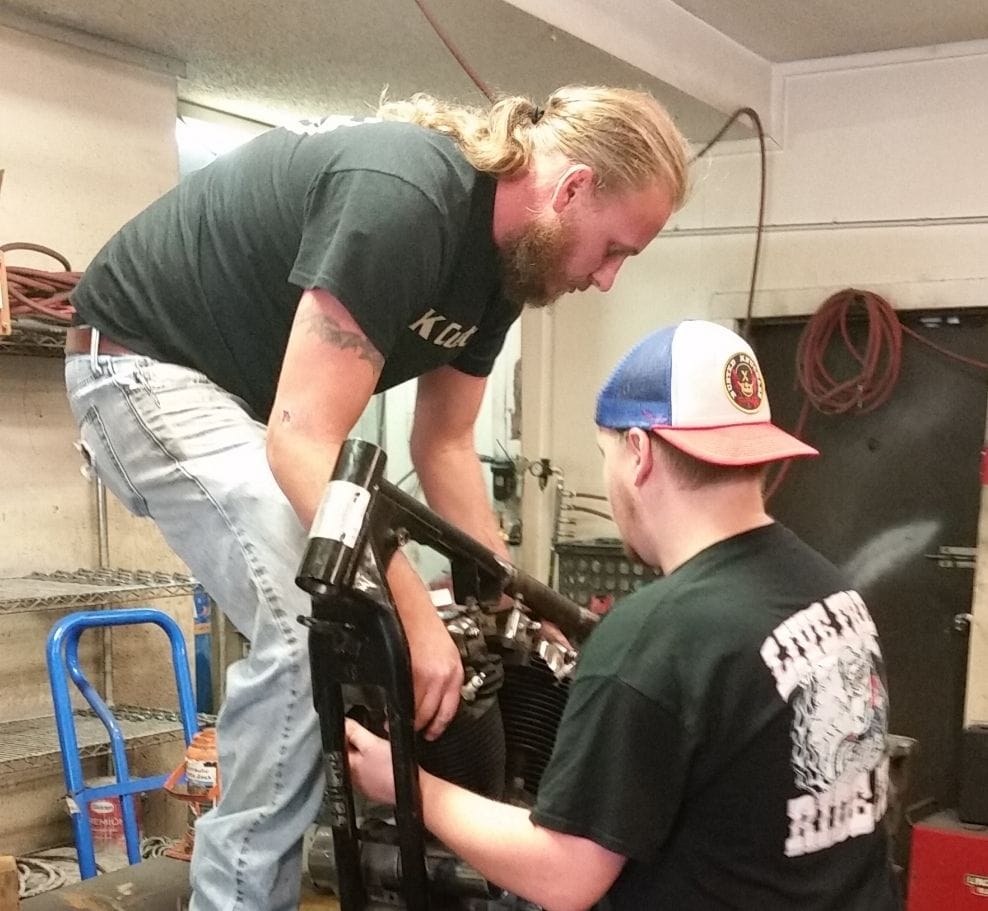
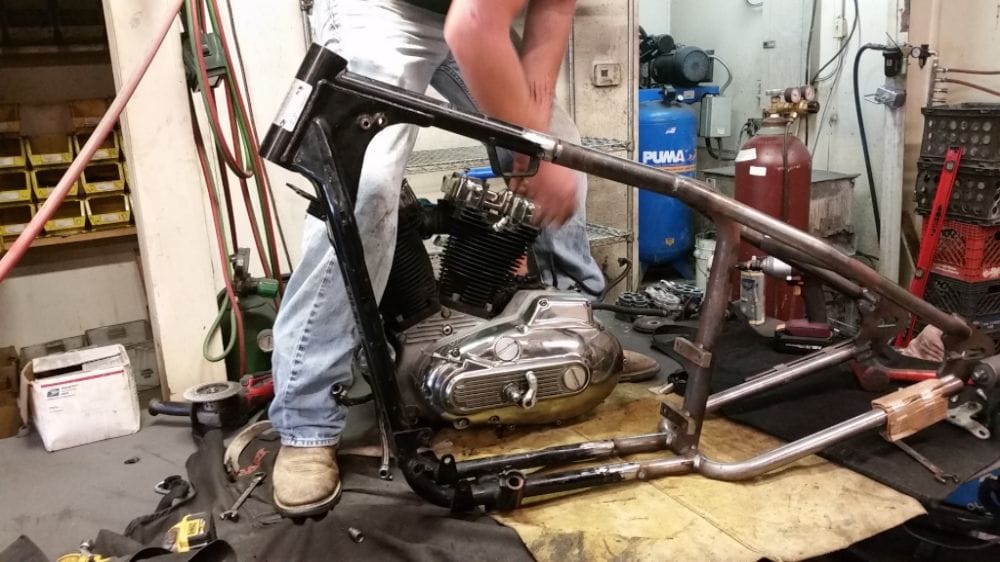
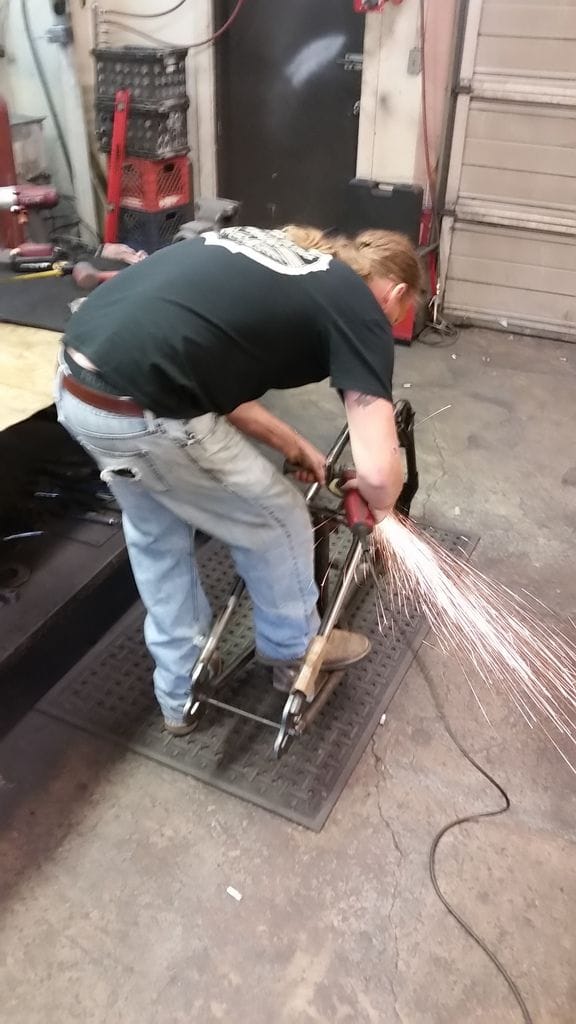
Since Devin and Kevin started the SBS build...

http://www.triketalk.com/forum/threads/35207-SBS-Project-Sportster-Chop-w-Lots-of-Photo-s

... I have been wanting to do a build of my own and have always found a certain charm in owning and maintaining a machine that is older than I am.

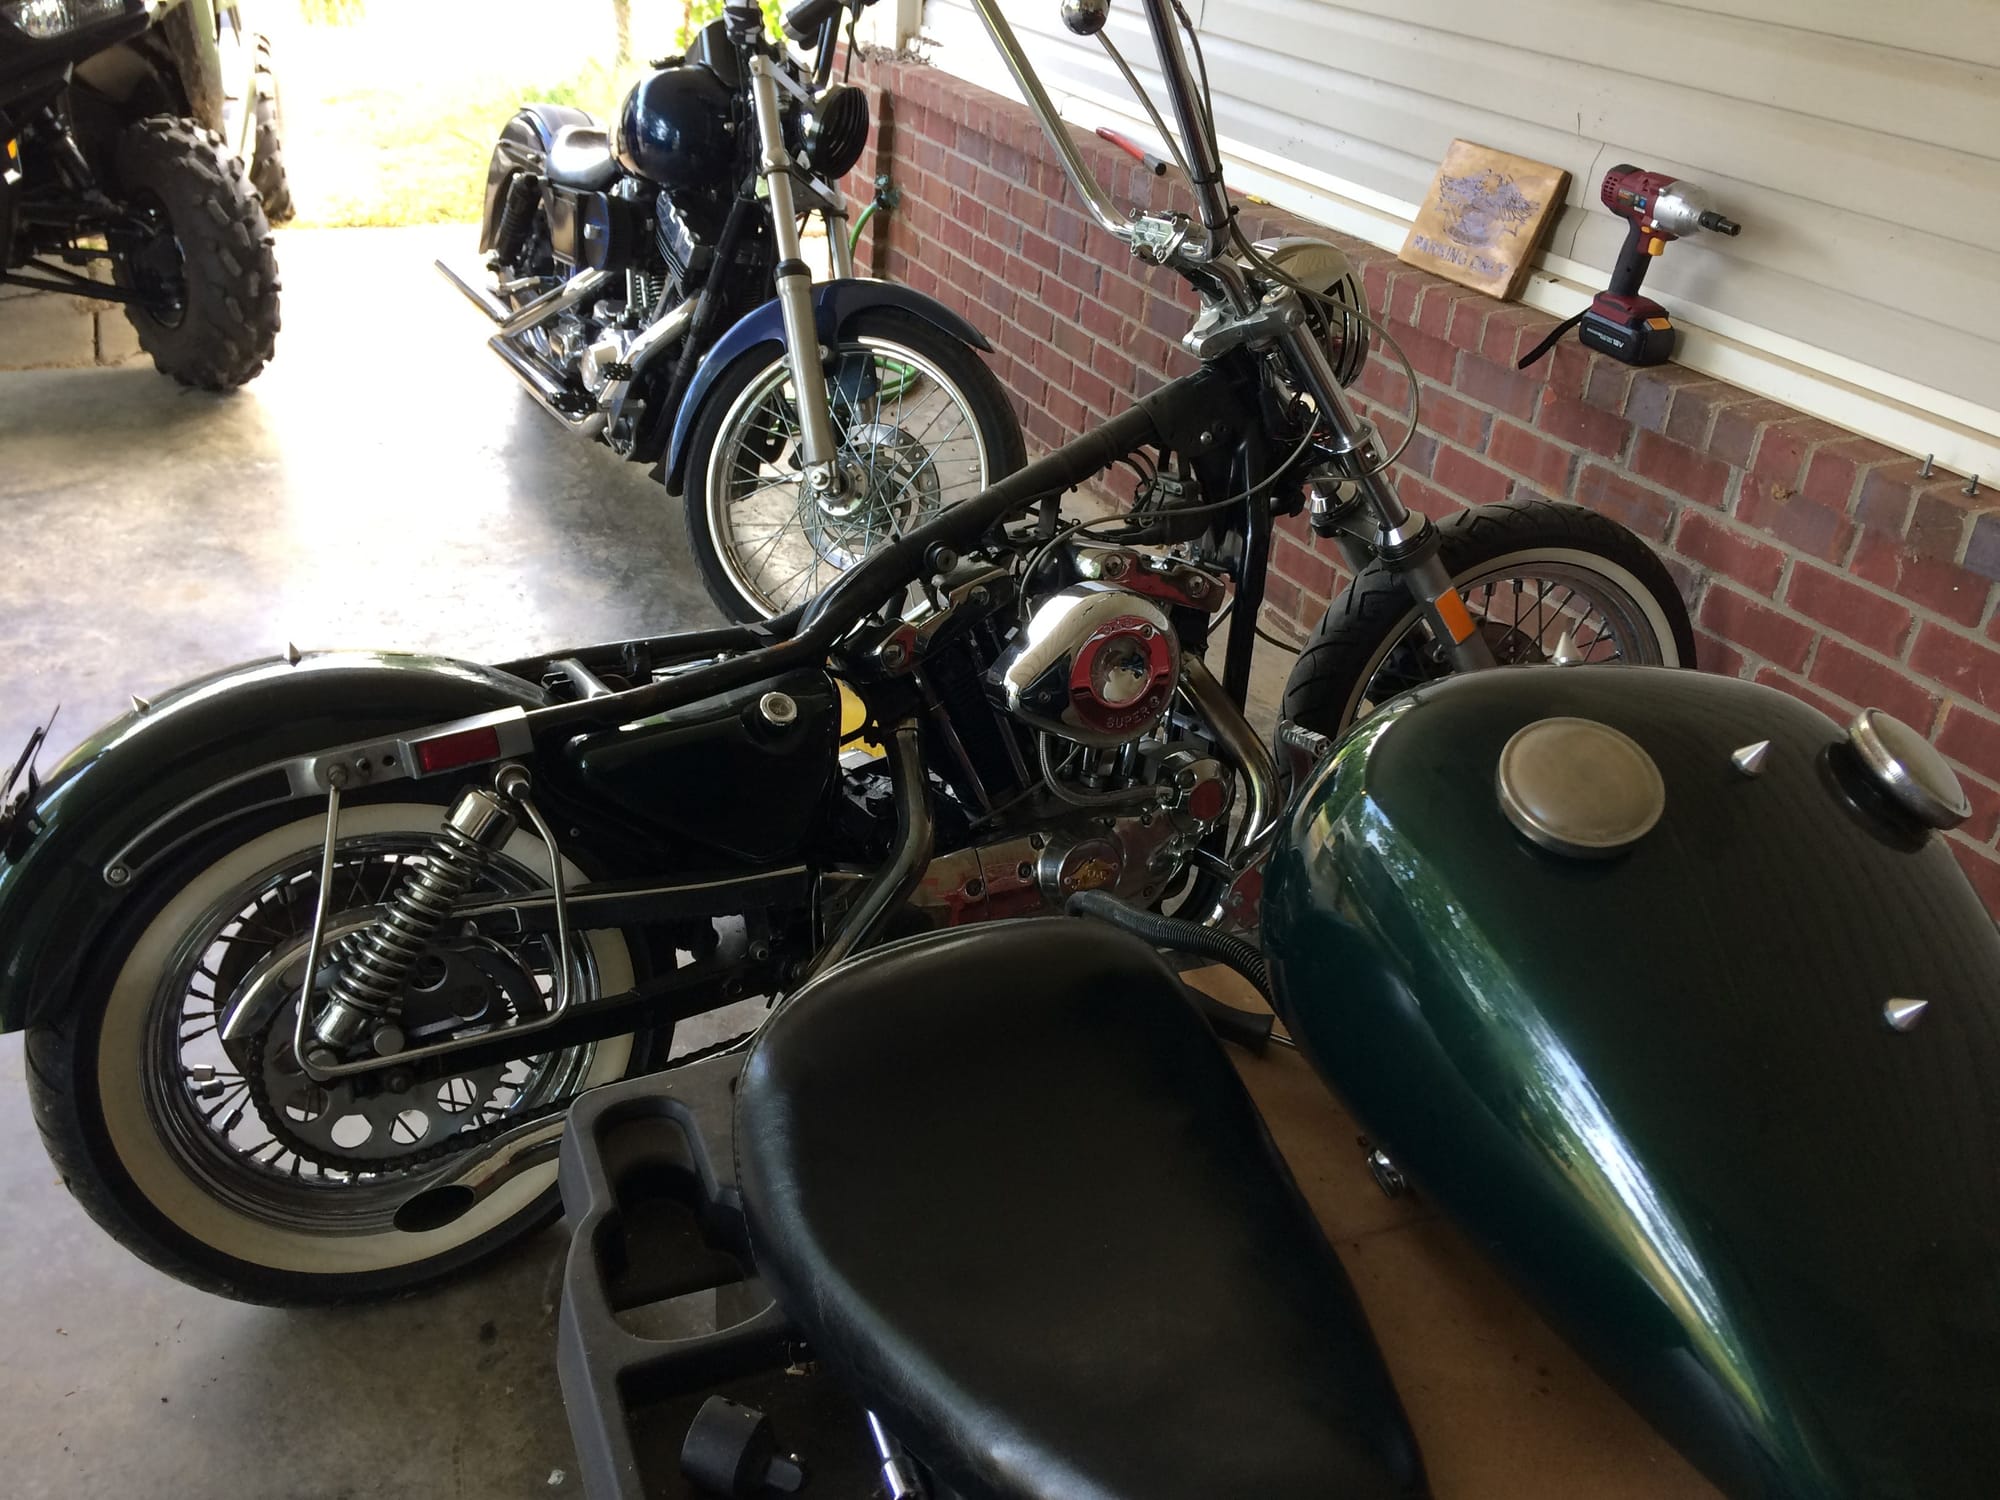
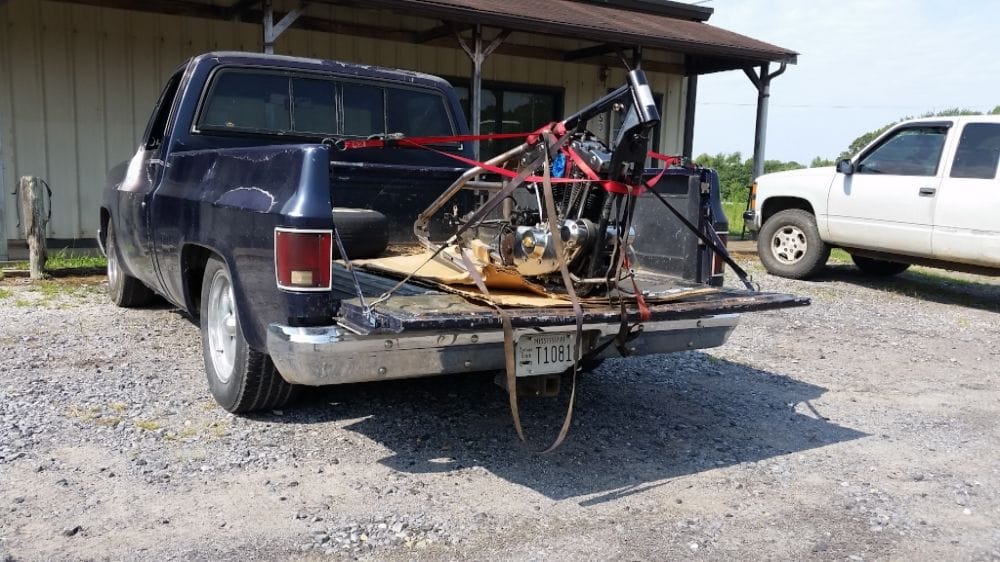
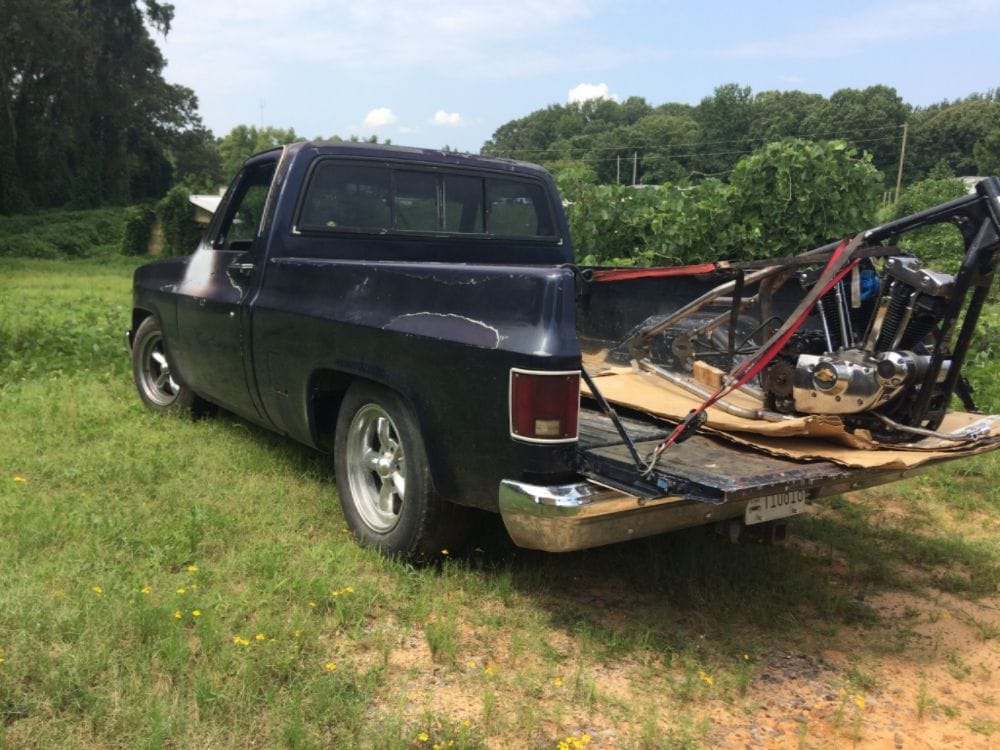
The notorious Ironhead was found on some obscure Facebook bartering group and with a little finessing, I was loading it up to carry home...

80-img_0954_78c56aa86a7289cdc1857ed65ed7a67aebec29c5.jpg


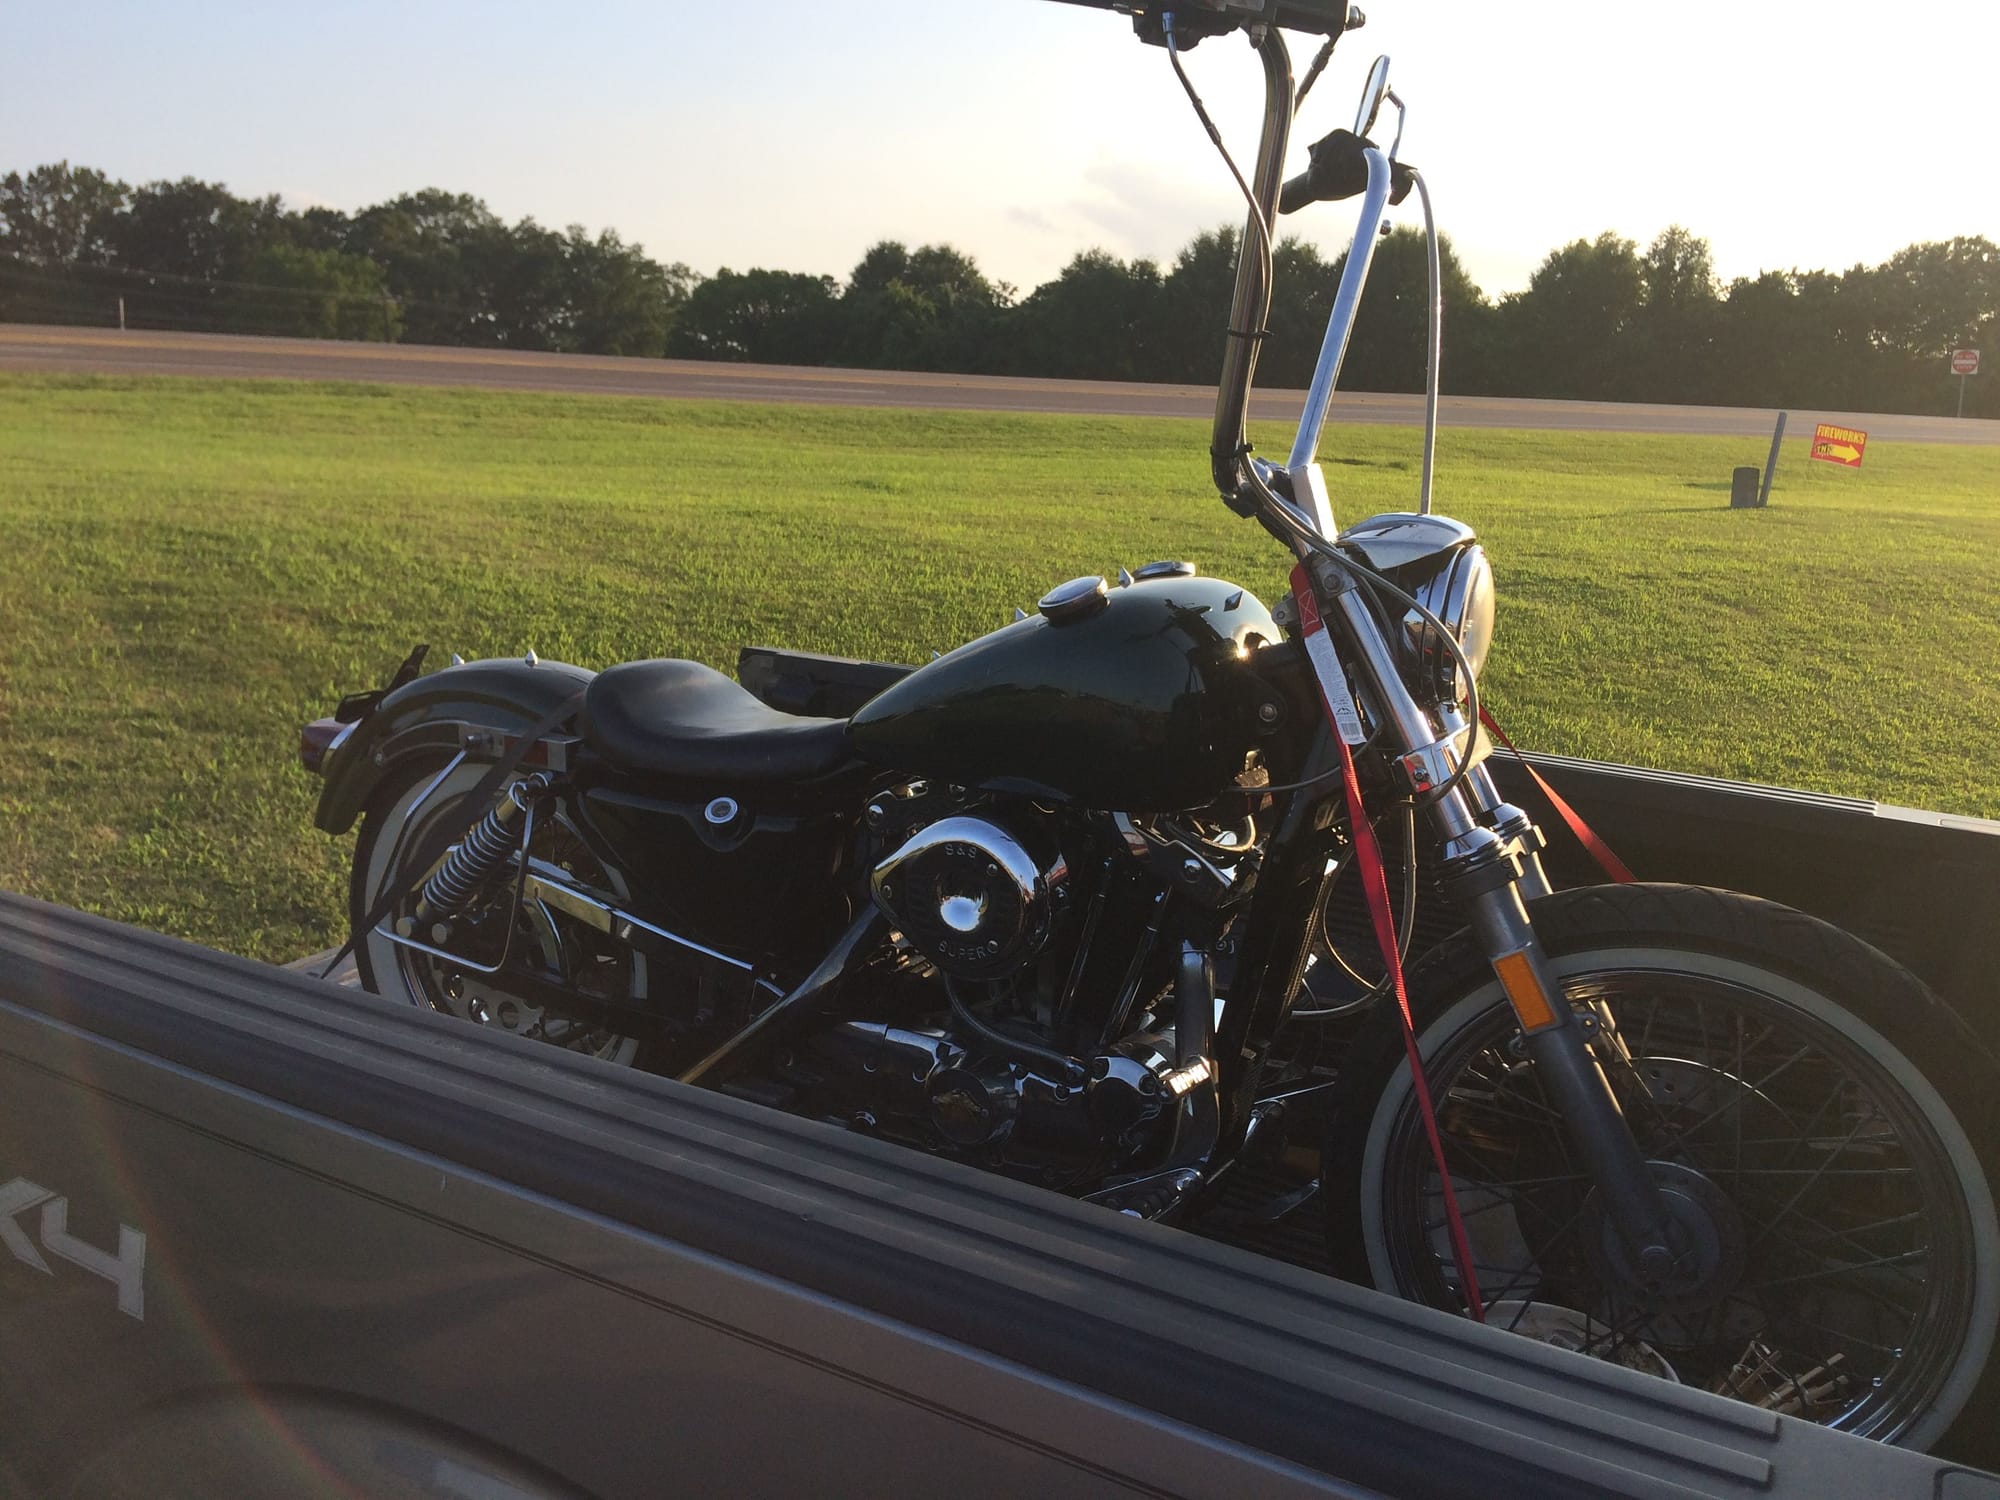
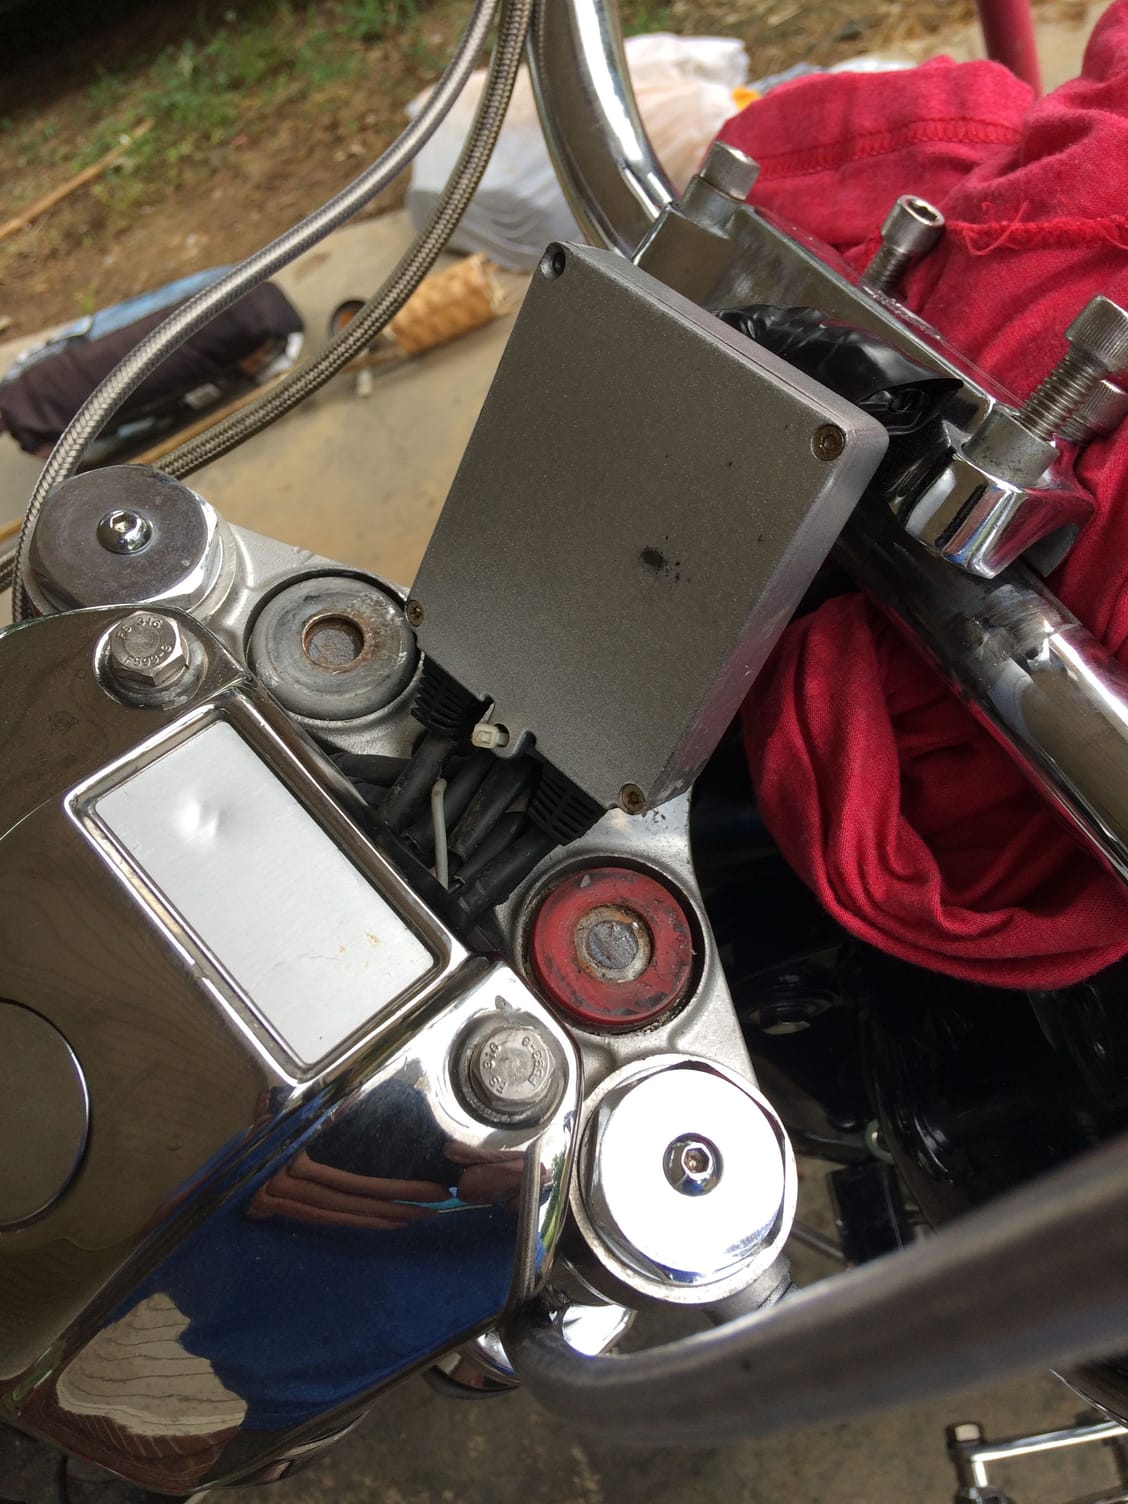
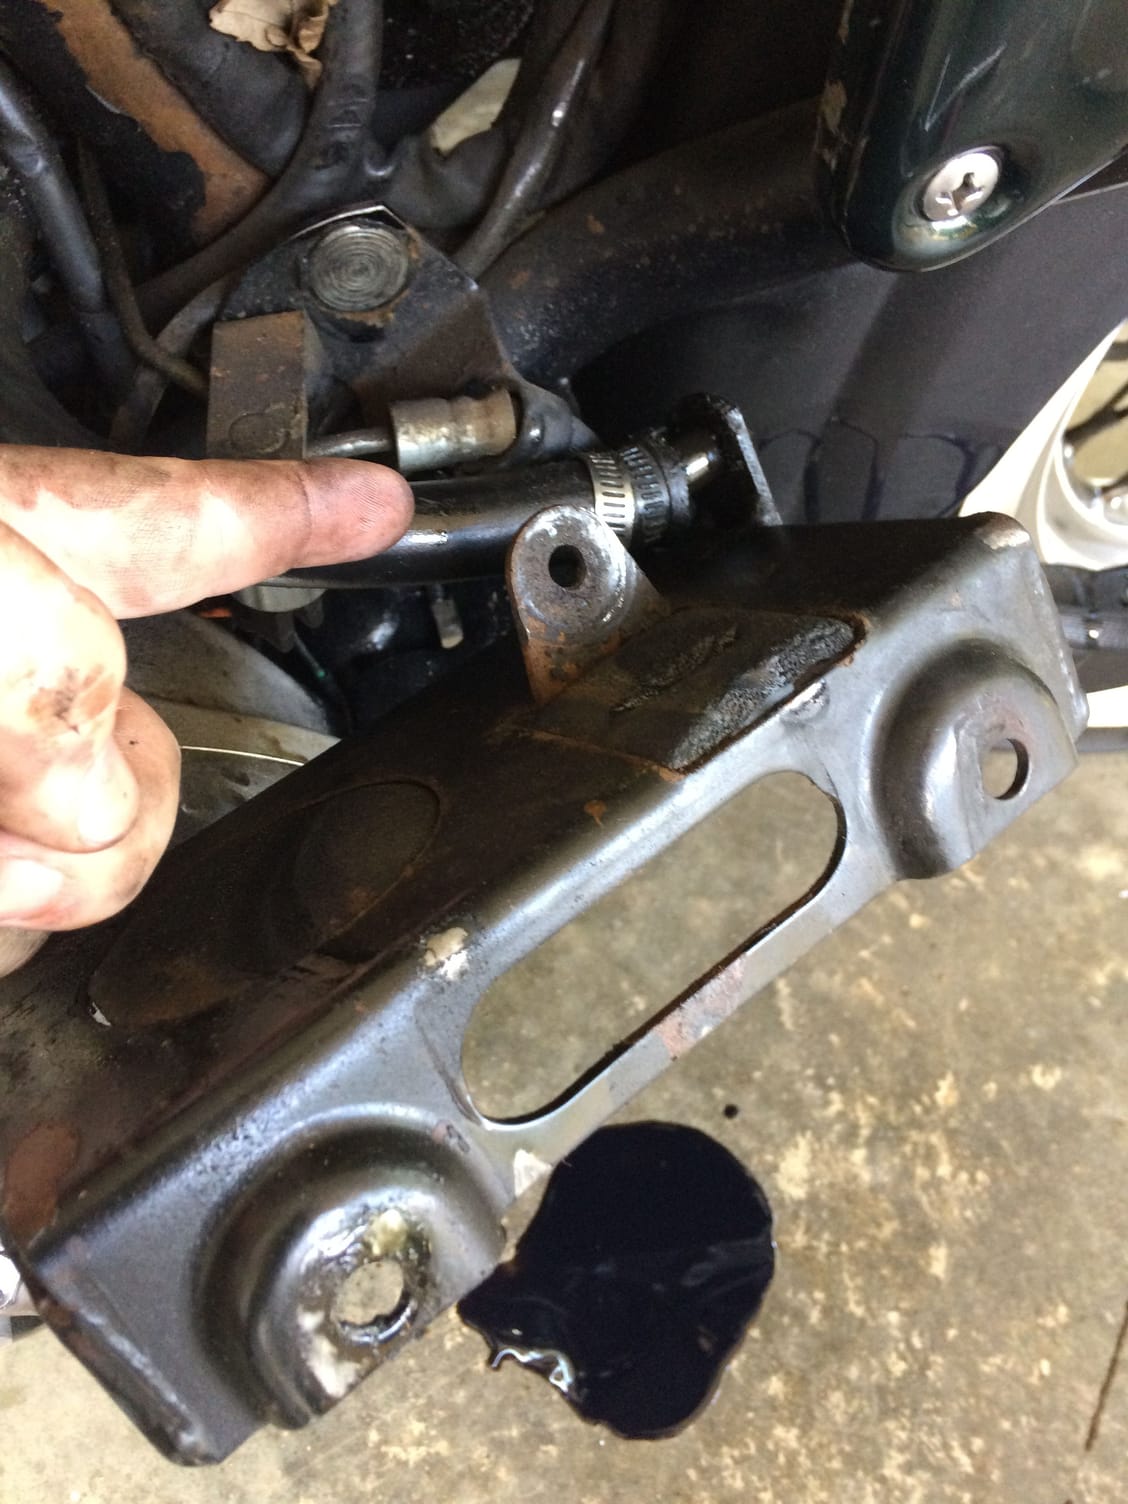
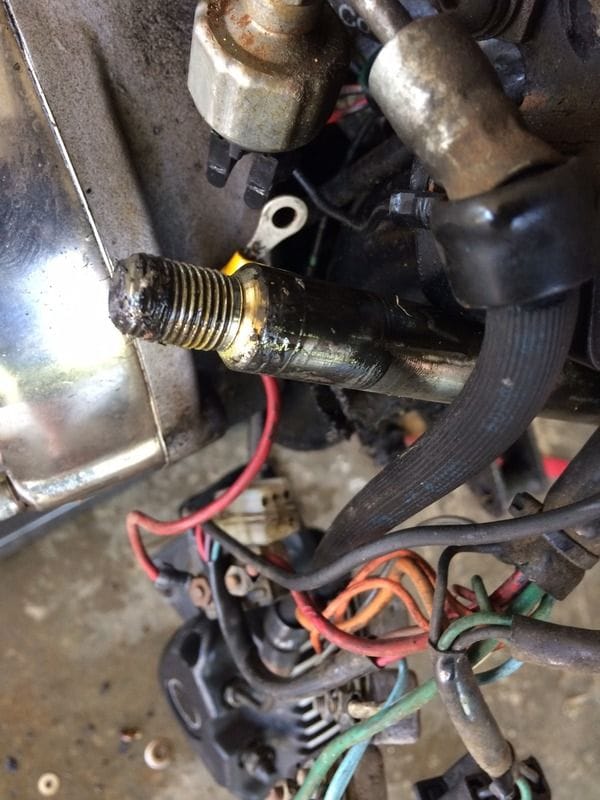
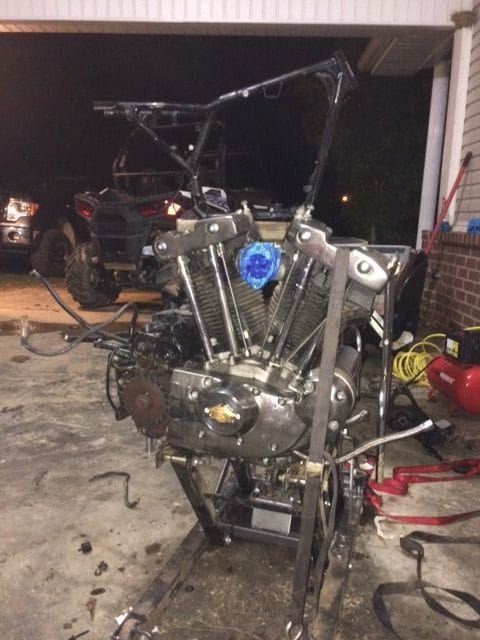
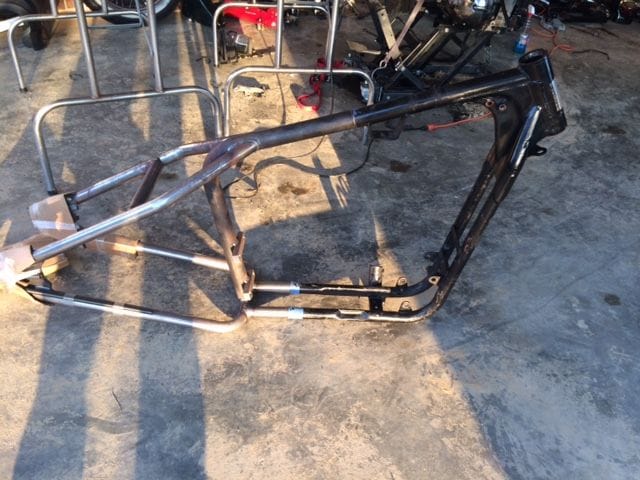
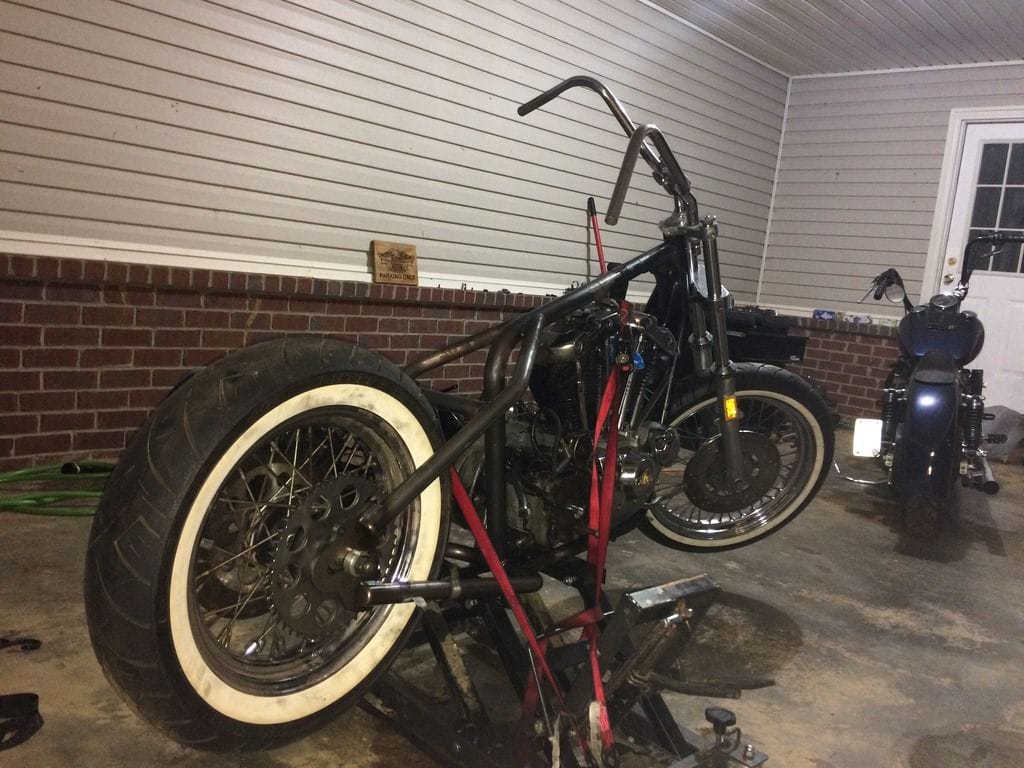
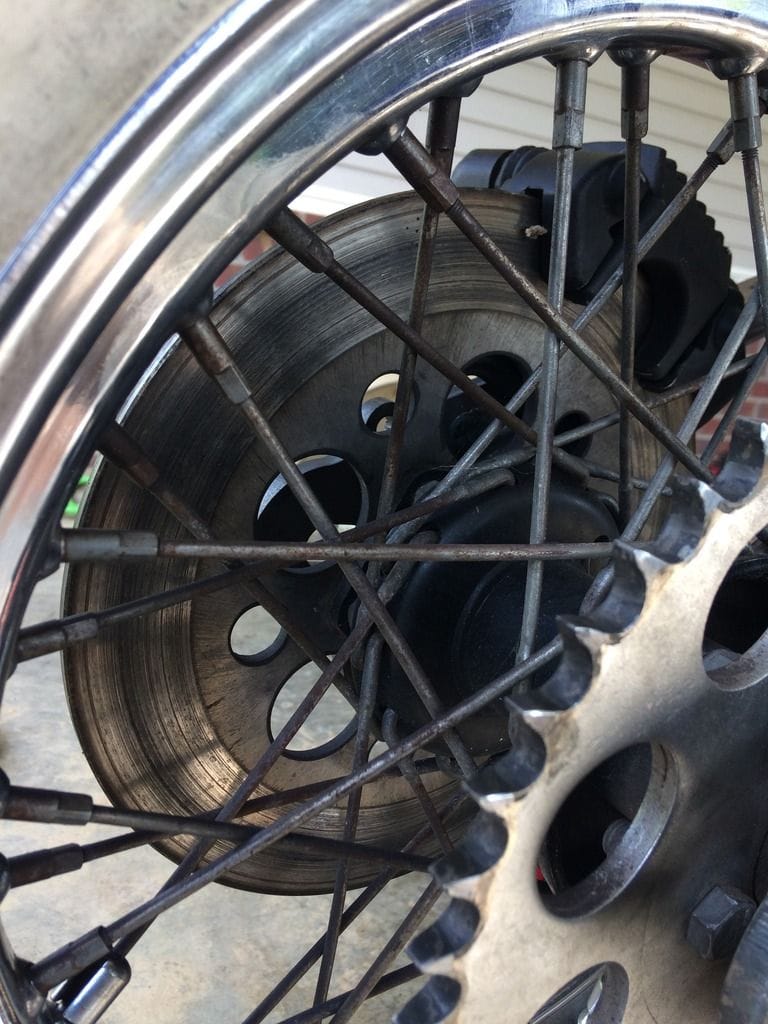
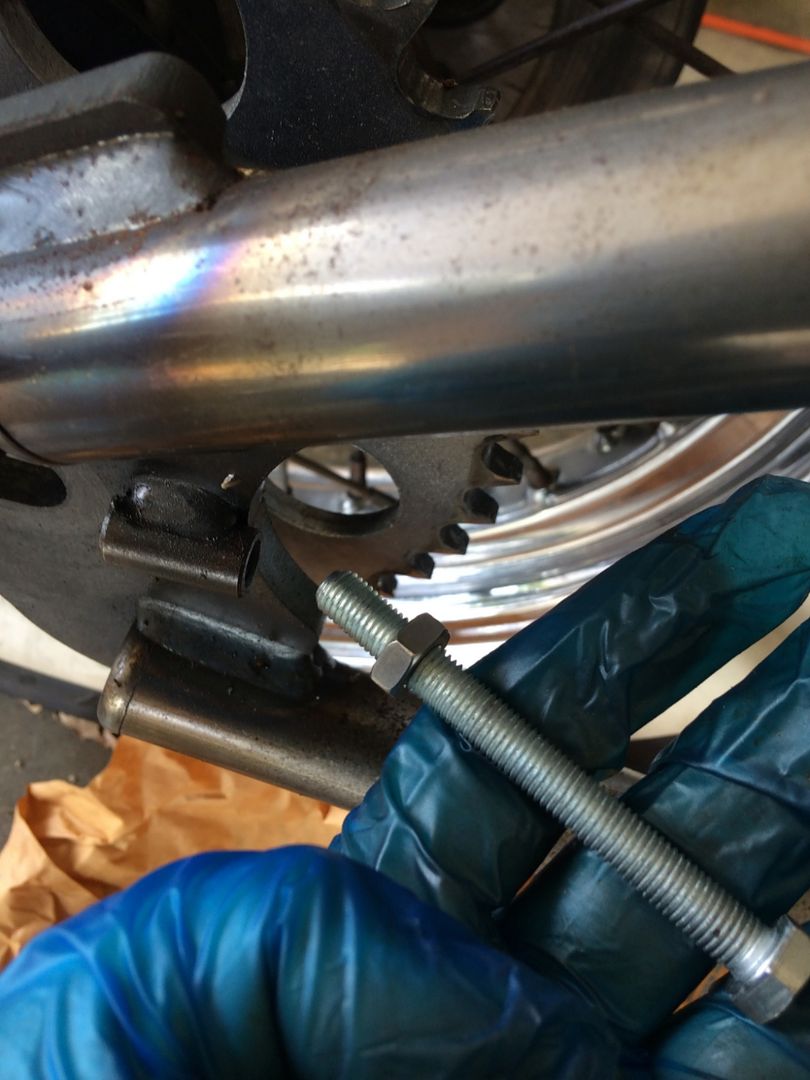
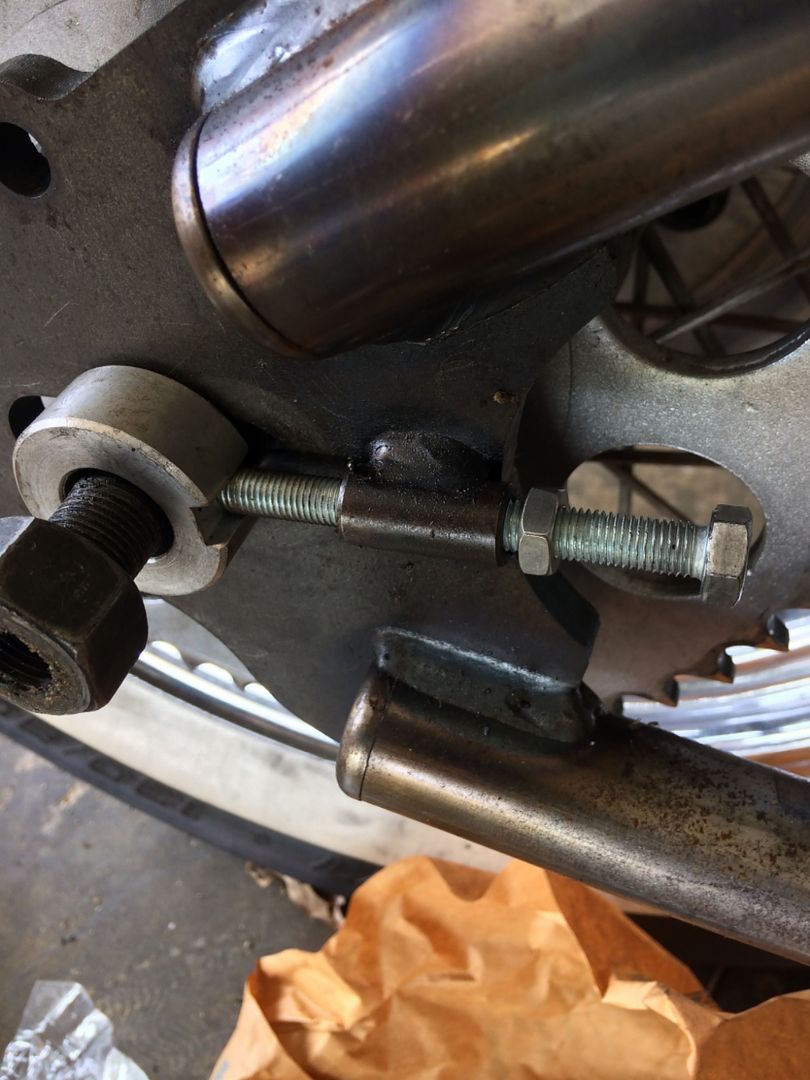
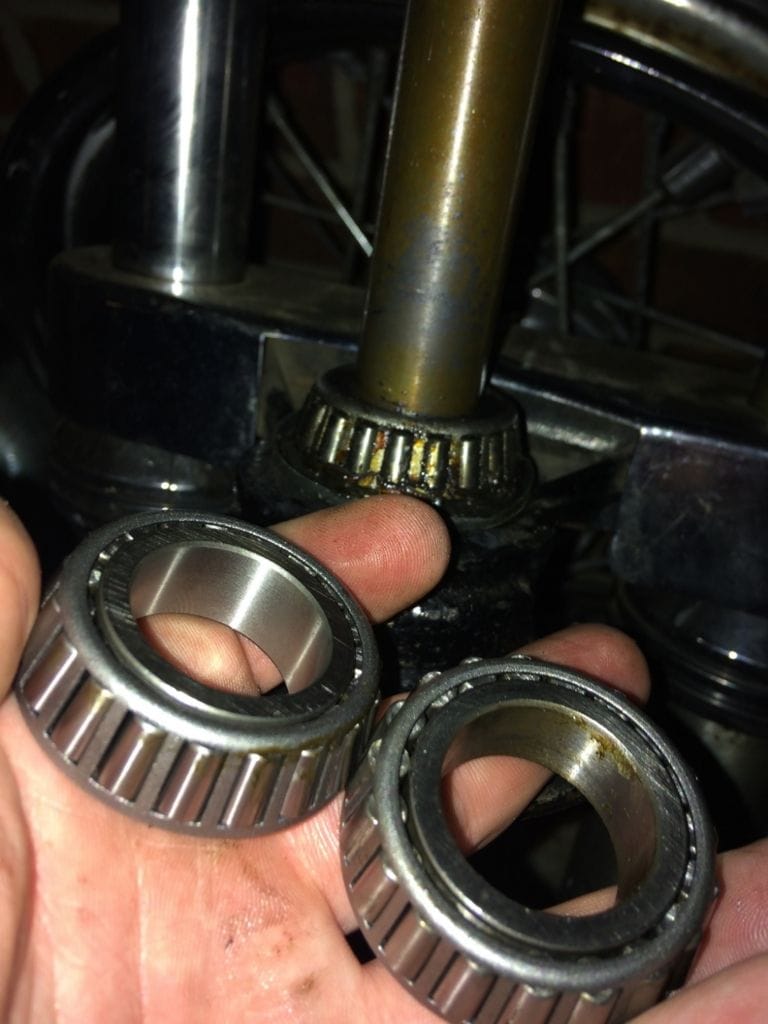
The bike seems to be well maintained and is "good from far but far from good".

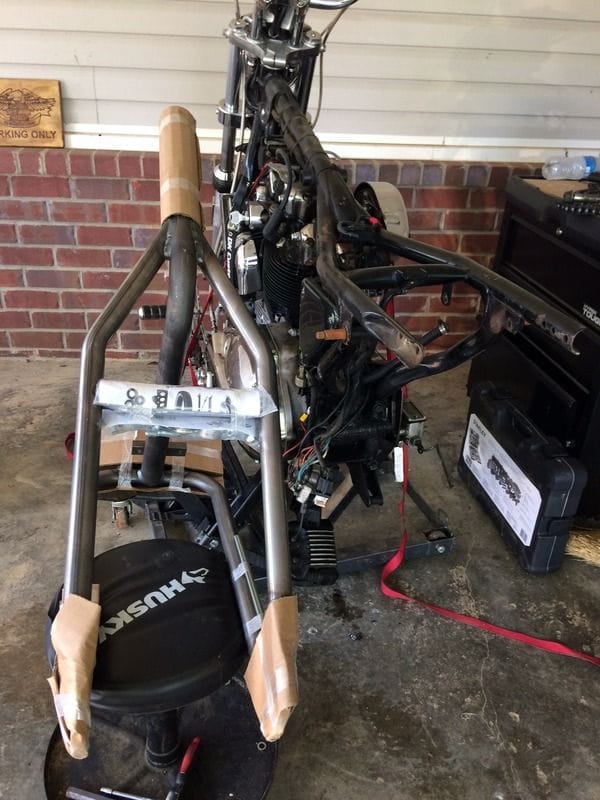
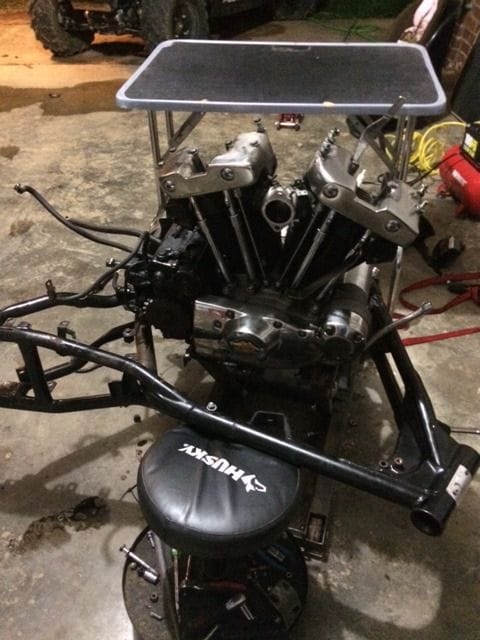
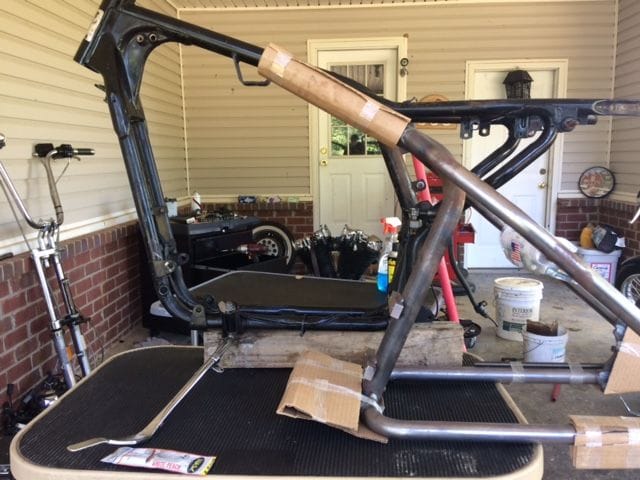
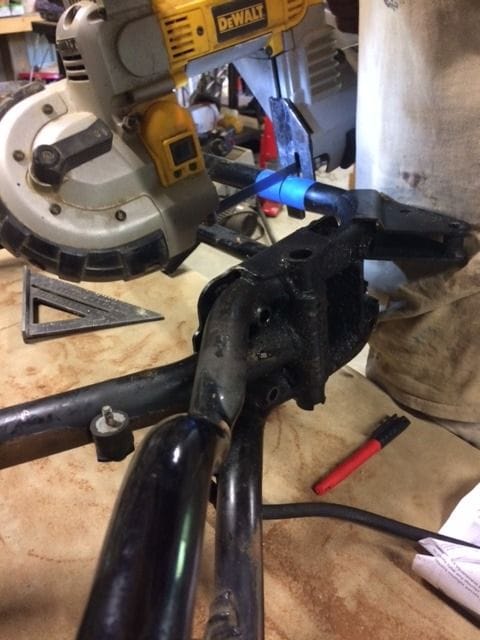
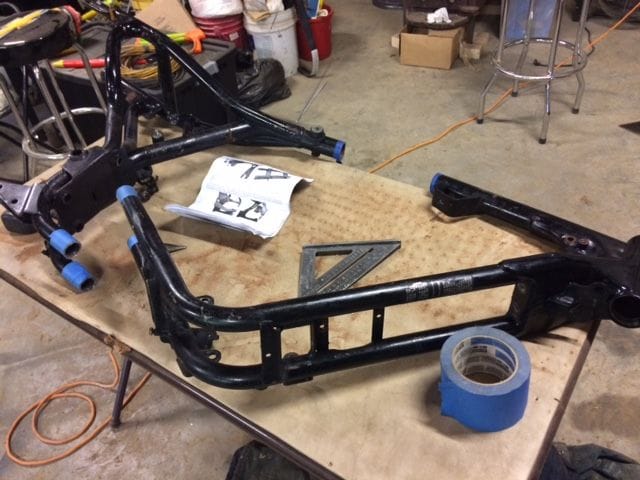
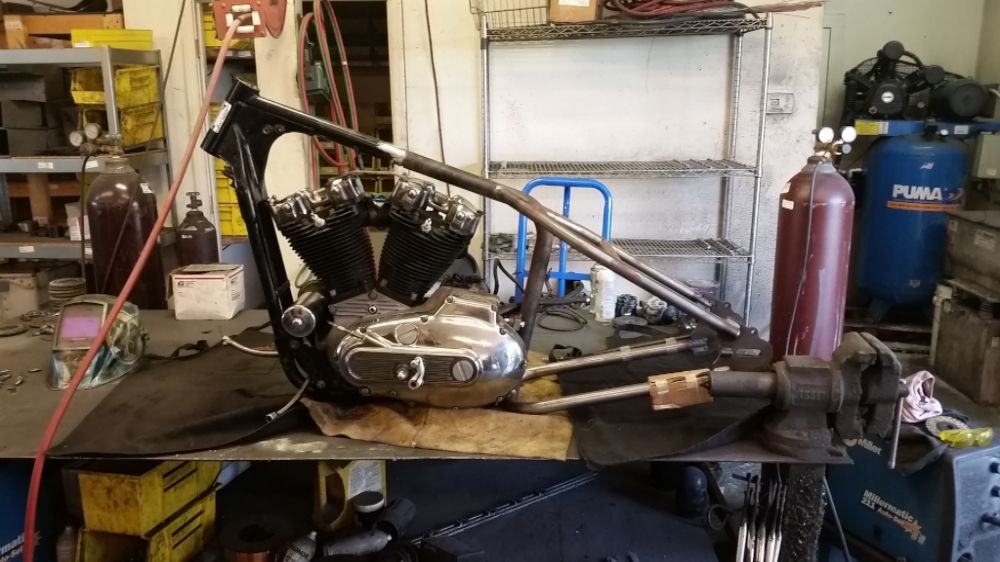
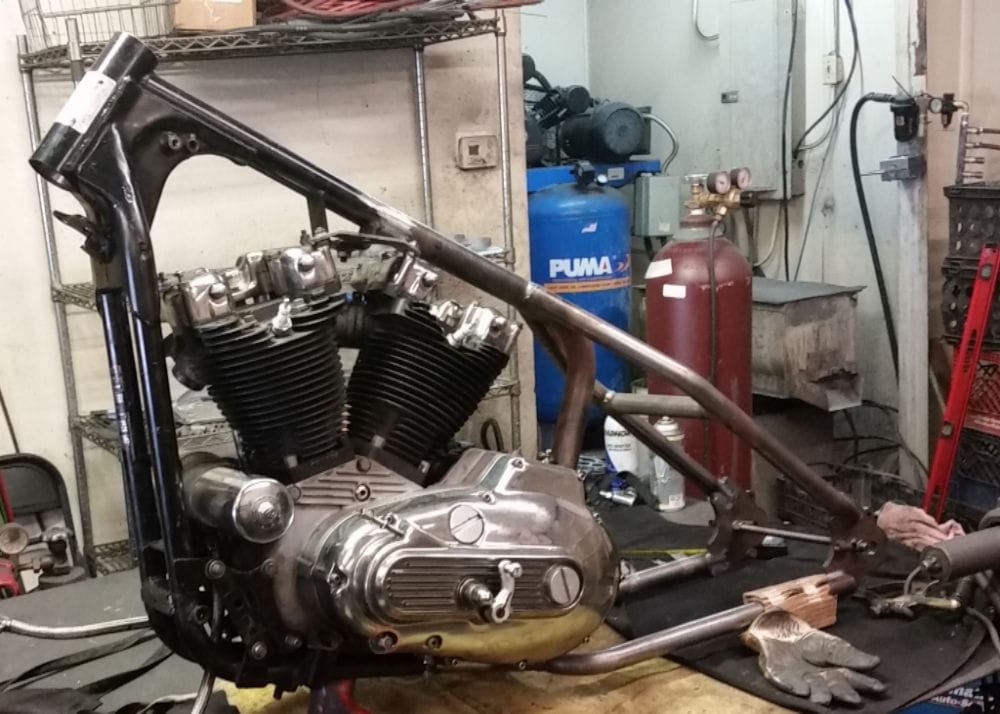
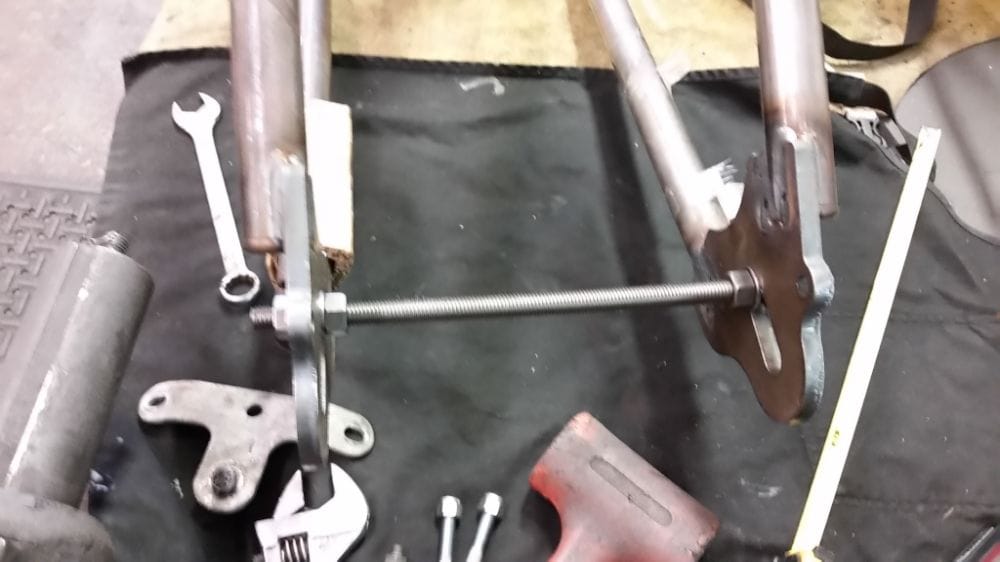
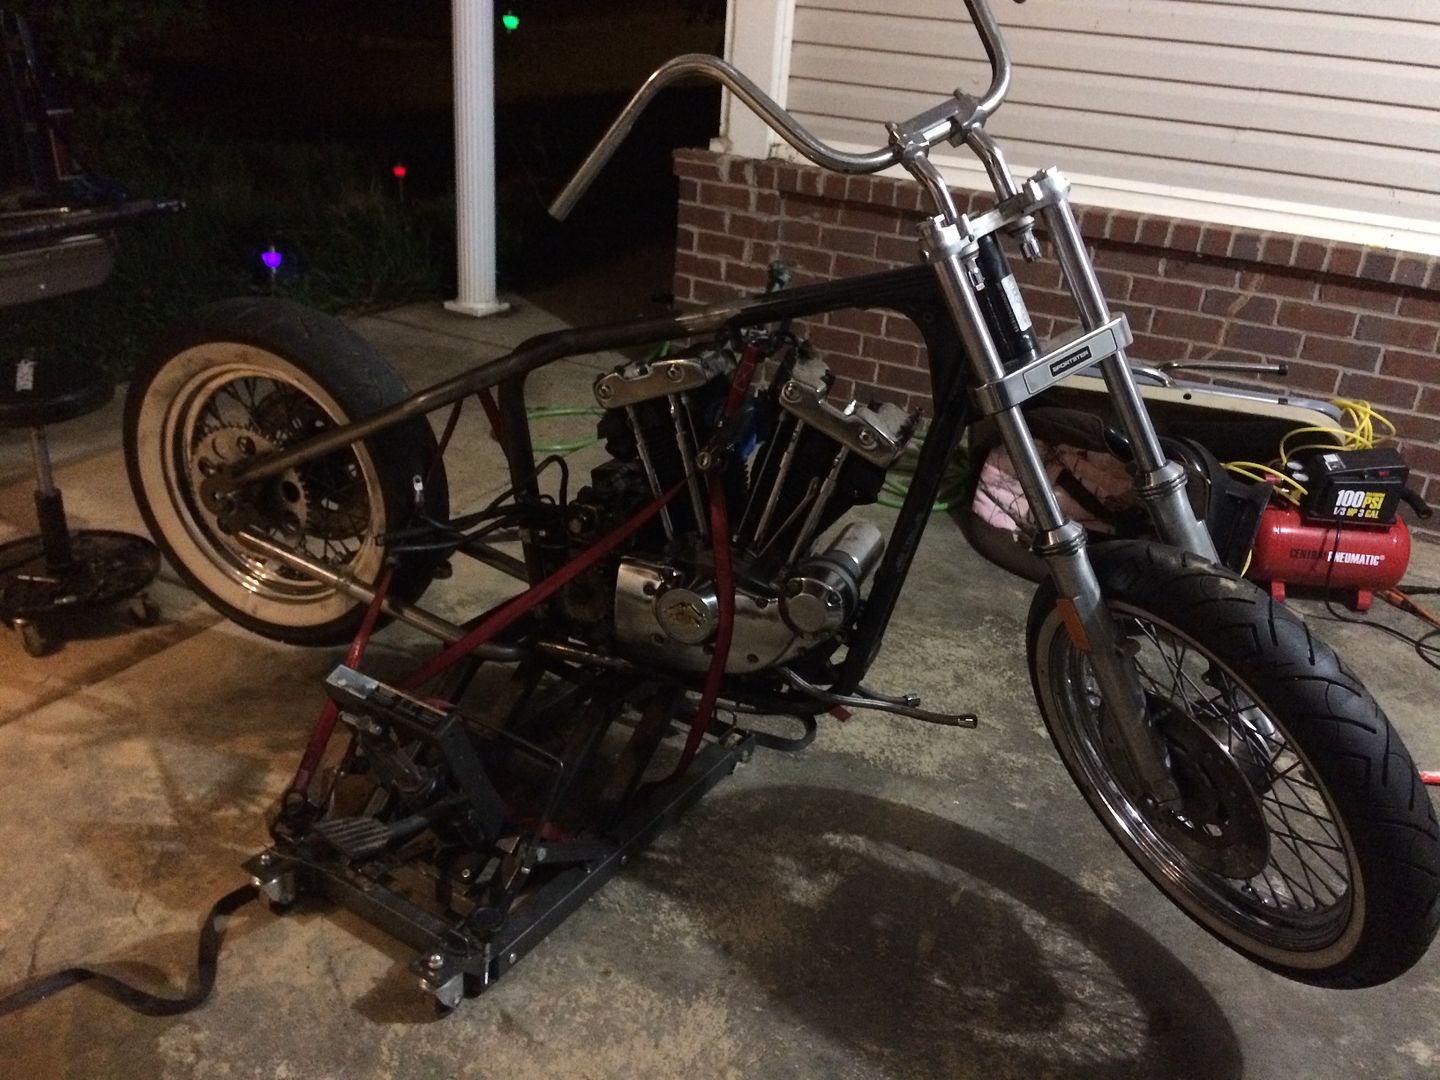
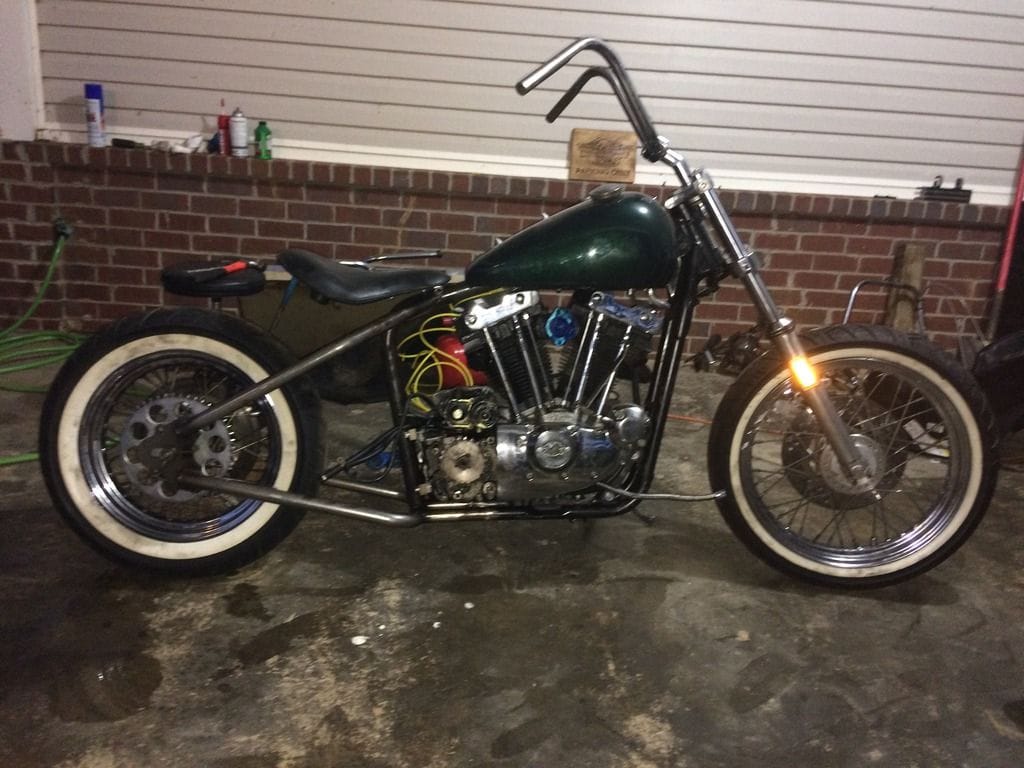
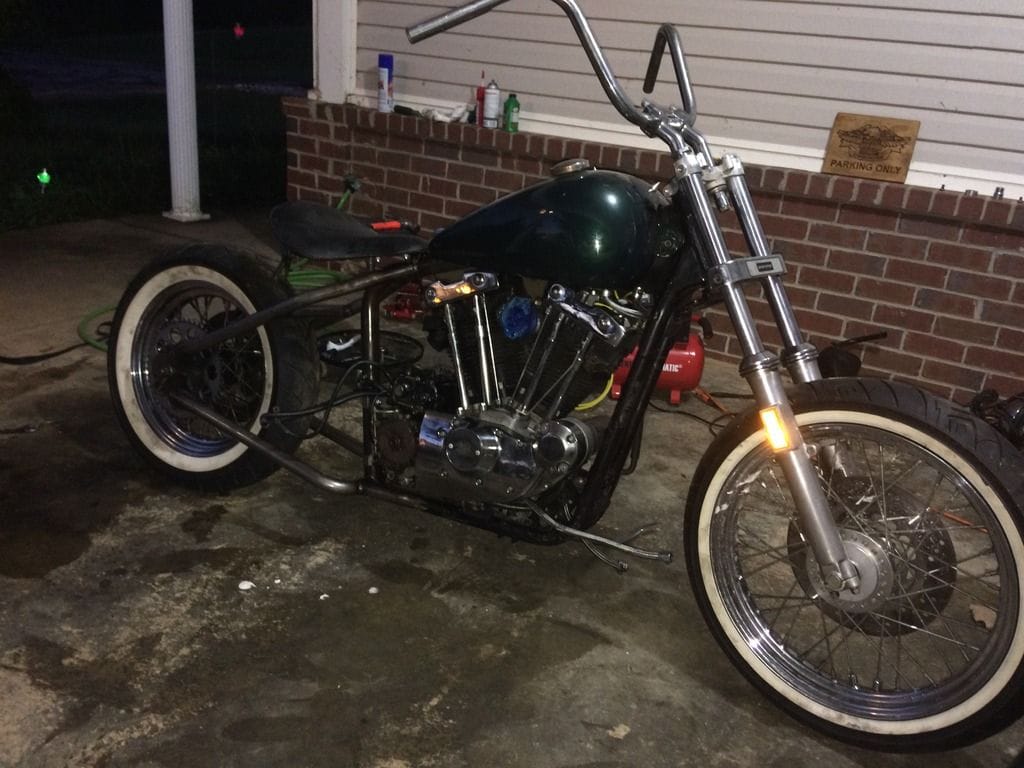
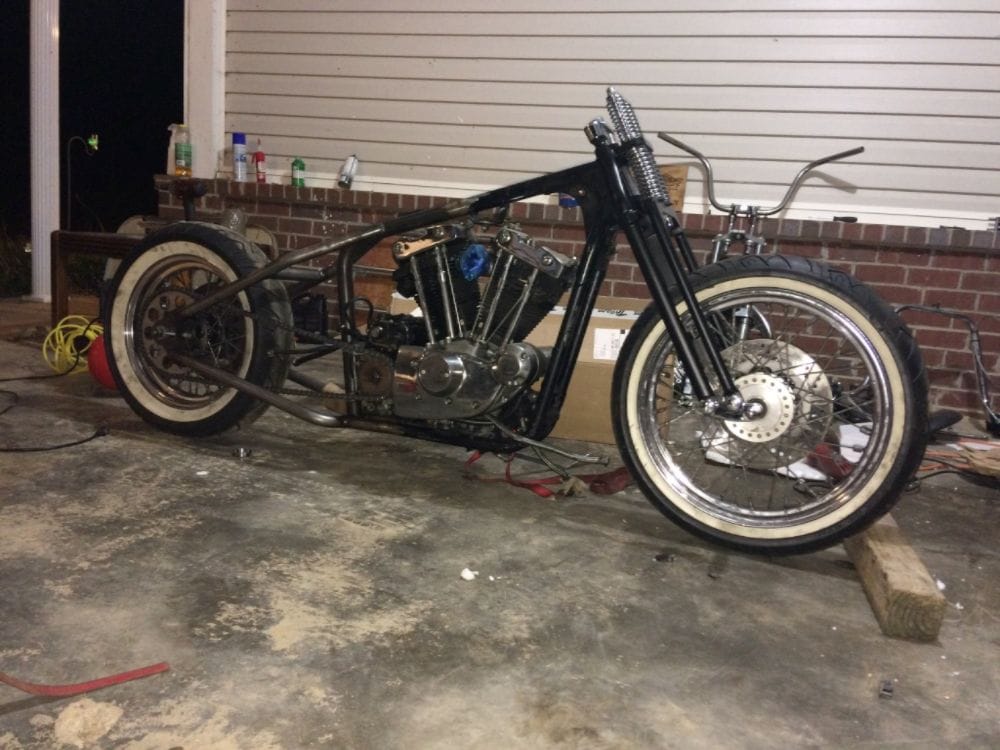
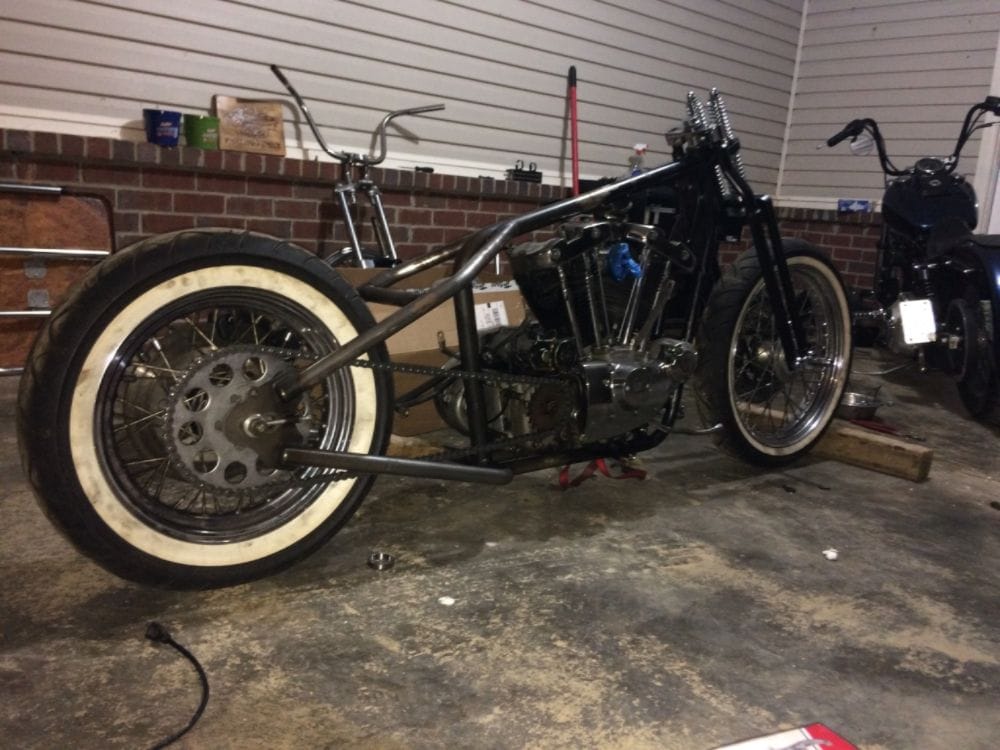
The general idea is a rigid springer but time will tell. I will of course be using as many DK parts as possible as well as a few other companies that don't rhyme with Screamin Seagull.

Dwayne
 
So, before tearing the bike down, I figured I should take it for a short ride. Just to take it thru all of the gears and make sure it runs well. I get to the end of the block and realize I better go back for my cell. As I pulled back into the driveway the bars come off the bike like a nascar steering wheel...
80-img_0964_cf1732baeb9b271eb4383561c2876c2a1e24bec8.jpg
For now I think the iron head has earned a key tag
80-fullsizerender_4__570d0008f48d61cbcb467c06e04b6410f6c99c9f.jpg
I will be ordering the Weld-on Hardtail from TC Bros today and will be disassembling the bike this weekend.

Dwayne
 
Geez Dwayne, talk about having a little luck, I'll be following along.
 
Geez Dwayne, talk about having a little luck, I'll be following along.

Yeah man, you should have seen the initial test ride before I loaded it into my truck to take it home. It was in a WalMart parking lot so I couldn't get past 2nd gear... But I wasn't taking it easy and this build could have ended right there in that parking lot before it even began.

If I were you ... I'd buy a lotto ticket ... :D

Excellent Idea!
 
And so it began...
80-img_1190_4ab47caade6712f4cc406e81517852654b7b4acc.jpg
I will be getting the bike up in the air soon, just working with what I have at the moment.It didn't take long for me to learn something the hard way... didn't realize there was a drain hose routing from the oil tank, to a dead end port on the battery box.
80-img_1194_310cafe4899ff5e1ab0e13c9235d7c732c91fb95.jpg


Dwayne
 
Spent more time disassembling the Ole' Ironhead. It is actually a breeze considering it is missing half of the nuts, bolts, and fasteners... Including a missing nut on the swingarm pivot bolt

80-img_1227_6eaa8f66e600e4dc0c72afd398256844a4157294.jpg


On a positive note, the hard tail came in.

80-img_1231_1_cec06ffe447b84fcd7050e31bb4318dc7a2e3273.jpg


IMO the TC Bros weld on hardtail can't be beat. The price, the attention to detail in the instructions, and quality is top notch.http://www.tcbroschoppers.com/82-03...ster-hardtail-kit-for-stock-130-150-tire.html

What are you guys' thoughts on converting this jumbled mess of breakers to a fuse panel? Originally these were attached to the fender,under the seat. Hoping to figure out something more discrete.

80-img_1228_1_b14787c3de5b07bf825118d57240488cfb34a83e.jpg


Dwayne
 
There hasn't been much of an update lately... The Mississippi heat has slowed down progress.

80-hot_bd23b838ab7d4a35c3d46b90783c6a2335cbcdcc.jpg


Dwayne
 
I am sure a lot of you guys already know this but if you find your self needing to get the engine out but don't have an extra pair of hands around to help you... Laying the bike over on it's side and lifting the frame off seems to be the easiest way.

80-img_1361_d016f0e6ad10e2e3fed9afe162b7cecf78dd53c1.jpg
80-img_1363_65faae4ba1ba40b596430f57bdcdb2eed9052738.jpg


And now for the fun part

80-img_1370_89d097372eb61f1f2afd97ceb5f0164f8fae4a6b.jpg


Dwayne
 
Measure twice, measure twice more... cut once.

80-img_1372_b5cdd515d4cd1b637c29b29a9634b0f27d2e544b.jpg


Portable band saw made easy work of cutting the frame...

80-img_1374_d756df63624a94159e6a384fe67fd3baa77ca1f8.jpg


Decided to test fit the frame together...

80-img_1375_029514c9f24aca3a94e8e9bd0f02feb2b443551e.jpg


I gotta say, the instructions that come with the TC Bros hardtail are very good. Here at DK, we know the importance of reading the instructions because I deal with the occasional person that refuses to read them... But these are excellent. You can see them here...https://www.tcbroschoppers.com/instructions/TC%20Bros.%2082-03%20Sportster%20Hardtail%20Instructions.pdf

We have recently started putting this sticker on our packages...

80-white_20sticker_20instructions_68639c37210c0a0493dc7400f897100728ccd276.jpg


Dwayne
 
So far, the only help I have had was from my kids helping me lose nuts and bolts. The next step required spot welding the frame while the engine is bolted in to act as a jig... Removing the engine to complete the welds... Then re-installing the engine. I figured it would be best to have a bring-your-project to work day...
80-ee619541_2285_46df_8ad6_b86b740f2848_zps3d7littb_3b30c190ef0df814c0c2822584e58545867948fb.jpg
80-20170809_100804_zps3rx6uunu_726eb2e6148827c4edf9dc758b08f38607131caf.jpg
20170809_100848_zpspjde3oxq.jpg
80-20170809_102019_zpsv7sxwij7_0280ef8d1207269e0a3f65ce6bffe5bc3b2a84c4.jpg


Did a little of the welding...

80-20170809_104712_zpsmhisnmmf_ec60e9c98de77a5bbfa8cf345bd3d59fc6765cd3.jpg


A job better left to the professionals... Devin did the majority of the welding...

80-20170809_104406_zpsykmum2lz_a9ac1a4e5f46ffc380b55dd6ae777e72c8a45678.jpg
80-20170809_112102_zpsbjvlcdj4_bdfb5b22ae72cd44bdcbe335afc7abe646a4066d.jpg


Dwayne
 
Just a few more photos I found of the Ironheads time at the shop yesterday.It isn't often I get to put the bosses to work but Devin and Kevin were happy to get out of the office and offer a hand....
80-ba28c00b_c5c3_4bd1_a116_faba6974ca8f_zpswilpvave_f5bdbcd94ceeb488cf763866659406fe0245c679.jpg


Here you see Devin doing some heavy lifting...

80-9d3160a4_b751_4fe9_8b50_e326d07a2387_zpselqyztsy_1fda780db032aa75e1455c57f0e0a38a4310b688.jpg
80-86c033c2_b41a_4993_b9d8_4e9bc0ba515f_zpshxrmzncg_864959d2b2c54e2682bf2f372b9c256b1e71879b.jpg
And smoothing some welds with a flap disc...

80-20170809_105321_zps3ugft4ba_2b3f83bf056dad5bd84b8e6958c5db2482e5b61b.jpg


Something to take note of is the 1/2" threaded rod used to apply spreading force against the inside of the axle plates. This is crucial to prevent the frame rails of the hardtail from warping inward when welding, especially when welding the seat cross member tube...

80-5ed10739_a2bf_4baa_b28b_8db9c1195b0d_zpsj24wfjn5_0650e6ab87594b48eb1e8851d1e57d555c733aec.jpg


And just like that, the frame is welded and ready for the mock up stage. Ill be un-loading this thing myself so... who says lowered trucks serve no purpose???

80-15637d79_20f7_45a2_8414_15b7f15c4f62_zpsqrb4dy9v_0f6483a439c9570ecb430c669d172275eccd9605.jpg
 
The bike now officially a "roller"...
80-img_1423_zpsaj4dxsbi_c0587e27aeea6b0521a8a8d4b3729cdc91f7129e.jpg
The front end is temporary...
IMG_1422_zpst5cgoqss.jpg
This bike will have a 16x3 spoked wheel in the front to match the rear. Initially I planned on salvaging the rear rim to save a little $$$. The Rim itself is fine and will clean up nicely. The Spokes however...
80-img_1429_zpsx20fr5ft_a0a341821d11b06f97dadb7bb56ab95d96684f05.jpg


I would love to hear you guy's thoughts on this... Replace it or save it?
 
Save it, IMO I faced the same on the Iron I am building

I spent 1 day with Bar Keepers Friend liquid and a tooth brush and Ta Da it looks pretty good, But now my customer wants cast wheels I am a bit pissed, specially since no one makes a cast front wheel size 21 he can afford lol

2Q==
 
Save it, IMO I faced the same on the Iron I am building

I spent 1 day with Bar Keepers Friend liquid and a tooth brush and Ta Da it looks pretty good, But now my customer wants cast wheels I am a bit pissed, specially since no one makes a cast front wheel size 21 he can afford lol

2Q==

Thanks Jack!

Bar keepers friend??? i've never heard of it

Dwayne
 
As of now it is a waiting game for parts and supplies, so I took it upon myself to mock up the tank and see how it looks on the bike...
80-img_1492_zpshbmmyk0s_b464d639cd74c1b1549b3019295153d1385797e9.jpg
80-img_1493_zpsij28kxm6_2ddd14eac51c468d08f867eb87108c5bb49e9a17.jpg
If budget allows, I will be replacing it but for re-assembly and test running it will do for now.Also spent a little time on the dyna installing the push button ignition switch. I will most likely be doing a similar setup on the ironhead...
IMG_1480_zpsd0b4qxxo.jpg
 
Didn't make much progress but I did find time to install the chain and adjusters. A really nice thing about the TC Bros Hardtail is the threaded chain adjustment fittings are already welded in place and include the needed hardware....

IMG_1556_zpszaodib1f.jpg


With the Jam nut in place, the bolt threads thru the adjustment and into the notch of the outer axle spacers...

IMG_1561_zpsxfieqqrc.jpg


Chain was then test fitted and a full link needed to be removed to shorten the length...

80-img_1563_zps8dy3int6_6a8d52cbfc49b09b274231fc4f4e00a8745abe13.jpg


Without a roller chain breaker tool, I usually do this with a flap disc. It seems to be a more delicate way to wear the outer link down without damaging any other links...

80-img_1566_zps95mkljsp_db823309ddffa79b9c985e7d225cba8c25a5c4fc.jpg


With the link removed, the adjustment is still maxed out, So I will likely be removing another....

80-img_1569_zpsqdjeb3fd_852f723a410fd974c96319fb7993dbe176dab061.jpg


But not today!
 
Decided to mock up the -4" under springer. It has been in the back of my mind that it would be too low... Even with my measurements and calculations, I have been wrong before (Found out later I was right about that :cool:)

So, before we see what it looks like, A little money and time saving tip... The neck/steering stem bearings can be purchased at your local parts store for a fraction of the cost of OEM. Autozone Part# is BT100 and comes with both bearings for $17... The dealership wanted $30 and didn't have them in stock.

80-img_1670_zpshu0yiilr_7f3819ae1821d838d89ca204f40cc6be42590473.jpg


I will get better photos of the install process when I do the final assembly but for now, I think these will do...

80-img_1673_zpsgkjqmxds_464b923aea6a540ede4bb232c95b4f35c295be33.jpg
80-img_1674_zpsvktttlwl_71437871fc880f2dc186fac43ffcd1a077694019.jpg


It actually still has a good bit of clearance and I am more than happy with the ride height...

80-img_1676_zpsufvuc0ye_9052d0d70175cf328c91d5ff58b87e8006e0c353.jpg


*excuse the mess*

Dwayne
 
You're making progress Dwayne, love watching it come together.
 

Trike Talk Community

Welcome to a community dedicated to the most diverse and fastest growing powersports segment, Motorcycle Trikes. Come join the discussion about the best makes and models, popular modifications and proven performance hacks, trike touring and travel, maintenance, meetups and more!

Register Already a member? Login

Forum statistics

Threads
55,570
Messages
901,969
Members
22,550
Latest member
stag man
 photo 260e2760-d89e-45b2-8675-2bc26fb3d465.jpg

 photo Trike-Talk-150-x-200.gif

 photo DK Trike Talk Right side banner 19.jpg

Merziere Reverser

 photo 9796095c-0d4b-4a9b-88ed-efe4c498d084.png
 photo f9866e4e-75c5-471a-86f5-5e72a446ecc3.png
Back
Top