• It appears that you have unread Personal Messages - Please check your inbox!

4th generation of my trike

Thanks everyone for the comments and likes. 25 years or so ago when I built my T bucket street rod I took a corner of the basement with a window and put up a plastic room. With a fan blowing fumes out and a respirator it worked good. I might have to move a bunch of stuff to get to that corner again. It's too cold for outside painting. The other morning it was 9*. It's supposed to warm up for a few days but only to around 40*. I'm not a painter. I always said if my engines ran as good as my paint I'd be set.:)
 
Sure do like the look. A purposeful military style, no fooling about where to unbolt for maintenance...kind of followed this theme with my old truck build. carry on soldier!
 
Thanks, I haven't been able to do too much in the last week. Other stuff gets in the way(Smile). I did start on the battery box. It will be under the passenger seat. I promise I'll be back at it soon.
 
I am sure the basement is colder than my garage, just amazed at your skills and abilities. I was not into cars or welding during school, so I missed out on a lot of this stuff. I have always told myself I could do anything I set my mind to, so I watch, read, and learn what I can so that I may achieve my goal. What's that, to get my trike riding down the road with out the rider in control of it, LOL My accident really screwed up my schedule, but seeing all this work keeps me thinking and what not.Thanks for sharing, military green with black trim.
 
So far my plan on paint color is the frame and front will be black and most everything else will be olive drab green. Aervoe makes a green that's supposed to be a match for WWII olive drab. VHT makes a roll bar and chassis paint that is a nice black. I've used it before and it seems pretty durable. It's not a flat black but also not a gloss. The smaller trim will get the black. Home Depot has a duck boat paint that I've read is really tough and comes in the camo colors but you have to order it in and some say the color isn't always what you order. I guess you could send it back if it wasn't.

I have some chrome left over , like the front brake master cylinder and gas caps, that won't look right on this build so I'm going to do something crazy. I'm going to take some green Scotch Brite pads and some WD40 to perfectly good chrome. Lightly sanding in one direction is supposed to give it a brushed nickle look.
 
For Christmas I got a sinus infection and bronchitis. Now I'm medicated. I guess I'll have to cool it for a while as far as grinding and welding and anything else that makes fumes. It's just a little set back. I'll be at it again soon.

Happy New Year to everyone.
 
So sorry to hear that, it is no fun that is for sure. My busted up shoulder sure does not like the cold weather. I have my own built in weather gauge now, LOL.I follow a few threads to see what I can learn and what a person can do with the right tools or a little Know How. I am impressed and enjoy watching things come together like this.We are all starting a New Year with new dreams and desires. I hope some of us can achieve them this year. Thank you everyone.
 
I think I'm just about over it, going through the coughing that seems to last forever. The older we get the more interesting ailments find us. Something like a busted up shoulder is sometimes something you can't do anything about so it becomes your new normal and you move on.

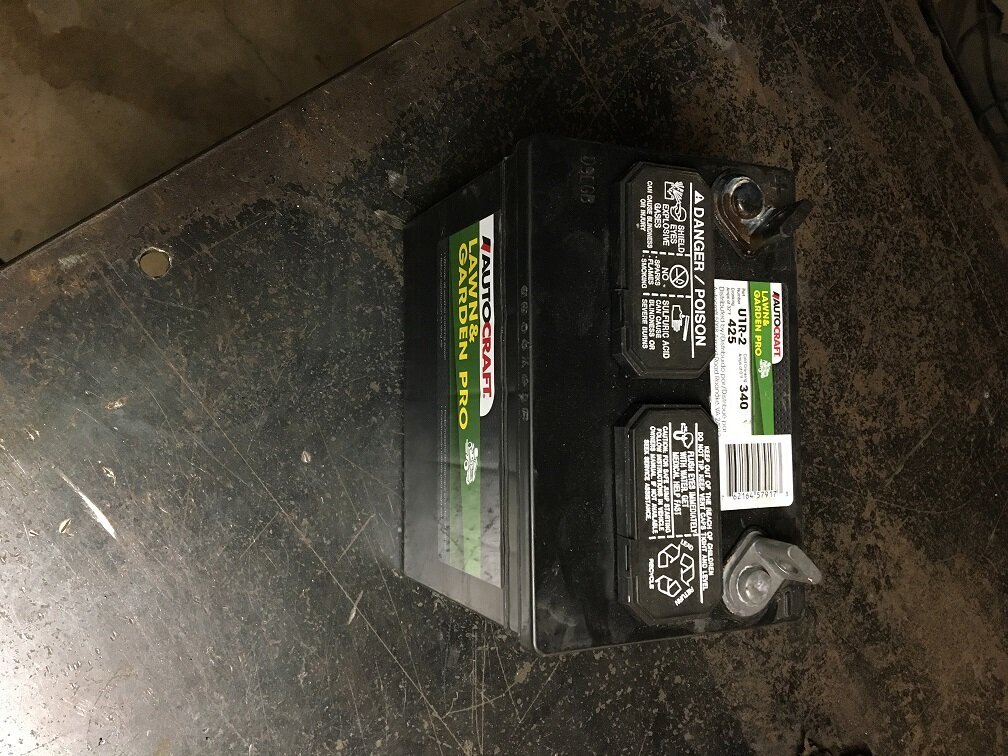
I have a stock 1600cc engine and I don't run it in the winter so I don't have to deal with cold weather starting. This garden tractor battery is plenty to get me going.

IMG_0281.jpg

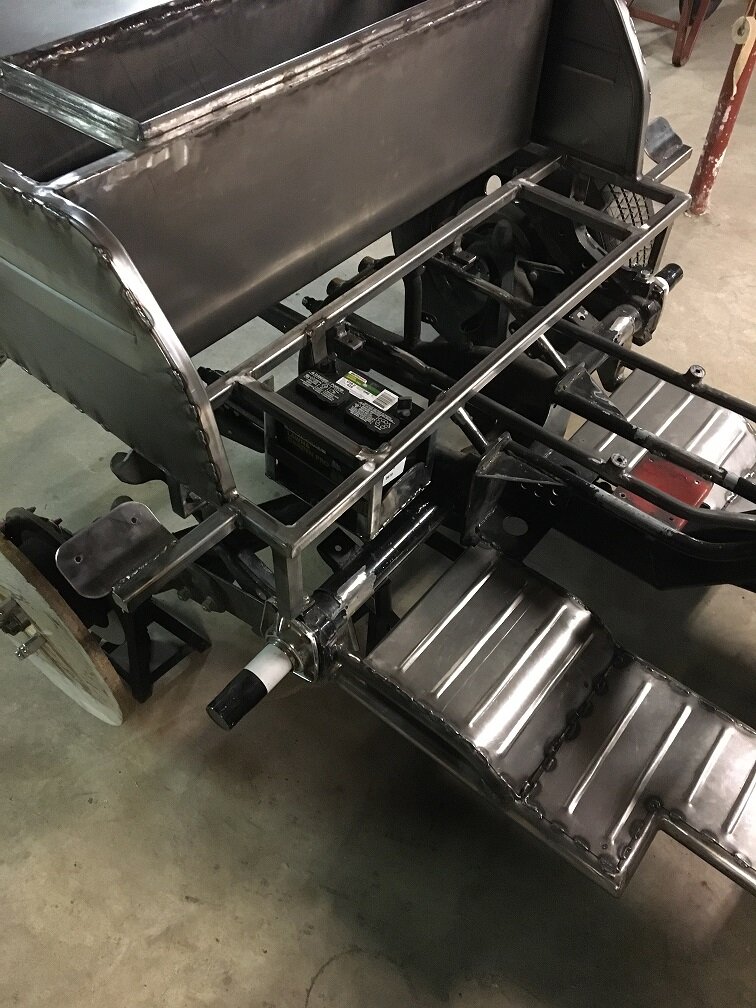
I got the battery box done and welded in.

IMG_0284.jpg

The rear seat will cover it. I'm going to put a battery disconnect switch somewhere I can get to easily in case things go wrong. If the wires started to fry it would take too long to get the seat off.
 
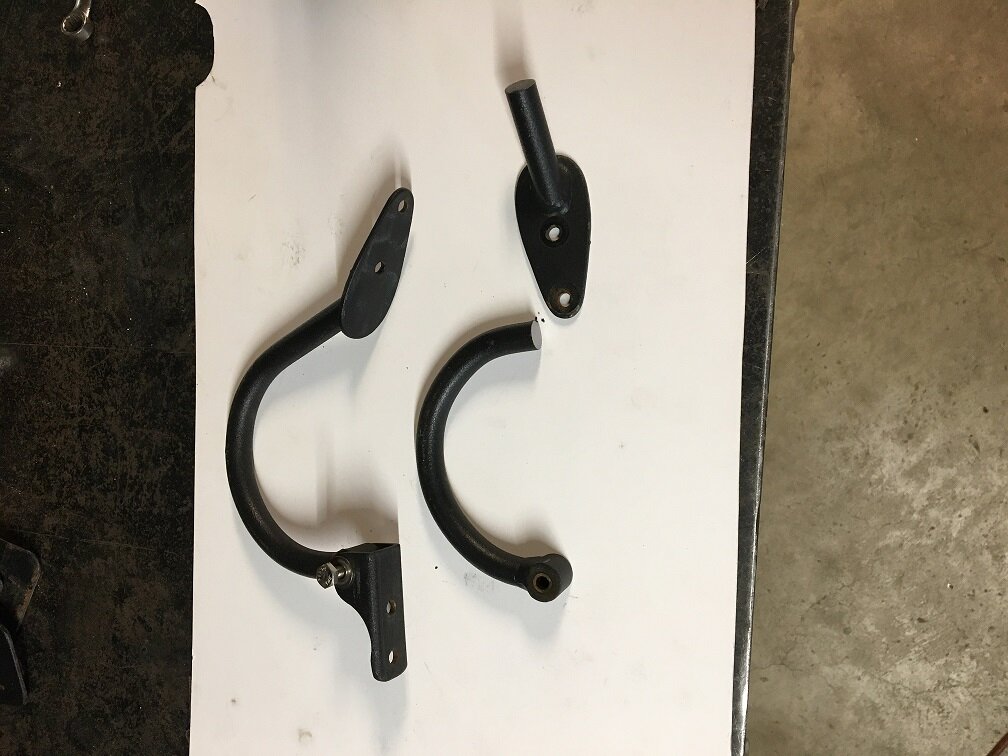
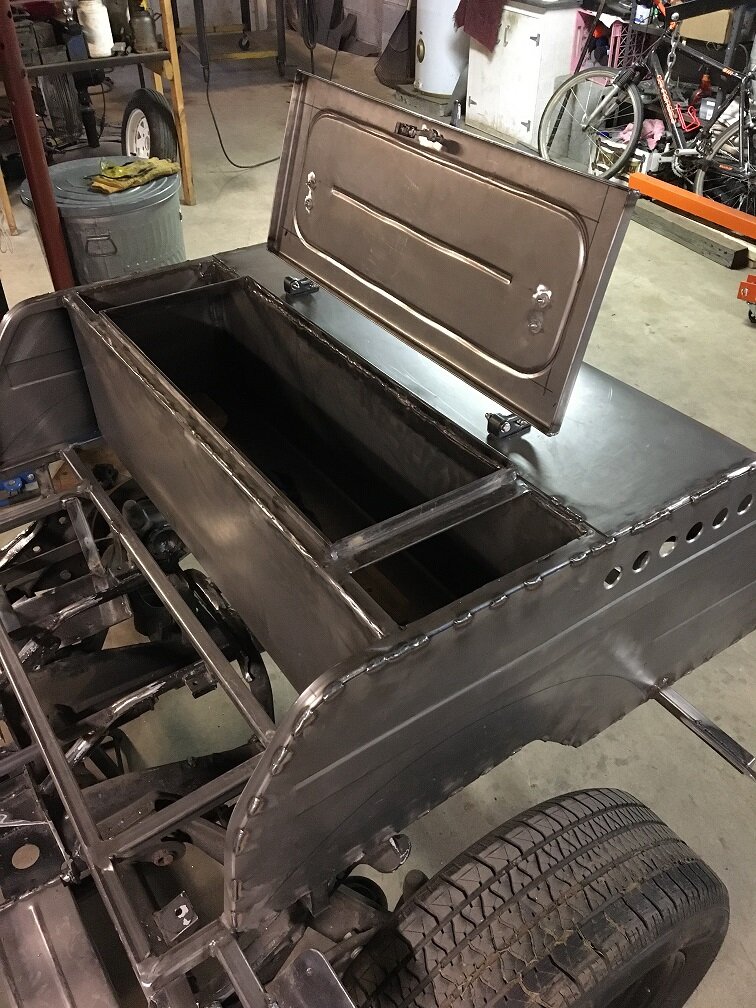
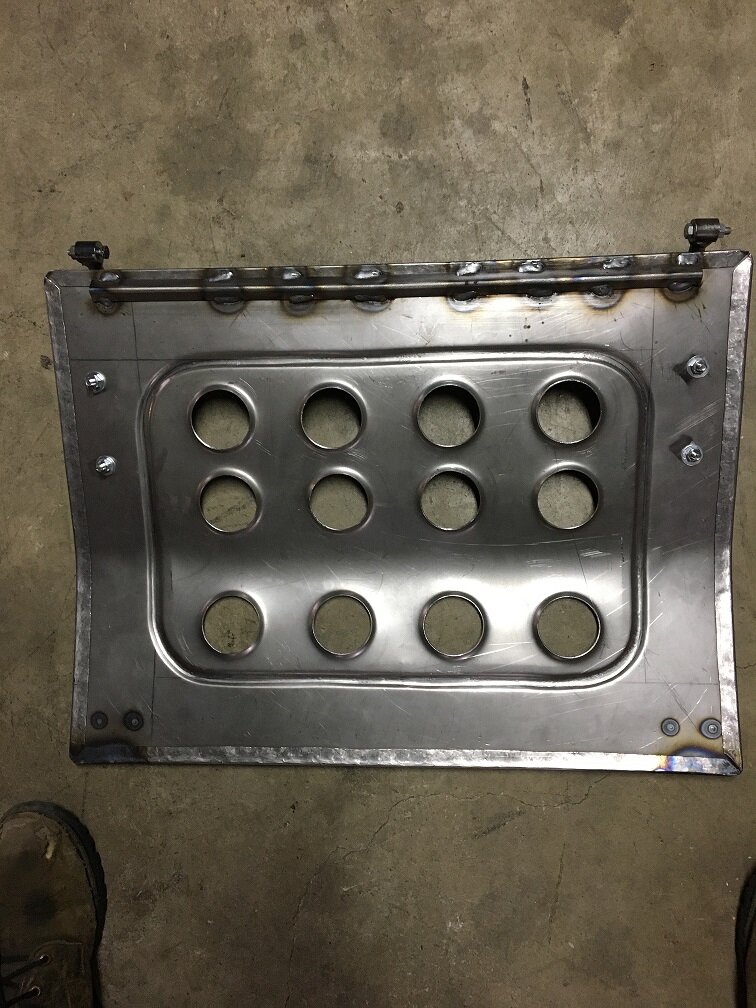
Today was a hinge day. I had the hinges off the old trike for the storage compartment but they had to be modified some.

IMG_0286.jpg

I had made these hinges before but the angle was a little off so cut and weld.

IMG_0289.jpg

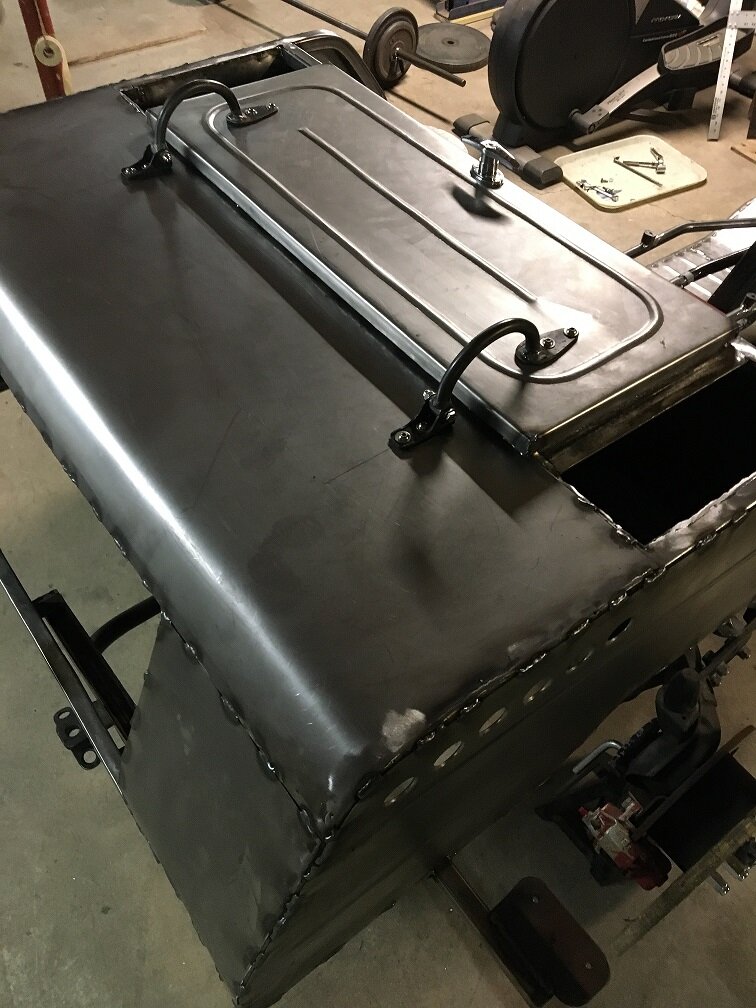
Here they are all bolted up. They lift the cover up then back. Hinge geometry can get a bit tricky to get it to do what you want. That's a garage door handle I used for a latch. They work pretty good and you can lock them.

IMG_0288.jpg

All opened up. I have to fill in the spaces beside the door yet. The compartment is the full width of the body.

I'm going to build hinges for the engine hood lid. They will be about the same as the storage lid ones.
 
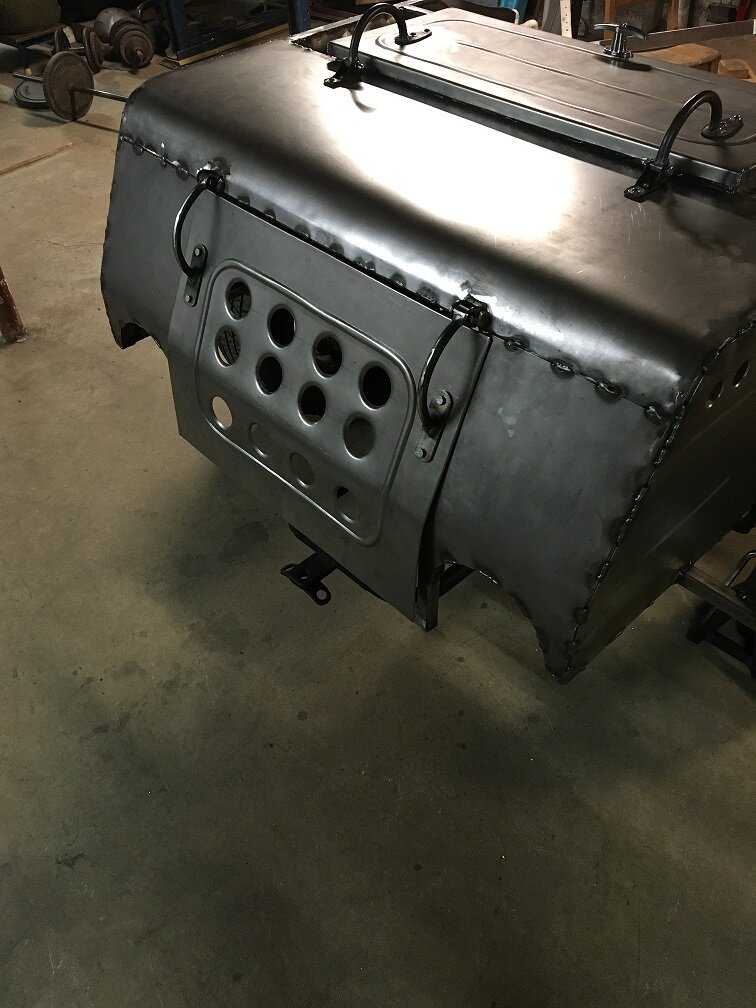
I did some studying on the engine lid hinge situation. I was trying to come up with a hidden set up but I guess my brain isn't big enough to figure out anything that I liked. I took the easy way out and made some hinges like the storage compartment ones.

IMG_0292.jpg

They work fine and I could use them for a tie down point if I wanted to tie anything on the back. I need some latches to hold the lid down. I was thinking of the spring loaded ones like the Jeeps used to have to hold their hood down.
 
Yes, those do look awesome on the trike. The latch idea is a good one and I think I would try that myself. Just love how all these little things bring it together.
 
Hi Irondad01

This rebuild is just spectacular , ingenuity in action .

Just putting up a suggestion here , given that this is a military theme , how about considering the latches off an ammo case for Your boot lid . 🤔

As another styling cue , hanging a pair of 7.62 shell cases off the carrier would give You a little storage and take the square line fwd without obstructing the headlight .
 
Thanks everyone for the likes and ideas.

Kiwi Mark, that's a great idea on the ammo box latches. I have one of the thinner and three of the wider boxes. The wide ones are a little too wide but the thinner one seems to be just right. My brother is stopping by tomorrow and says he has another thin one he can bring along. It looks like the latches are spot welded on so a little drilling and they should come off. It's worth experimenting with.

I'll wait until I'm going back together to see what I want to add as far as more storage, maybe an ax and shovel, coiled rope, etc.
 
Liking those hinges, first look said tiedowns...read the posts and, some one beat me to it! Sure do like to see brackets, braces, frame parts used for more purposes than were originally planned for. Some times, I think my trike frame was nothing more than a place to weld brackets to!:D
 
Yes, it sure seems to take a lot of brackets to get everything bolted on. When I built the trike the last time I said my drill press was my best friend. I drilled hundreds of holes. I have a torch set but i haven't had any gas for it in awhile. So far I haven't needed a torch on this build, which just amazes me.

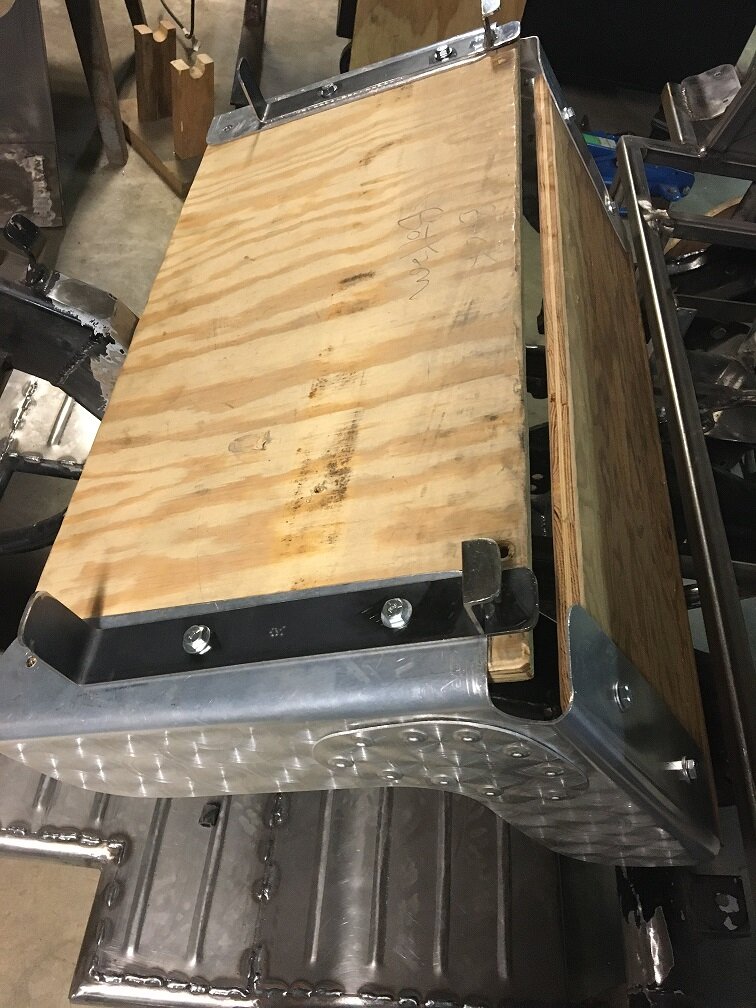
This is how I'm mounting the passenger seat.

IMG_0294.jpg

The hooks on the back will hook on the square tube at the rear and I'll put bolts through the 90* tabs on the front so two bolts and the seat comes off to get to the electrics.

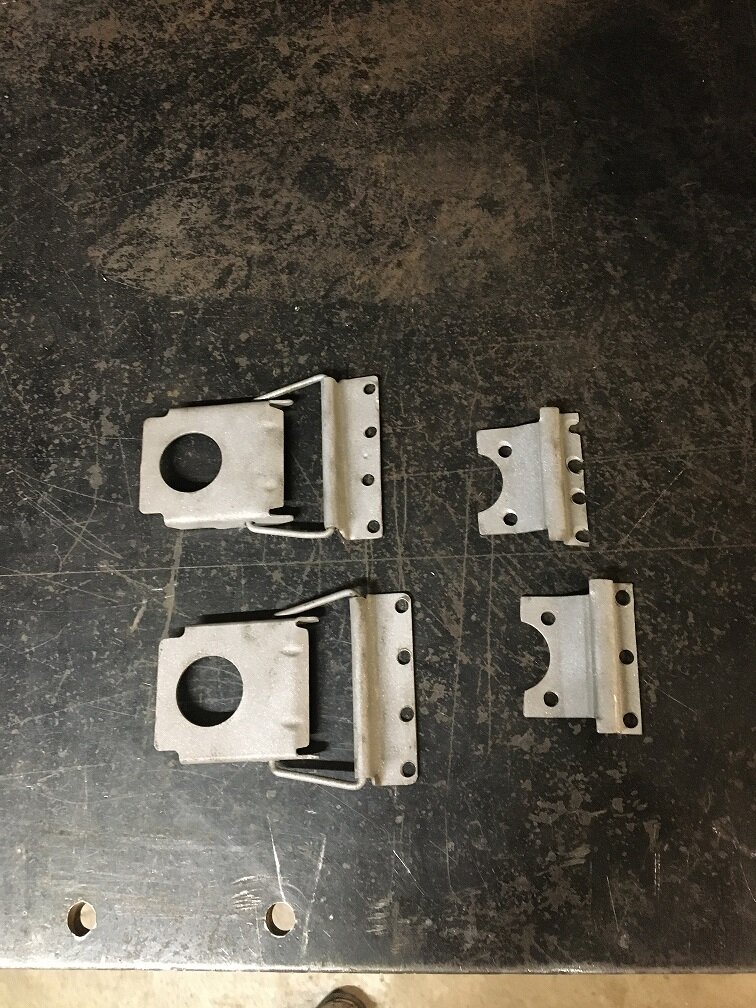
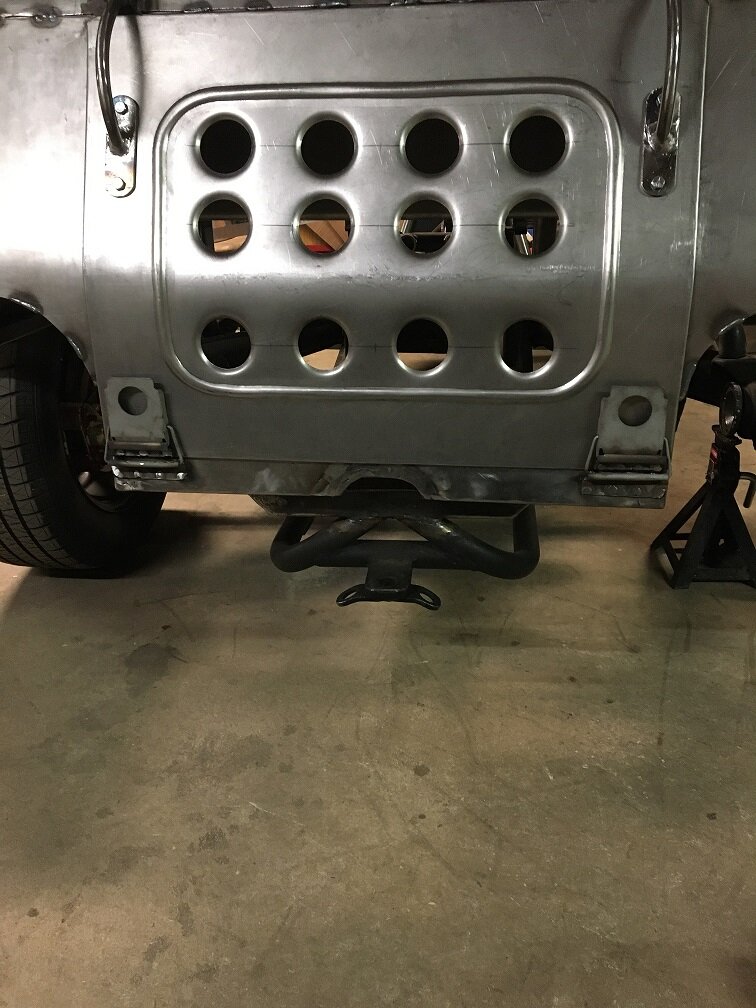
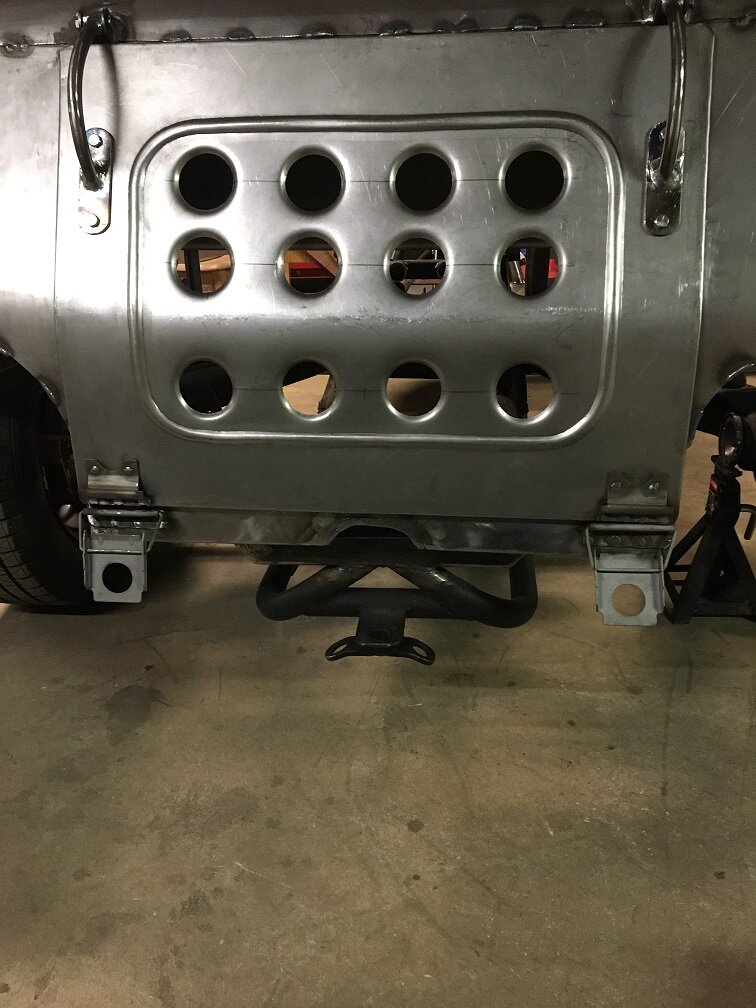
I took Kiwi Mark's idea and attacked a couple of ammo boxes.

IMG_0293.jpg

These are the latches all cleaned up. The older box I had was really hard to drill the spot welds out. They must of had better welders back in the day. I had to bend the brackets on the main latches to mount the way I'm doing it. You have to get the parts the right distance from each other so they snap over center when you latch them. I had one box and my brother gave me another. You can't beat free latches.
 
Success. I got the latches all welded on.

IMG_0295.jpg

And unlatched.

IMG_0296.jpg

I had to put them on this way because upside down the other way would have had them hanging below the frame. A little tweeking with a medium size hammer had them snapping over center. I like the look. It will be interesting to see how many people recognize them and where they came from.
 
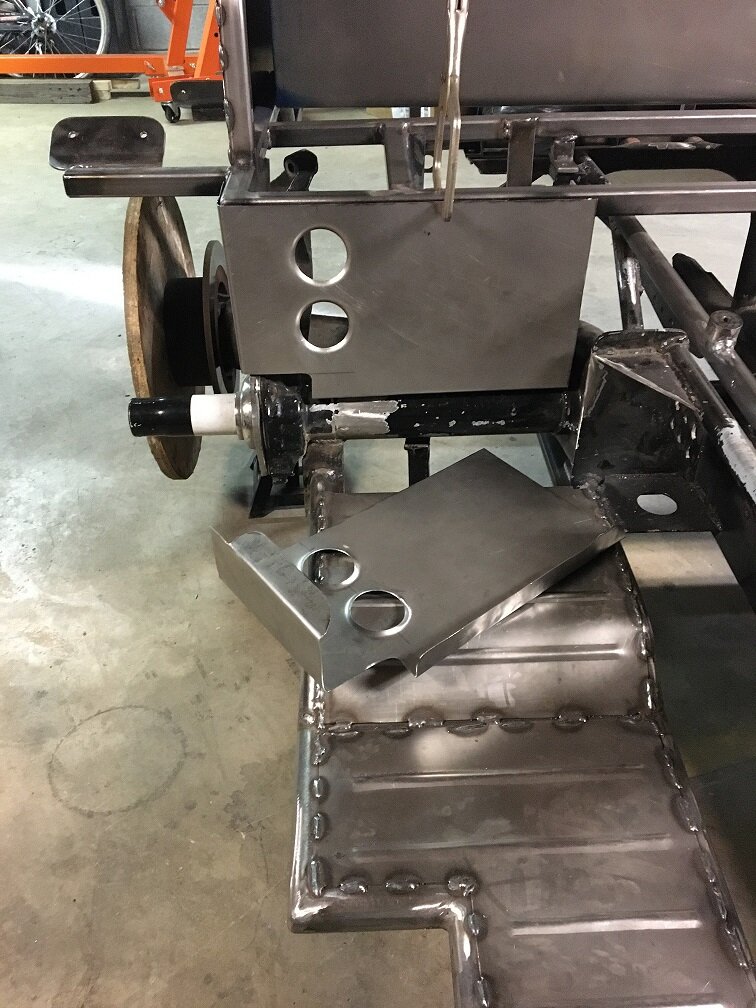
Today I worked on the body fill pieces on the front of each side.

IMG_0299.jpg

They are a little complicated. I put the bends in them for strength. There will be a brace behind them. The holes are to let more air back to the engine. The right one hides the battery. I think the big empty space on the left one will be a good spot for my battery disconnect switch. It will be under the front edge of the seat. A power outlet would be nice on that side too so we can charge phones and stuff.

The top of the engine hood seemed flimsy so I braced it up.

IMG_0300.jpg

I didn't have any small angle iron so I cut a piece of square tube to make 1/2" angle. This is on the inside and it stiffened it quite a bit.
 
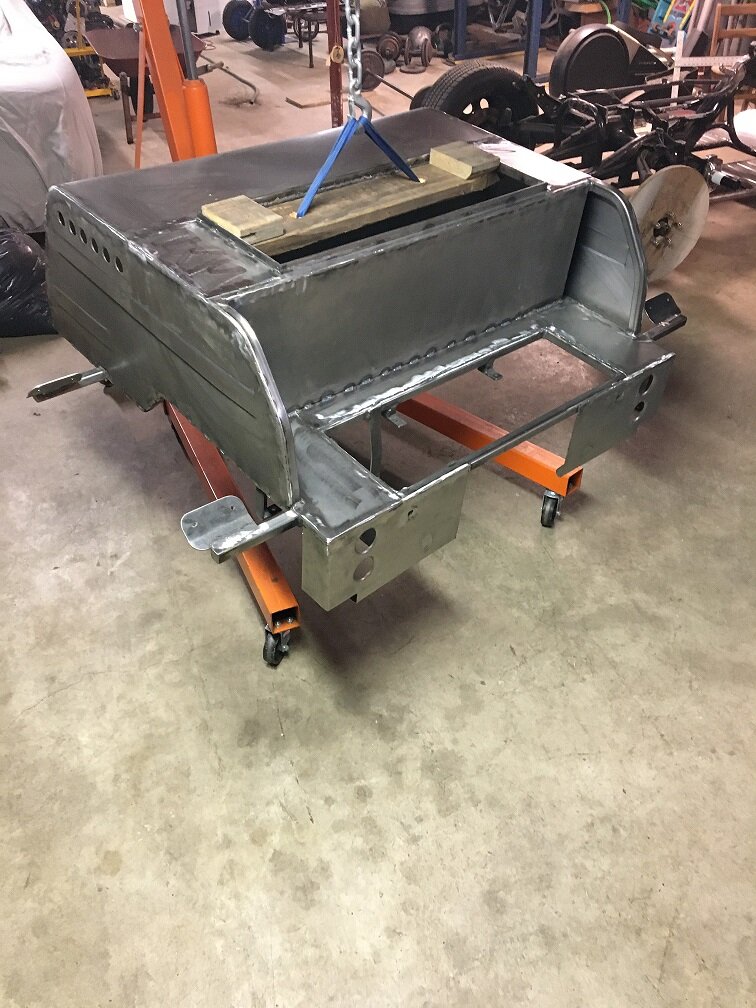
Yesterday and today was mostly welding. Not too exciting. I welded today until I ran out of gas for my mig. I cleaned things up and went for more.

IMG_0302.jpg

You put all that weld on then grind half of it back off to smooth things up. The joints will get a light coat of body filler. I have all the panels on the body but there is still welding to do on the rear. There is still a few fill pieces on the frame to do.
 

Trike Talk Community

Welcome to a community dedicated to the most diverse and fastest growing powersports segment, Motorcycle Trikes. Come join the discussion about the best makes and models, popular modifications and proven performance hacks, trike touring and travel, maintenance, meetups and more!

Register Already a member? Login

Forum statistics

Threads
55,572
Messages
901,991
Members
22,553
Latest member
Glockjock
 photo 260e2760-d89e-45b2-8675-2bc26fb3d465.jpg

 photo Trike-Talk-150-x-200.gif

 photo DK Trike Talk Right side banner 19.jpg

Merziere Reverser

 photo 9796095c-0d4b-4a9b-88ed-efe4c498d084.png
 photo f9866e4e-75c5-471a-86f5-5e72a446ecc3.png
Back
Top